Lesson 1 of 11

The digital audio workstation Reaper has been steadily gaining popularity among music producers and audio engineers.
While it may not be as well-known as some of its competitors, Reaper has a loyal fanbase who appreciate its customizable interface, comprehensive feature and affordable price.
Whether you’re an experienced audio professional or just starting out, Reaper is worth considering for your DAW of choice. Its ability to create shortcuts, scripts, and dedication to stability provides a level of flexibility that is unmatched by other DAWs.
Although Reaper may have a steeper learning curve than other DAWs, its dedicated community of users and extensive documentation make it easy to master. And once you’ve learned the ropes, you’ll be able to take full advantage of its powerful customization to get the best workflow that fits your creative process.
In this guide, we’ll provide an overview of Reaper and its key features, as well as tips and tricks for getting started with this powerful digital audio workstation.
Reaper was first released in 2006. Since then it has undergone numerous updates and a wealth of new features and improvements.
Despite its relatively short history compared to other DAWs, Reaper has quickly established itself as a powerful and reliable tool for music production.
While Reaper can be used to create any kind of music, it’s particularly well-suited to certain workflows.
Here are some of the reasons why Reaper may be the right DAW for you:
Major DAWs compared
Read these guides to choose the right DAW for you.

Anthony breaks down the best of the best.
There are so many producers and audio engineers making the switch to Reaper. It’s truly a DAW that prioritizes flexibility and stability making it appealing to a wide range of music producers.
Here are some of the features that have helped make Reaper a popular choice:
With these key features in mind, it’s clear why Reaper has become a popular choice for music producers of all genres.
To get started with Reaper, it’s as simple as going to reaper.fm and downloading a copy of the software. The install file for Reaper is a measly 20 megabytes, so it should come in pretty quick!
In addition to the amazing price, Reaper offers a free fully-functional 60-day trial allowing users to test it out before committing to a purchase. This makes it easy for you to determine if it’s the right choice for your needs.
When you buy a license of Reaper you get access to unlimited free updates for life. This means you won’t have to pay extra for updates or new features, making it an even better value for the price.

Our favorite DAWs for anyone getting started.
Reaper has many of the same workflow elements as other major DAWs. There are a few things you should know if you’re switching over though.
Tracks in Reaper double as both audio tracks, and MIDI tracks. They can also hold multiple tracks as a group track, or even act as a folder.

Matt breaks down the basics of MIDI.
The trick to defining how to use tracks in Reaper is taking a look within the tracks routing. From there you can choose your input; either audio or MIDI.
The grouping parameters help you define how the parent track interacts with the grouped tracks.
The mixer in Reaper is similar to most mixers in other DAWs. You’ll have all your standard controls: faders, panning, mute, solo, track routing, phase, and an automation toggle. Hide tracks on your mixer and timeline using the track manager function.
Depending on the theme you choose, these controls can be hidden and even more controls can become available depending on your preferences. You’re able to have the mixer just about wherever you want in Reaper. You can also detach it and have it on a second monitor.
Instruments and effects can be accessed by pressing the FX button on either the track in the timeline or within the mixer. Reaper’s FX window isn’t the prettiest, but it does have powerful filtering and search functionality to help you find the plugin you’re looking for fast.
Plugins and effects are simply listed on the left-hand side, with the interface on the right. Simply drag an instance of a plugin to reorder it within a list.
Playing and recording in Reaper is as straightforward as most DAWs. Simply arm any tracks you wish to record, and hit the record button. Depending on the track type, you’ll be able to record MIDI and audio onto the timeline.
Automatic record-arm when track selected’ is a powerful feature to auto arm any track when you’ve clicked on it. Then, you can select any number of tracks and record all at the same time, without having to record-arm them separately.
Standard features like tempo, time signature, section looping and punch in, are all available.
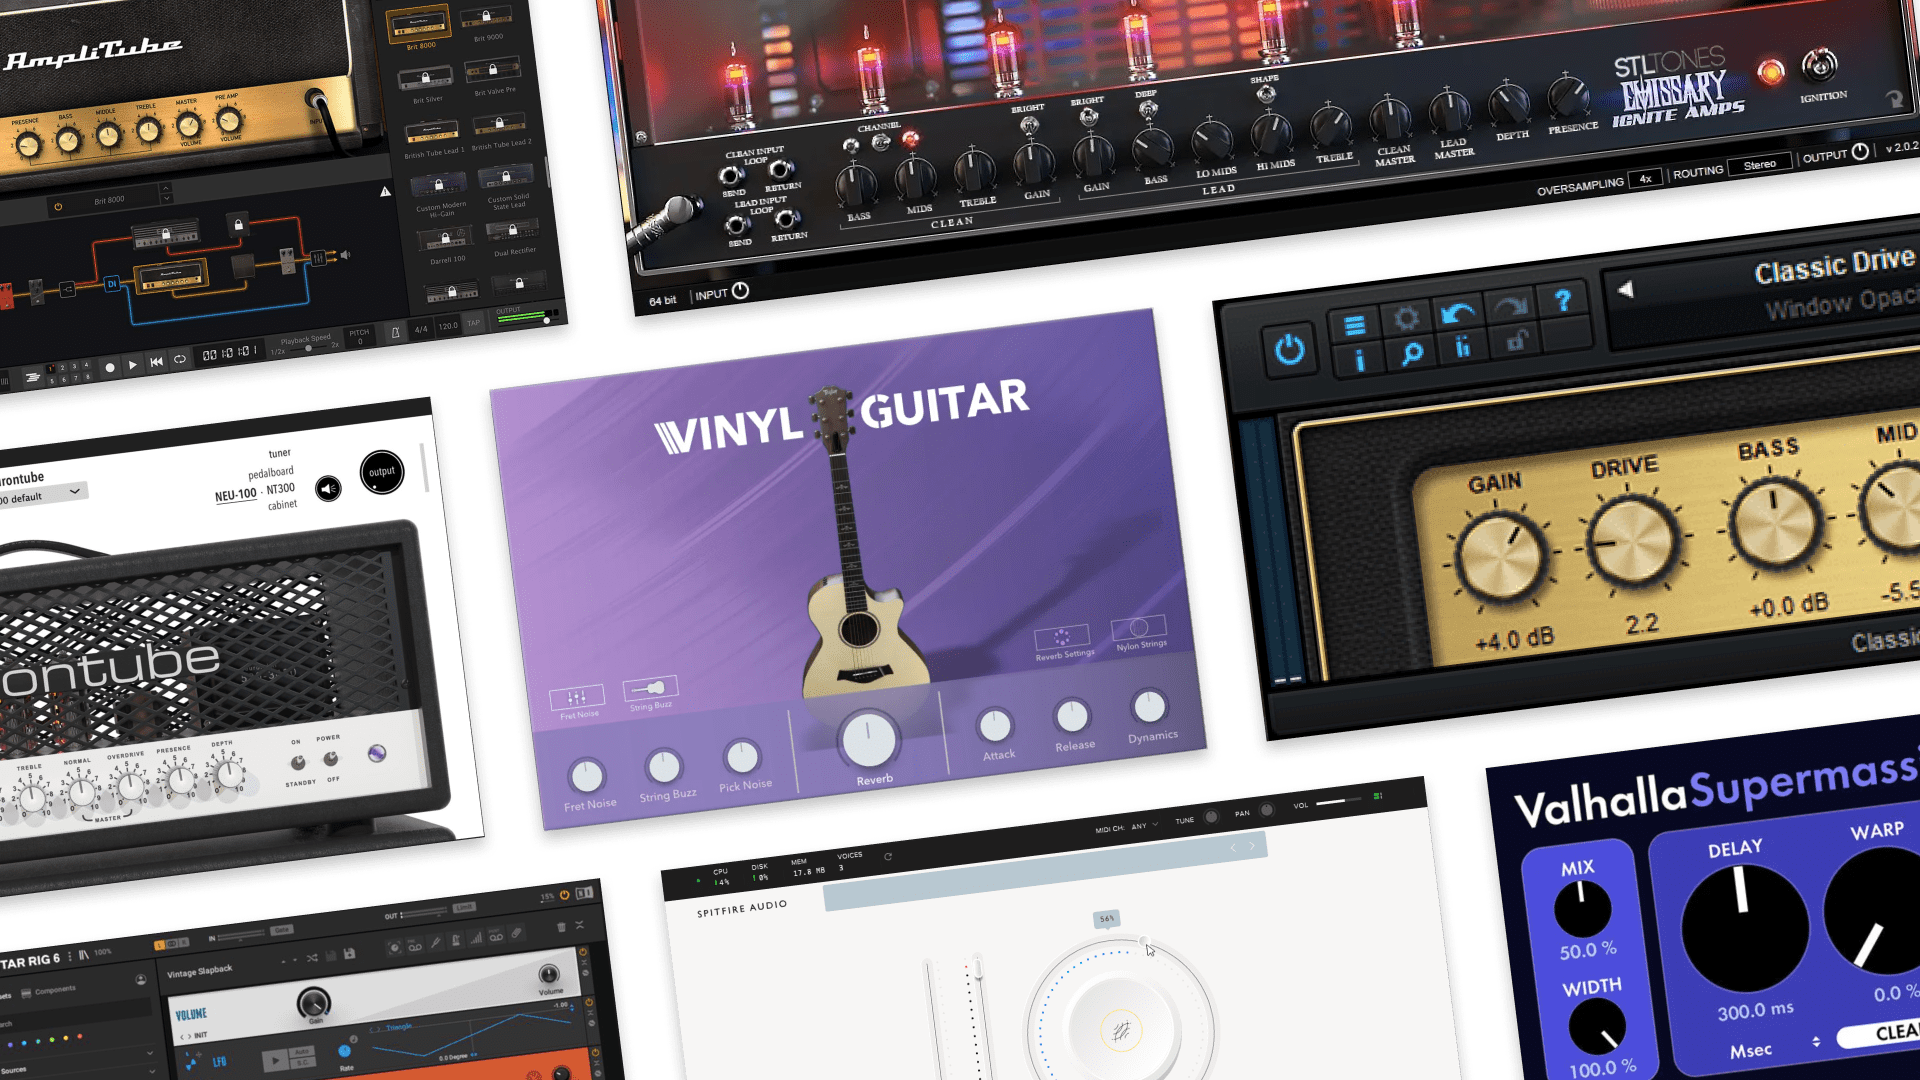
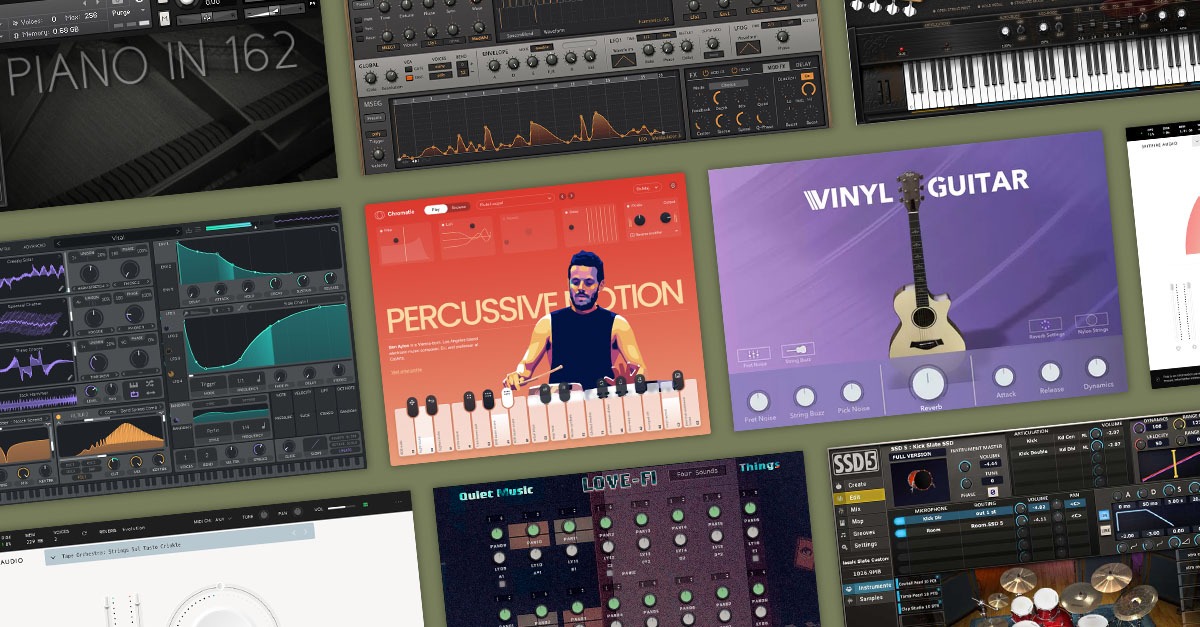
Reaper lacks the built-in instruments found in popular DAWs like Cubase, Logic Pro, and Pro Tools, but it does come with basic synth and sampler plugins. Fortunately, there are plenty of top-notch freeware instruments available that work seamlessly as plugins within Reaper.
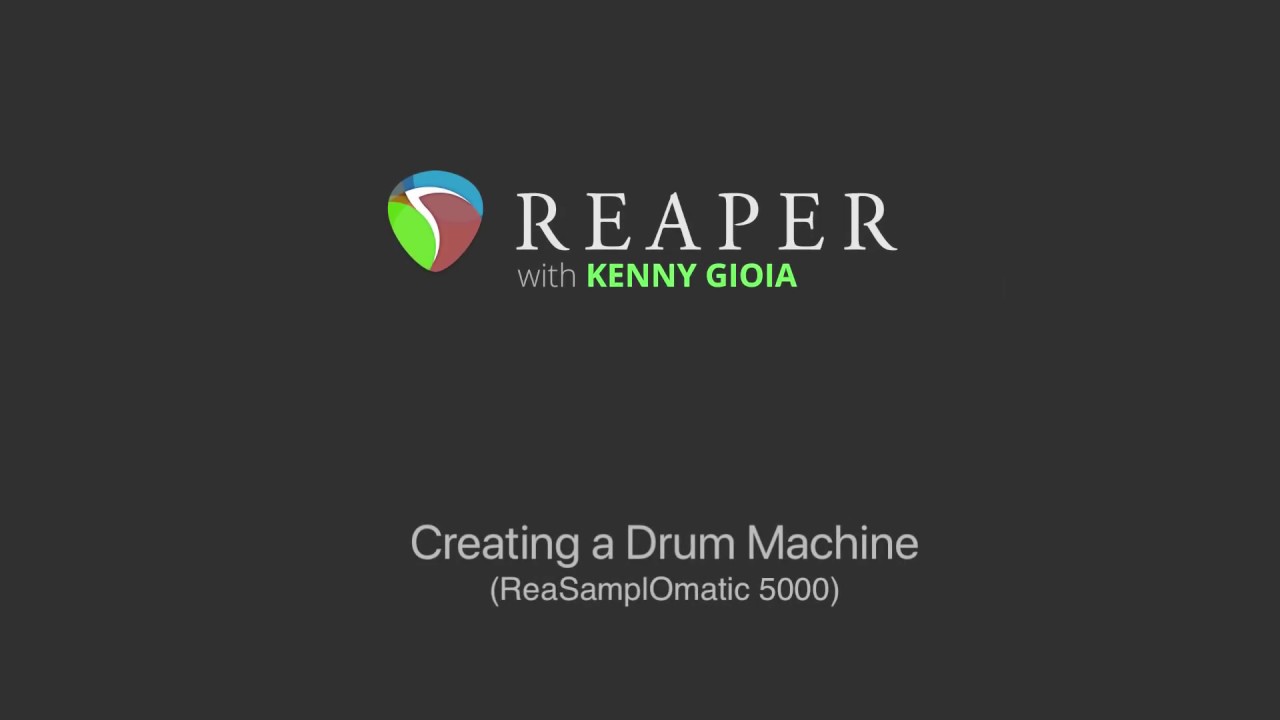
ReaSamplomatic 5000 is Reaper’s answer to samplers like Ableton’s ‘Simpler’, and FL Studio’s ‘SliceX’. It’s perfect if you’re looking to create sample based music and want to have playable sounds at your fingertips.
To load samples into ReaSamploMatic 5000, click the “Load Sample” button or drag and drop samples directly into the plugin.
The plugin allows you to assign samples to specific MIDI notes, and has sound-shaping controls such as volume, pitch, and envelope controls to customize the sound.
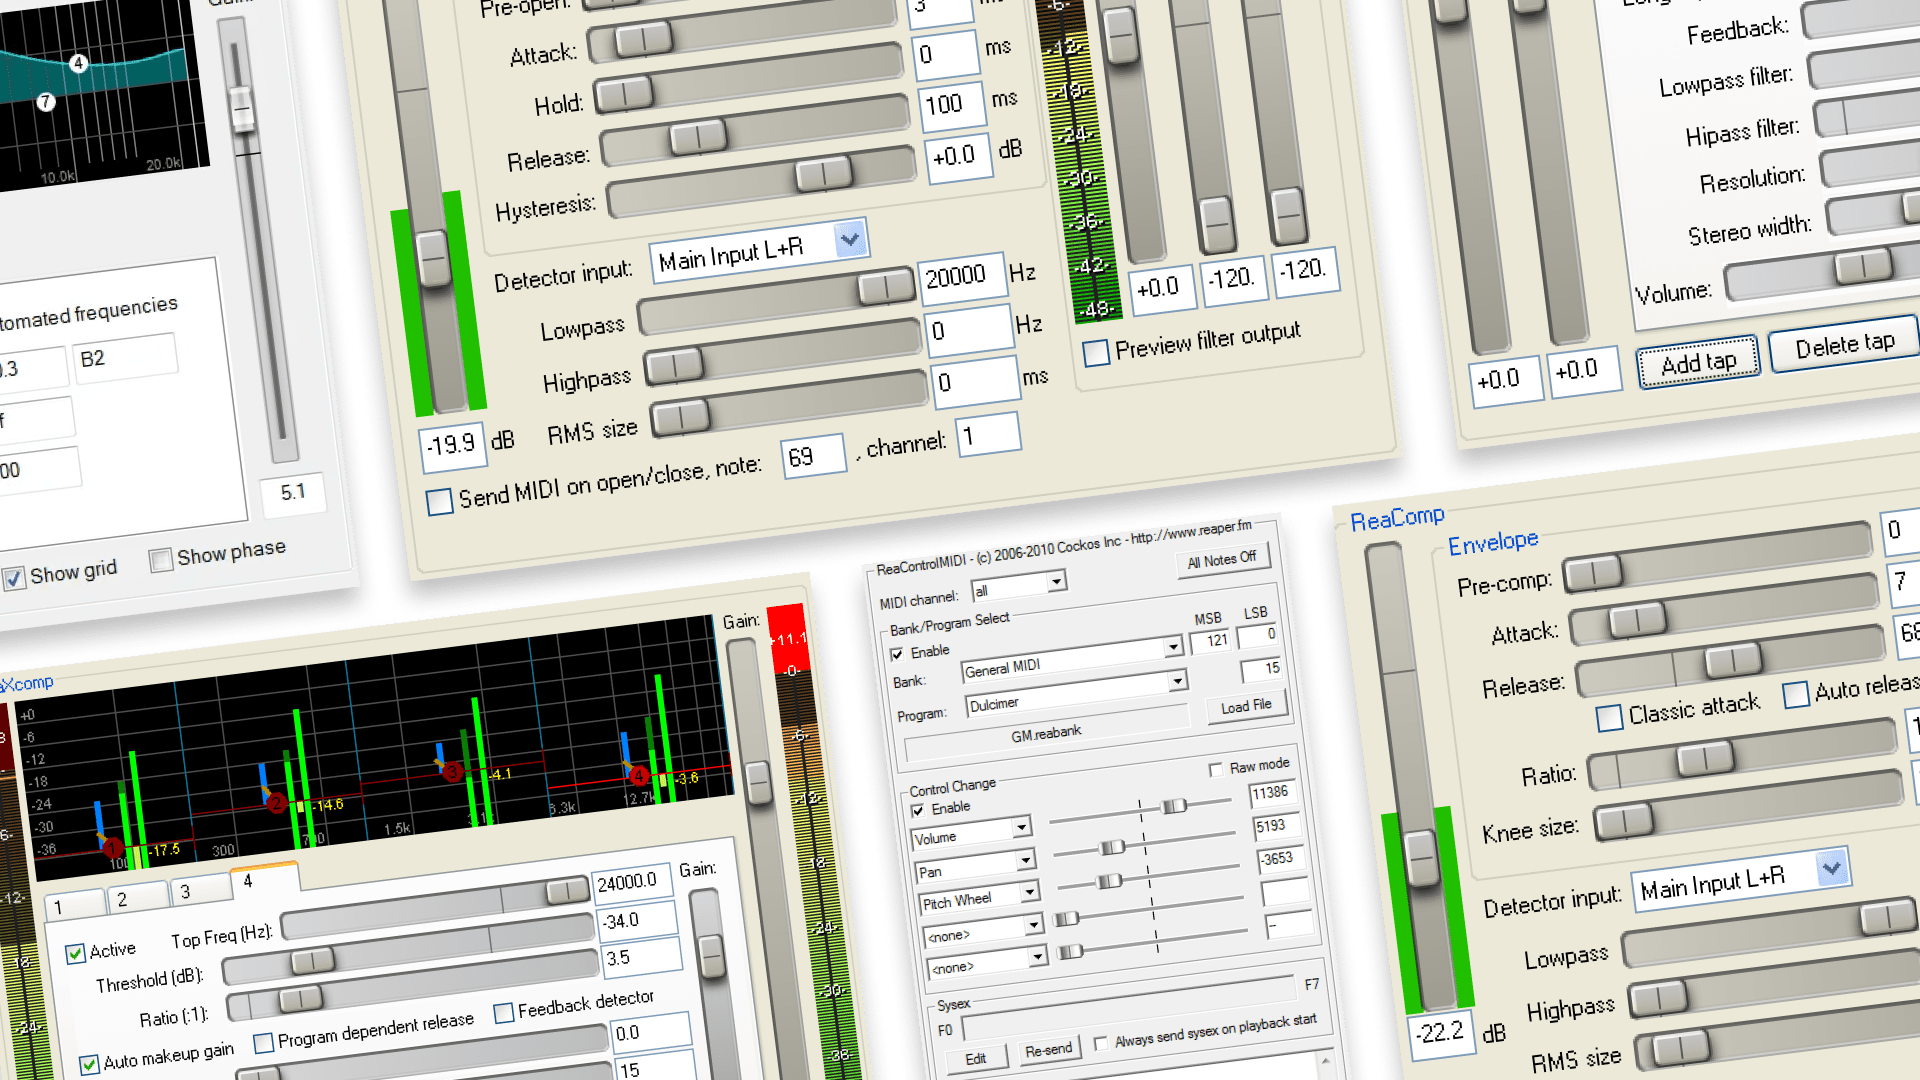
While Reaper doesn’t come with a ton of instruments, it does include several high quality effects plugins from voice tuning, to compression, to EQ. Here are some of the top plugins that come with Reaper. Most are also available for free to run in any DAW.
Equalization is a critical step in shaping and refining the sound of your tracks, and ReaEQ is the perfect tool to help you do just that. This parametric equalizer comes packed with four bands by default, with the option to add more as you see fit.
With ReaEQ, you can make precise adjustments to individual frequencies, boosting or cutting as needed.
ReaComp is a clean compressor that’ll get the job done. It boasts a ton of standard features in a basic interface.
With soft knee support, you’ll enjoy smooth and natural-sounding compression, while sidechain filters and inputs give you the power to shape your sound. The feedback compression mode is a unique feature that opens up even more possibilities for creative sound design.
One of the standout features of ReaComp is its program-dependent auto-release mode, which adapts to the unique demands of your audio for optimal results. The variable RMS size and oversampling antialias modes with optional limiting, provide further precision.
ReaGate is a low resource gate plugin with a range of configurable options for fine-tuning your sounds.
With a range of features like sidechain filters and inputs, lookahead for pre-open, and hold control, you’ll have everything you’d need in a gate plugin.
ReaGate also offers a variable RMS size and the ability to send MIDI events on gate open and close, allowing for even more creative freedom.

Get unlimited Mastering and Distribution, 30+ plugins worth over $2,000 and more. Learn more
ReaDelay is a powerful multi-tap delay effect. With no practical limit on the number of taps, you’re able to achieve complex echo patterns. Each tap in ReaDelay can have a delay time of up to 10 seconds, and the lengths can be specified in time units (seconds or milliseconds) or in musical terms (quarter notes).
Feedback allows you to send a portion of the delayed signal back through the effect, creating longer and more intricate echo patterns. LPF/HPF filters let you shape the frequency content of each tap, while resolution reduction can be used to add grit and character to the delayed sound.
ReaDelay also gives you fine control over the stereo width and volume/pan of each tap, enabling you to create complex stereo images.
ReaTune is Cockos answer to vocal tuning. It has three modes – tuning mode, automatic pitch correction, and manual pitch correction.
To tune vocals while recording, insert ReaTune into the track’s input FX chain, enable input monitoring, and arm the track for recording.
ReaTune’s two other modes can be used by inserting it into the FX chain of a track or media item, then selecting the desired mode.
Looking for more free plugins?
Get free mix tools for any situation.
The best thing about Reaper compared to other DAWs, are the options to truly make it your own. You’ll be able to theme it, customize shortcuts, and add scripts that’ll extend the functionality of the software.
Reaper is open source, so you have the ability to use scripts to automate tasks, and streamline workflows.
Get unlimited Mastering and Distribution, 30+ plugins worth over $2,000 and more. Learn more
For those unfamiliar with the concept, scripts are essentially blocks of code that perform specific tasks within Reaper. Scripts automate repetitive tasks such as moving a set of tracks to a new location or adjusting the volume of all tracks at once.
But the power of scripts in Reaper goes beyond simple automation. With a little creativity and knowledge of programming, you can create custom scripts that perform complex tasks, such as real-time audio processing, advanced track management, or even custom MIDI-mapping.
If you’re unfamiliar with programming, don’t worry! Reaper has an active community of developers and users who are constantly creating new and innovative scripts you can grab for free.
Reaper allows you to install themes that contain custom layouts and color schemes. They change the DAW’s aesthetic to suit your preference or appear more like other popular DAWs.
Reaper themes are available on Reaper’s forums, but there are a ton of them! They’re usually downloadable for free and come in a .ReaperThemeZip file format. To install, all you have to do is extract the file, or drag it into a Reaper session. You’ll be able to find all your installed themes in the options menu under themes.
Having custom shortcuts is one of Reaper’s most valuable features. You can quickly access all of Reaper’s functions and features without having to use the mouse or search through menus. This can help you work faster and more efficiently, allowing you to focus on the music and minimize any delays or distractions.
By using the action list, you can find specific shortcuts, and assign or reassign keys that trigger them. You can even import custom scripts and assign specific shortcuts to them. This is especially useful if you’re switching over from other DAWs with specific shortcuts and functions.
One of the best things about Reaper, is that it’s designed to be rock-solid and reliable.
One of the reasons for Reaper’s stability is its architecture. Reaper uses minimal resources and is optimized for low-latency performance, which means that it runs smoothly and efficiently, even on older or less powerful computers.
This helps to ensure that Reaper is always stable, even when you’re working on complex projects with multiple tracks and effects.
Reaper can be a bit intimidating to get started with at first. It’s truly open to be anything you want it to be.
To get it to work for you takes a bit of initial setup. But, once you’re comfortable with it you’ll be blazing through your next track without looking back.

Anthony is a music producer and educator with notable placements for Universal, Guitar Center and CBC. He currently resides in Montreal and leads LANDR's YouTube channel & Premium Courses education platform. He also works as composer and producer at RVRSPlay and founded jazz pop duo Elluisoir. Connect with Anthony on LANDR Network!
@Anthony AlbaneseGear guides, tips, tutorials, inspiration and more—delivered weekly.
Keep up with the LANDR Blog.


![The 250 Best Free VST Plugins Ever [2026 Update]](https://blog-api.landr.com/wp-content/uploads/2021/08/247-FREE-VST-2021-Update.jpg)