How to Build a Home Studio No Matter Your Budget
The home studio is easily the most common place where music is made right now.
Advances in technology have made it possible to affordably put together everything you need to write and produce music from the comfort of your own home.
But knowing how to manage and prioritize your budget for gear isn’t always easy.
So let’s explore what you need to start up a decent home studio with less than $1,000.
Budget home studio gear list
In this video, LANDR's Head Engineer, Al Isler goes through everything you need to start a home studio.
To start a home studio you need a laptop, an audio interface, headphones, a mic, a MIDI controller and music production software.
For this quick low-budget list, we’ll assume that you already have a laptop, but we’ll also cover laptops in the detailed recommendations further below.
In a nutshell, here’s our best home studio gear list for producers on a budget.
Keep in mind that these prices are for new gear. Many of these items can easily be found used online, especially if you live in an area where music gear is often posted on online forums.
So always check what’s available on Craigslist or Facebook Marketplace if you’re really on a budget.
Home studio gear guide
Of course, you may have a larger budget or specific areas where you’d like to invest.
If you’re a pop singer you might need a more advanced vocal mic that can capture the details in your voice.
Producers of hip-hop and EDM might need a better MIDI controller and studio monitors.
Or, if you play in a band or with instruments, you might need more mics and mic inputs to record drums and guitar.
Everyone has different needs depending on their style or their space, so let’s dive into some slightly more advanced gear recommendations.
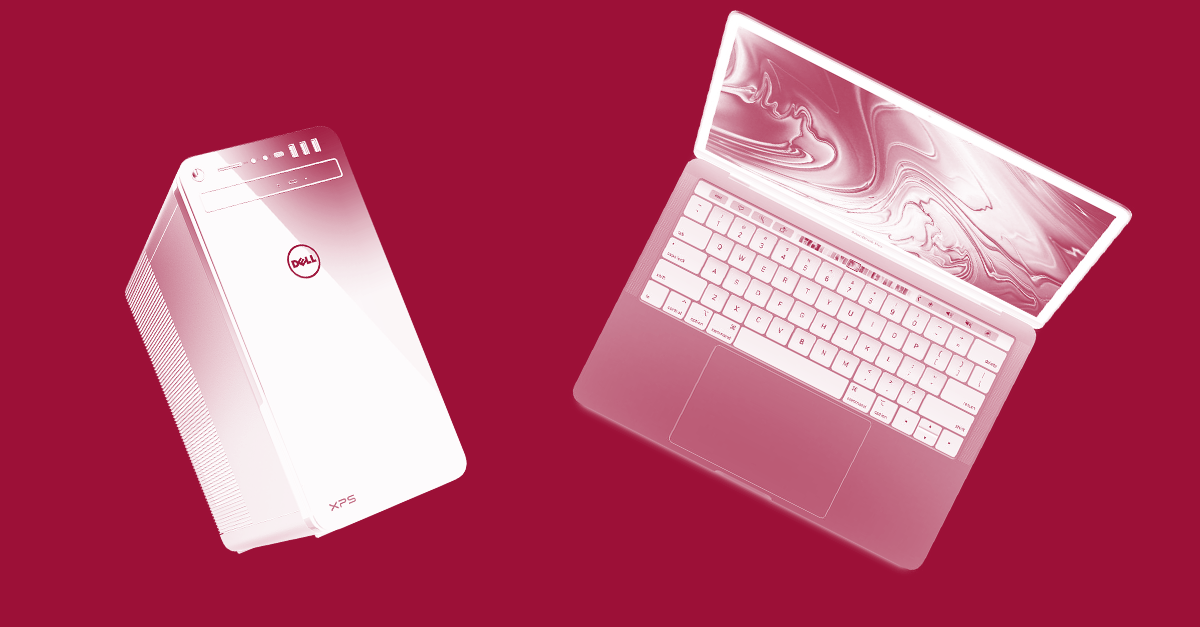
Best laptops for home studios
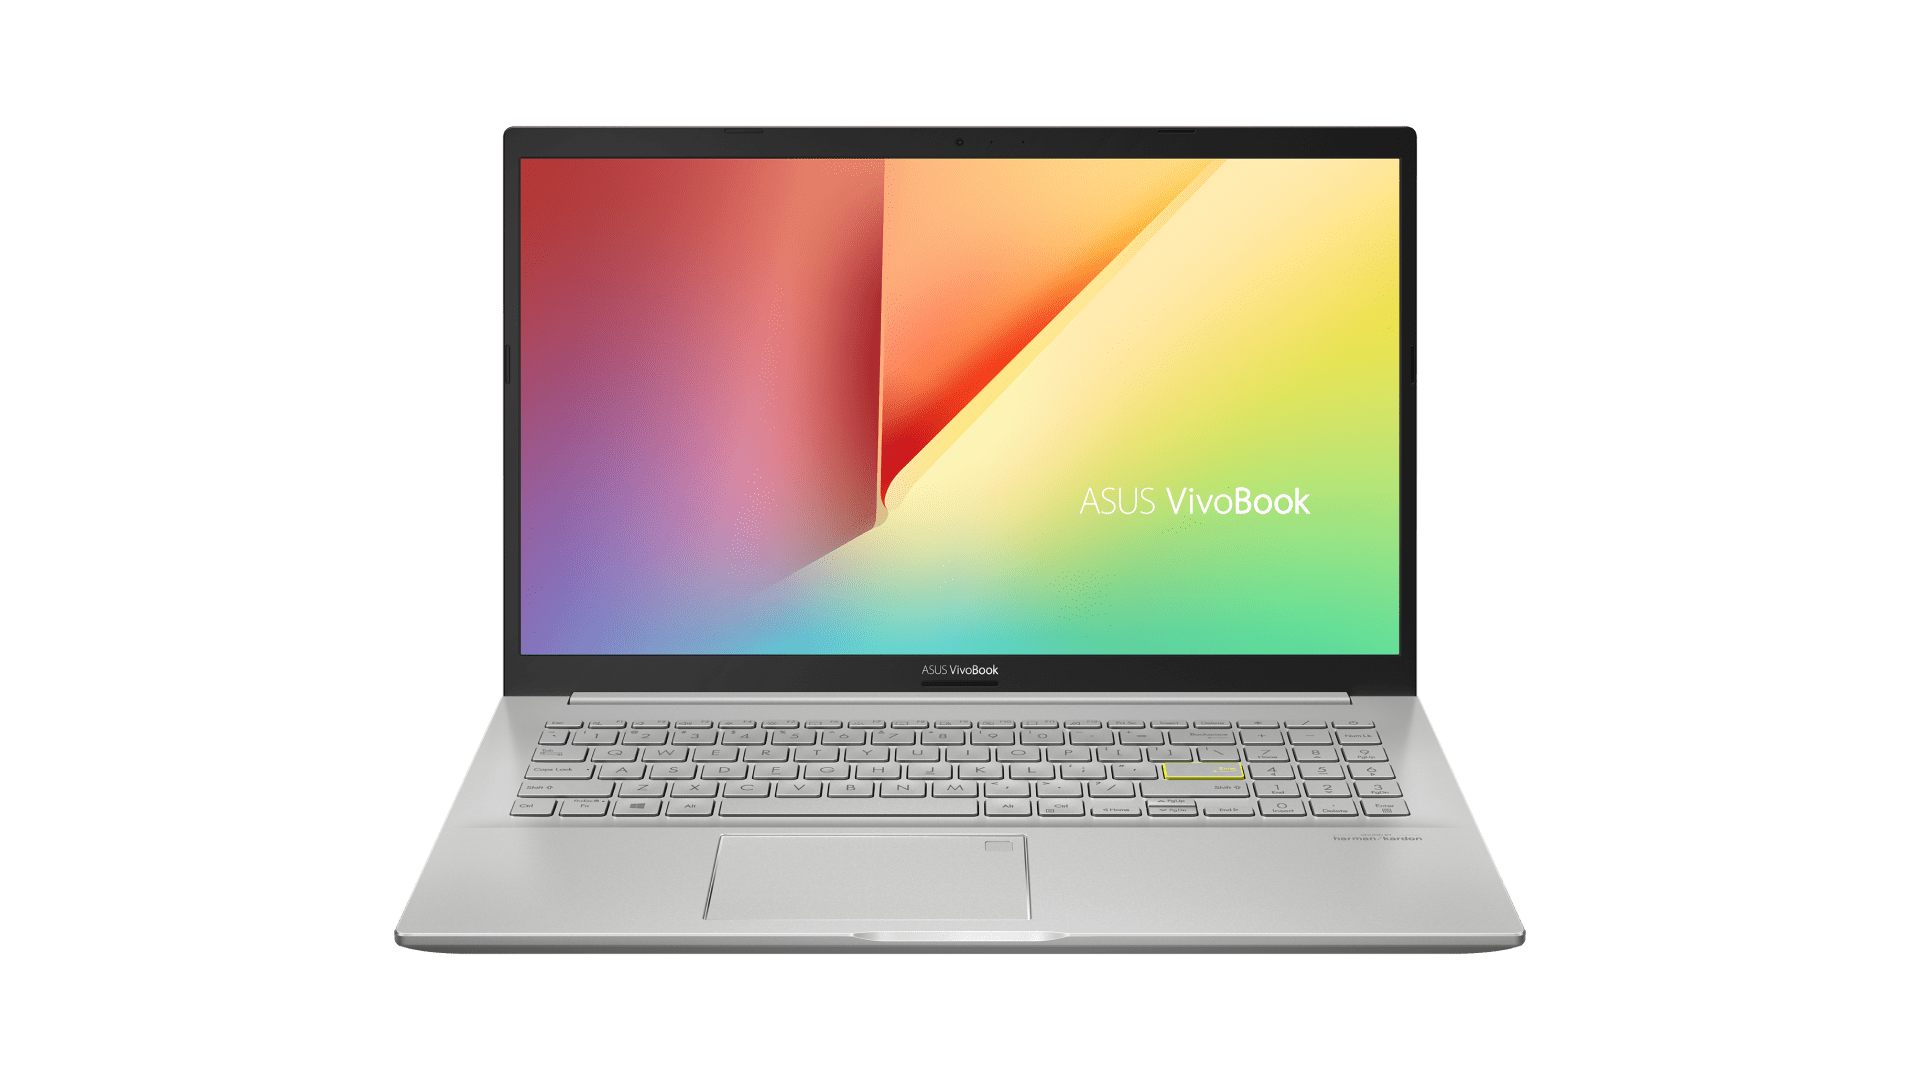
If you're buying new, ASUS` VivoBook is a very affordable option that can handle most music production tasks.
Best home studio laptops
| Low budget: | ASUS Vivobook ($220) |
| Medium budget: | ASUS TUF ($649) |
| High budget: | Macbook Air ($1299 and above) |
Your laptop is the central piece of your music production setup.
The good news is that you don’t need a powerful laptop to do most music production tasks. In fact, the one you have already is probably good enough to use right now.
So give it a try, and don’t worry about upgrading until it’s clear you need to. Only the more advanced tasks like mixing and mastering tend to demand more CPU power.
If you’re just writing and recording ideas and demos into your DAW, your computer should be just fine.
If you’re buying new, at the low-end budget scale I picked one of the cheapest laptops on Amazon. In the mid-tier, any gaming laptop will offer you an enormous amount of power.
And at the high-end, Apple MacBooks not only offer power but they’re widely considered to be the best machine for creative work.
Especially because Apple’s DAW, Logic, only works on Mac and was optimized for macOS.
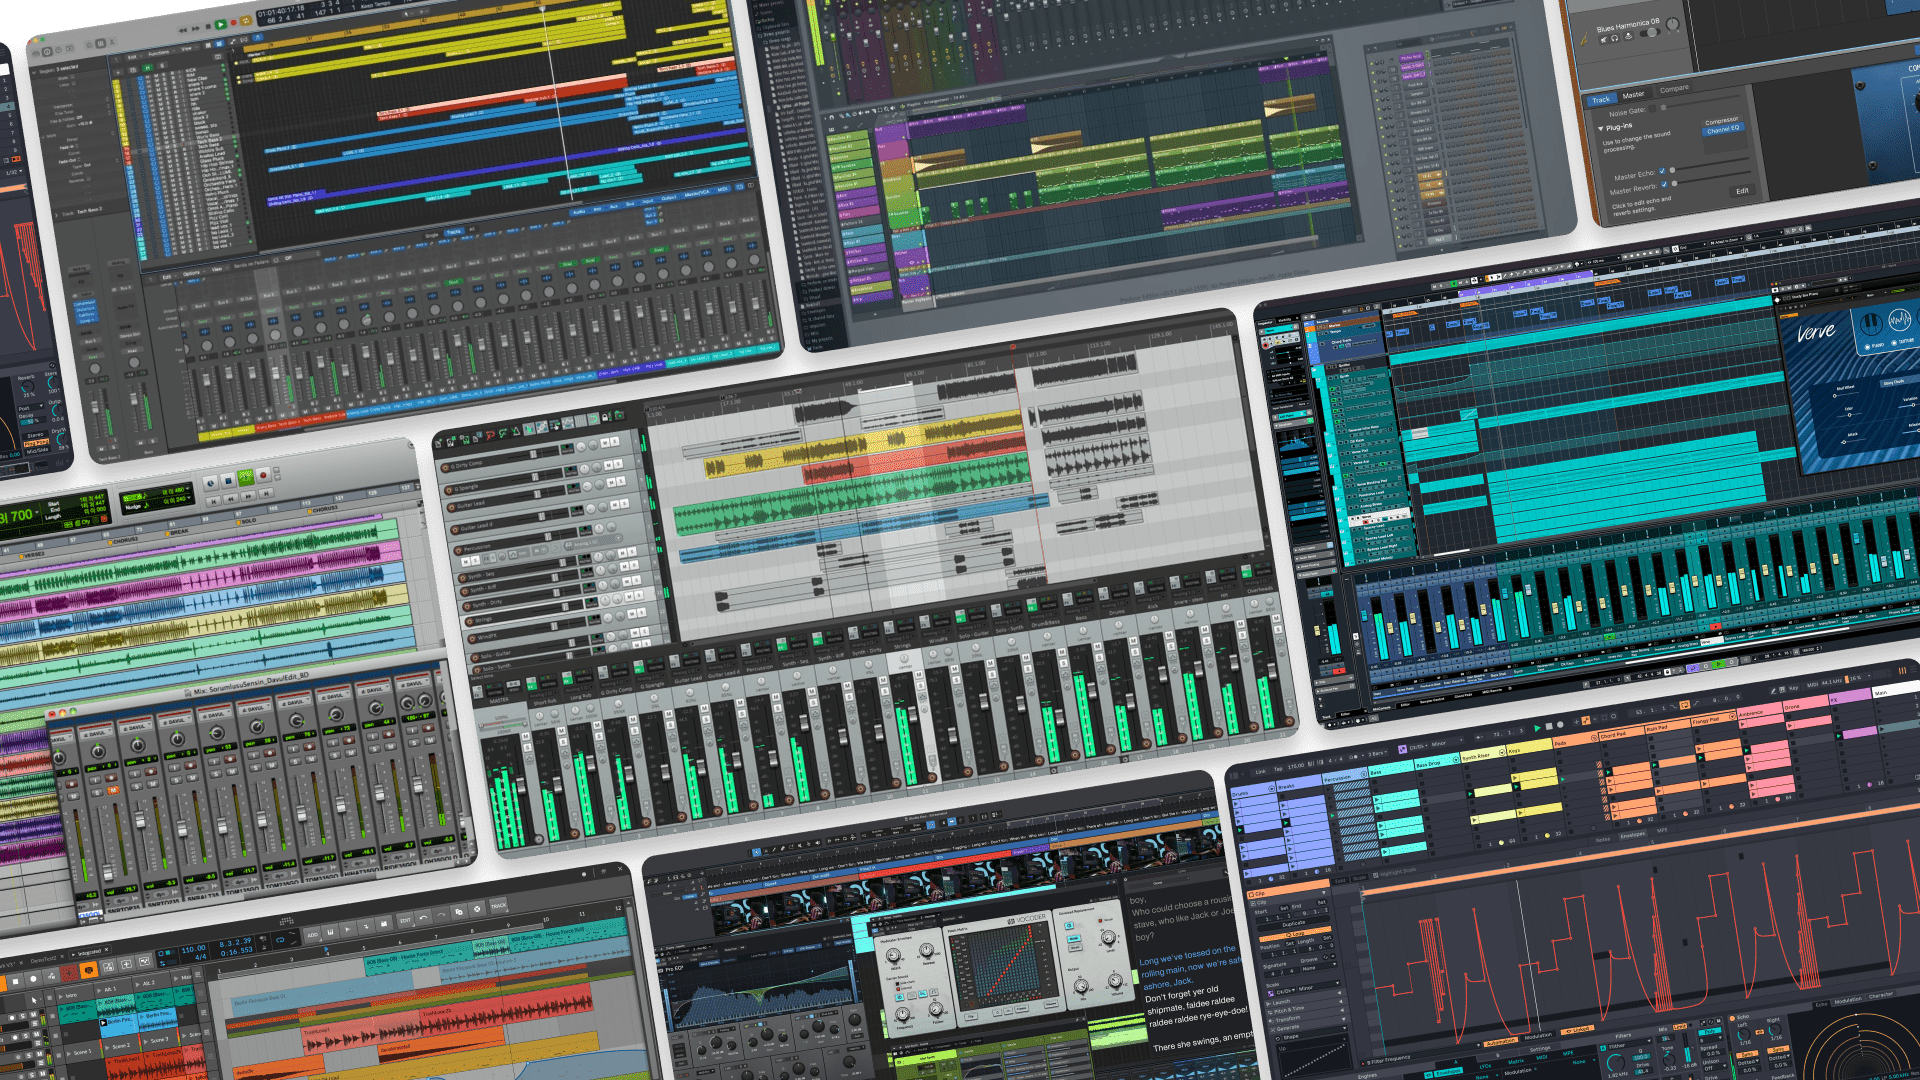
Best music production software suite for home studios
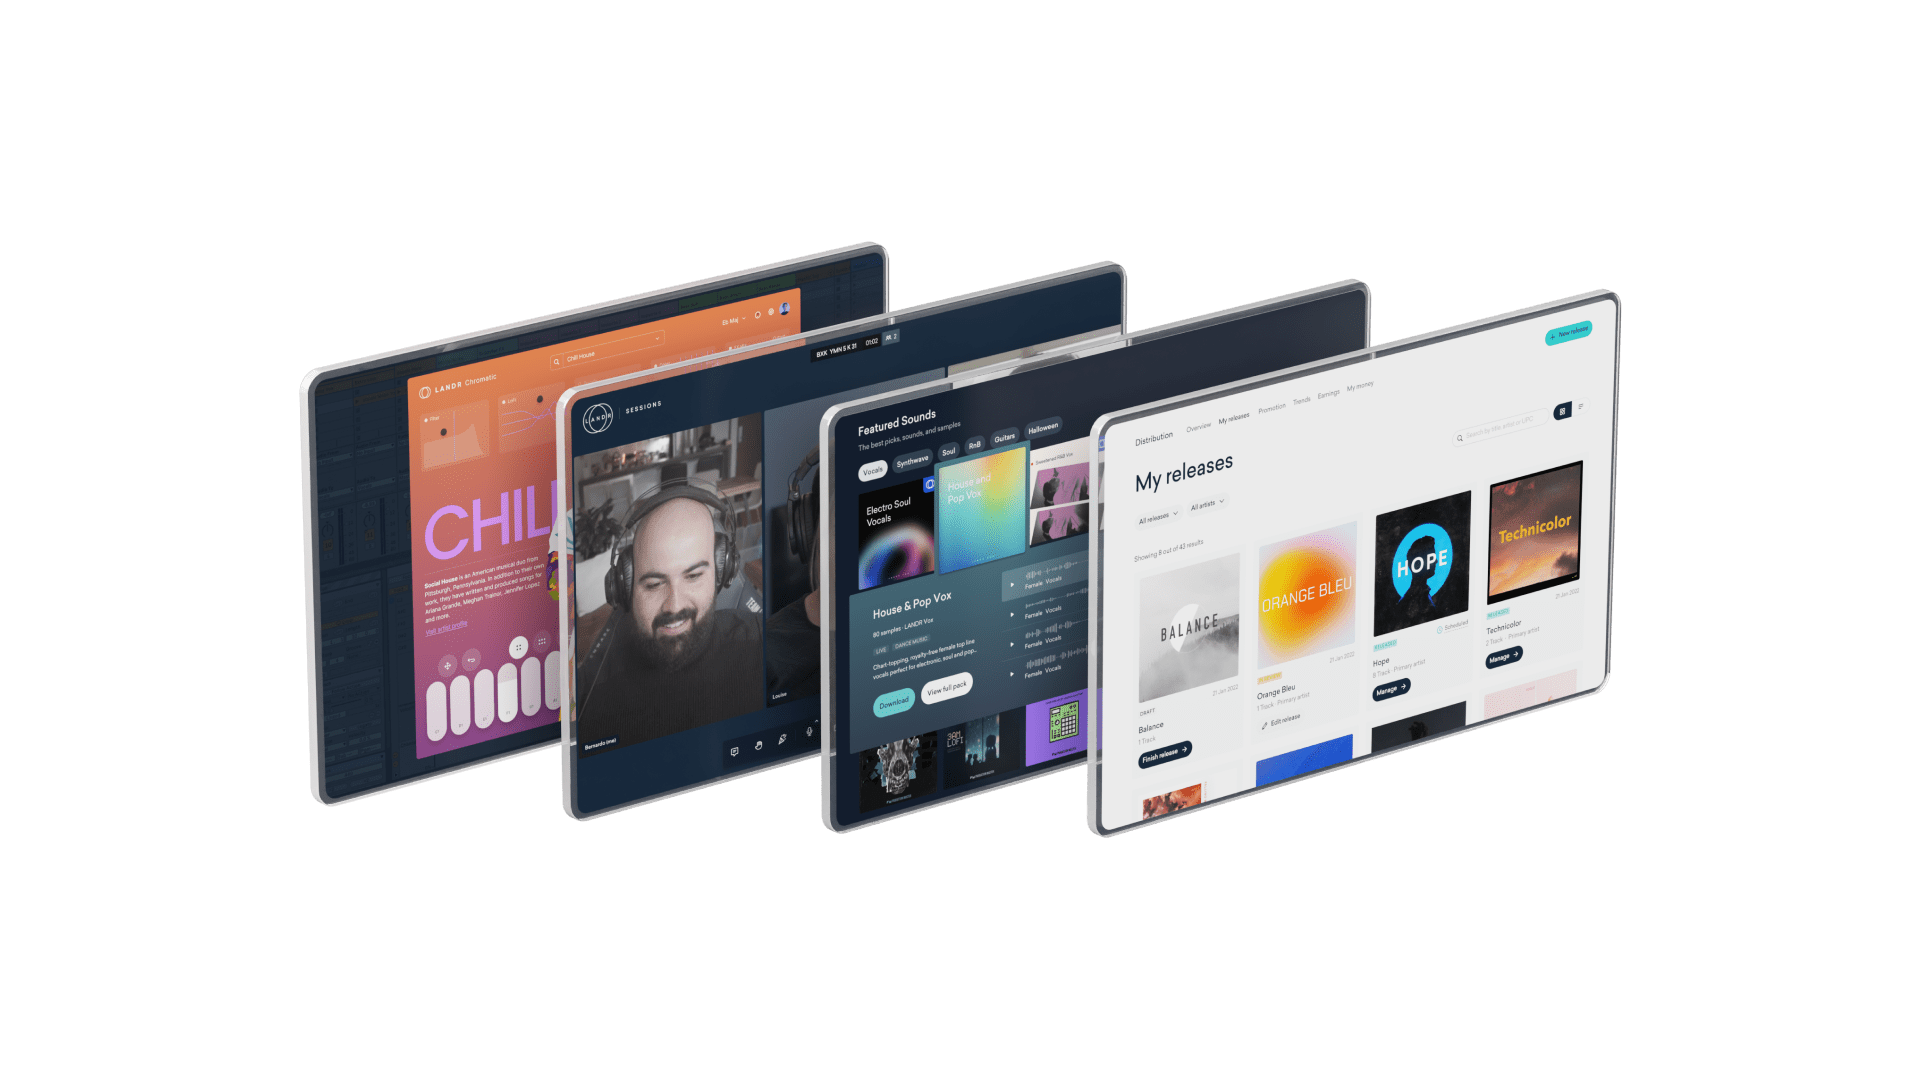
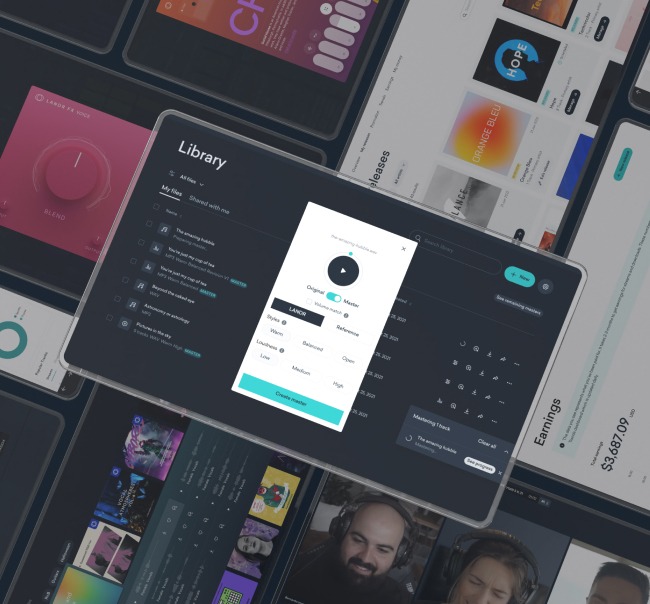
LANDR Studio gives you everything you need to write, produce, master and release your music.
Best home studio software suite
| Low budget: | LANDR Studio ($11.99/month) |
| Medium budget: | Logic Pro ($199) |
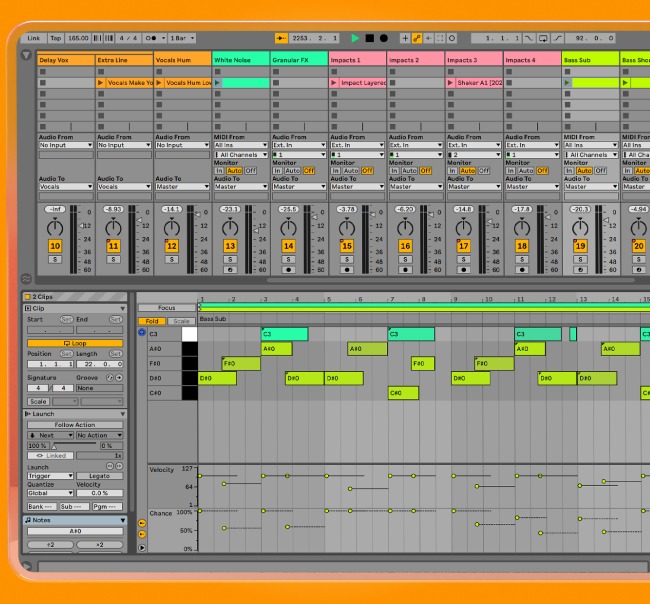
| High budget: | Ableton Live 12 ($399) |
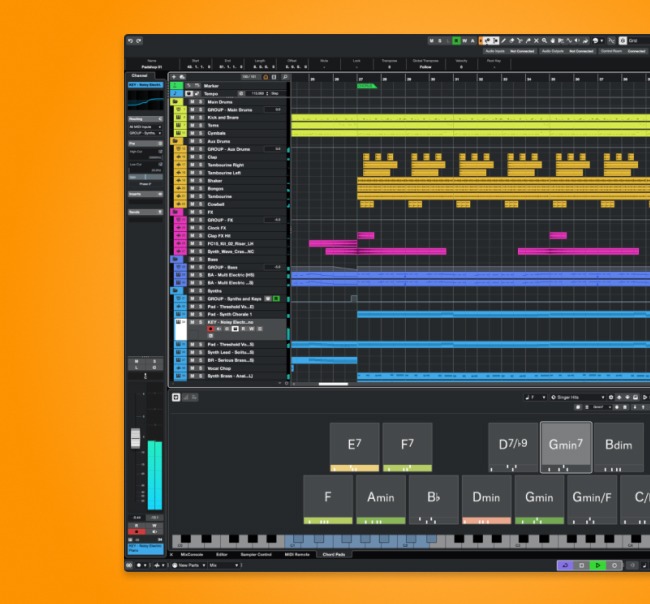
You have a laptop, great. Now you need a software program called a Digital Audio Workstation (or DAW) where you’ll create your tracks and make recordings.
There are many DAWs to choose from and we’ve written about all the free and paid options out there in past articles.
But in general, you may already have a DAW called Garageband on your computer if you’re a Mac user.
Otherwise I recommend getting a LANDR Studio subscription, where you’ll get access to two different but equally great DAWs—Ableton Live Lite and Cubase LE.
These DAWs are powerful creative tools that offer tons of functionality, especially when paired with LANDR Studio’s sizeable suite of 40+ pro grade plugins. And don’t worry, if you cancel your subscription you still keep access to the DAW.
If you’re looking for a more advanced DAW, Logic Pro is a favorite for Mac users and the higher-tier versions of Ableton Live are widely loved by many producers.
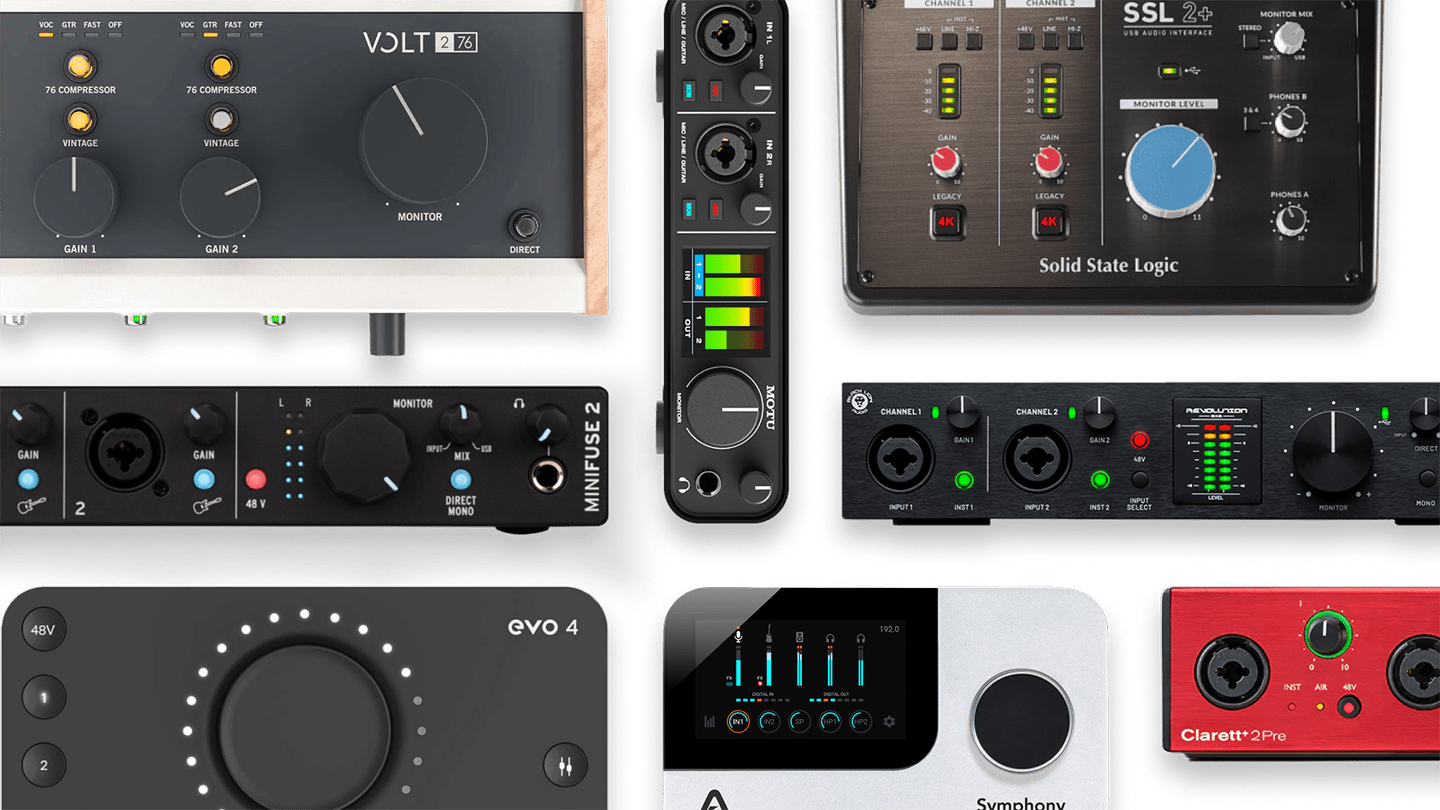
Best audio interfaces for home studios
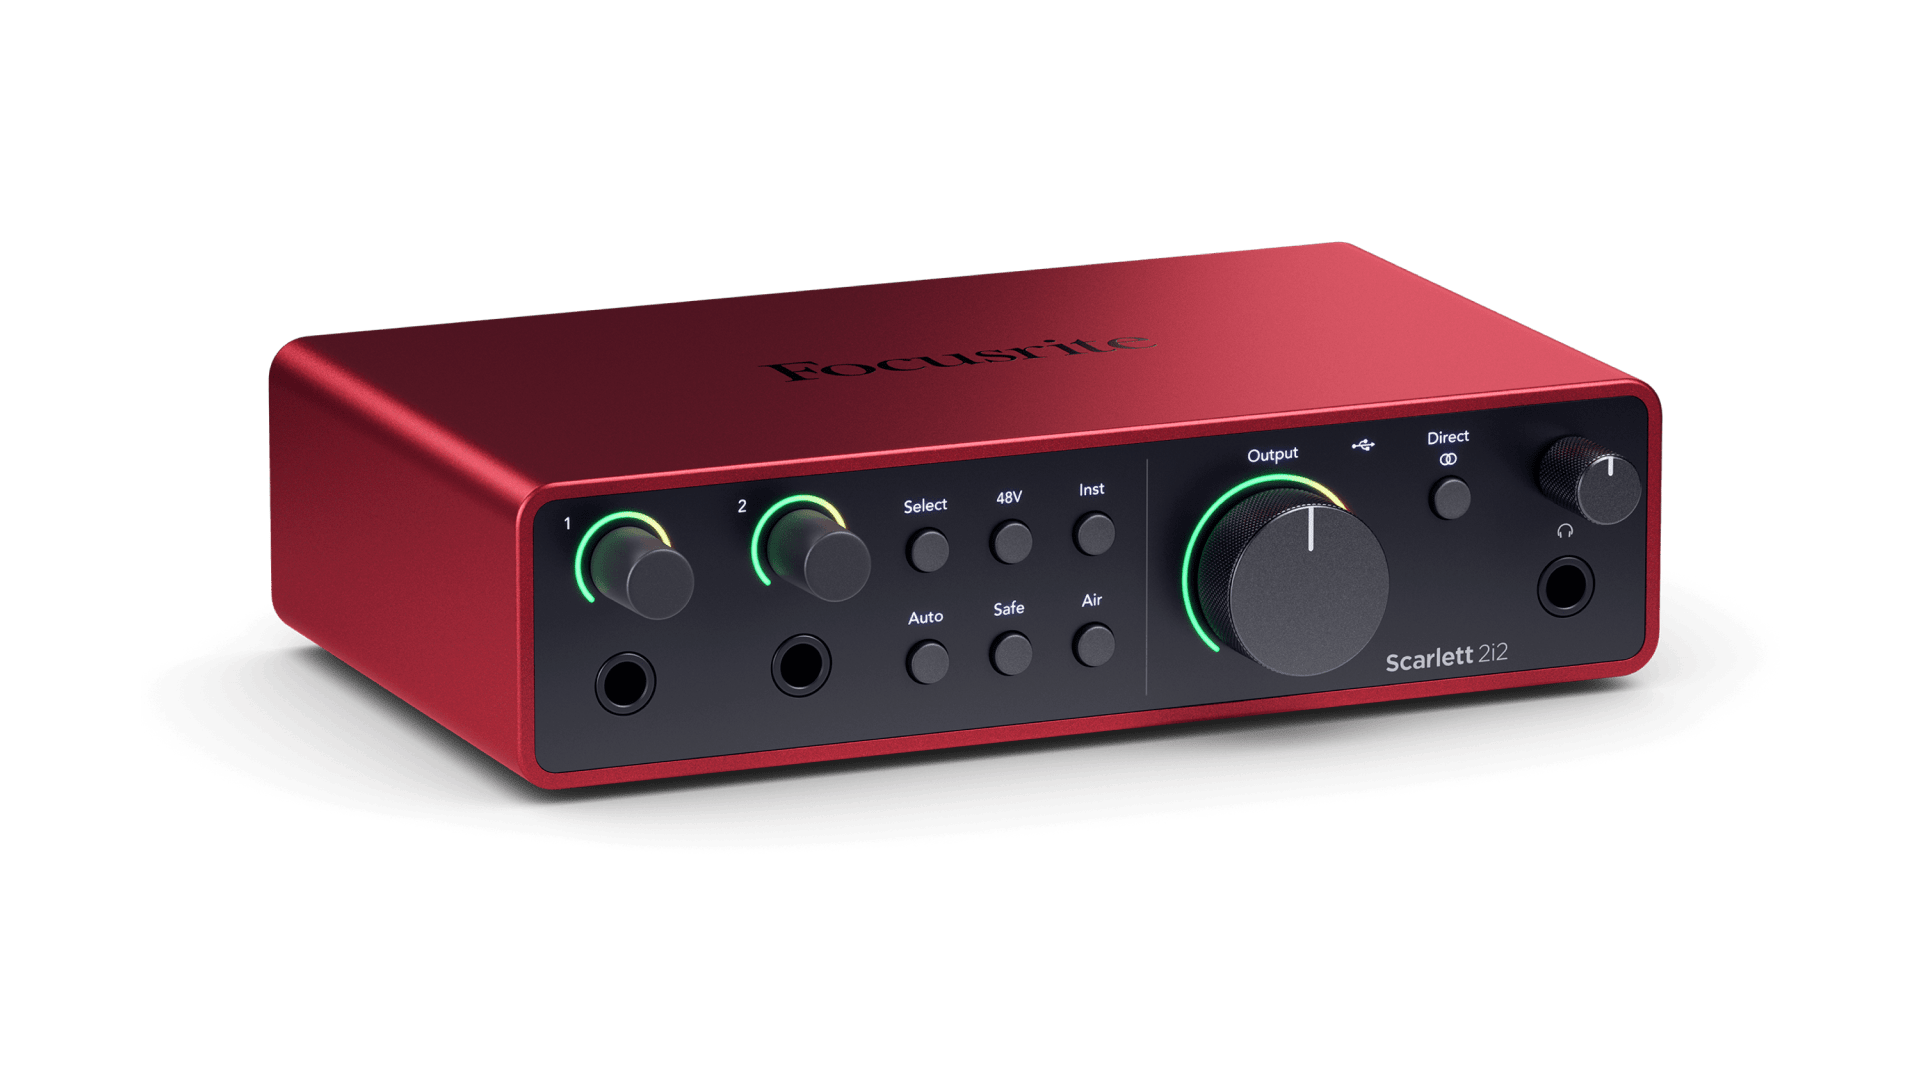
Scarlett's 2i2 is a solid audio interface that offers two mic and line inputs.
Best home studio audio interfaces
| Low budget: | Scarlett 2i2 ($349) |
| Medium budget: | MOTU UltraLite-mk5 ($649) |
| High budget: | Apollo Twin ($999) |
The audio interface is what you need to convert audio signals into digital recordings. If you want to record your voice, guitar, hardware synths or any other instrument, you need an audio interface.
On top of that, your audio interface outputs high quality audio from your DAW at an extremely low latency, which is why it’s recommended to get one even if you don’t plan on recording instruments.
You’ll also need it to hear what’s going on in your tracks and record software instruments with a MIDI controller, especially if you’re using studio monitors.
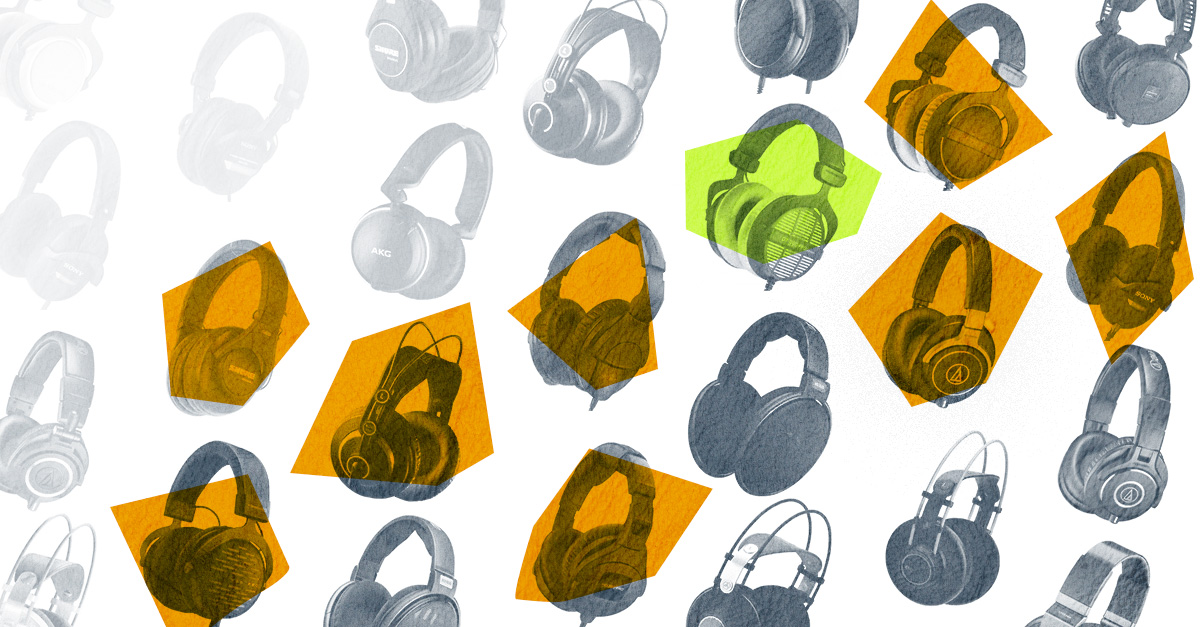
Best headphones for home studios
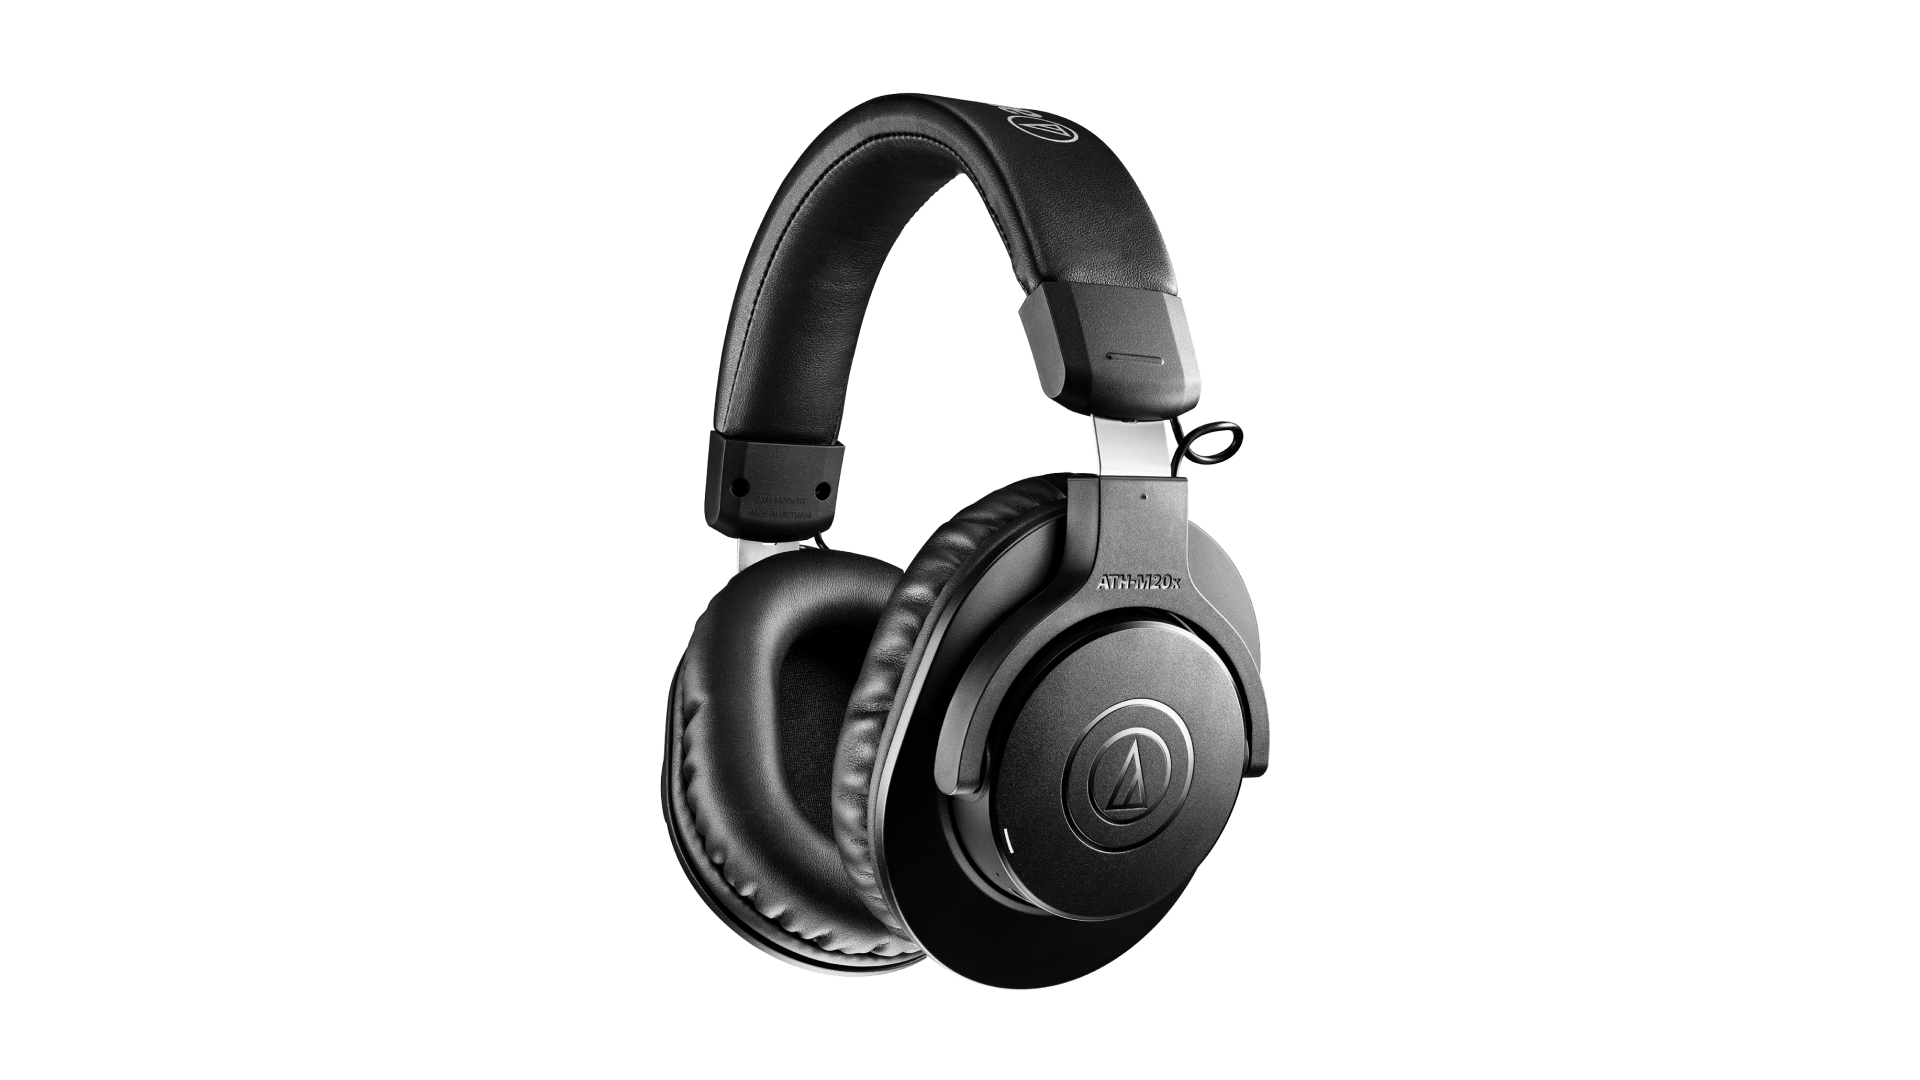
Audio Technica's ATH M20X is a very affordable choice for mixing and production tasks.
Best home studio headphones
| Low budget: | Audio Technica ATH-M20X ($50) |
| Medium budget: | Shure SH440A ($99) |
| High budget: | BeyerDynamic DT 990 Pro ($250) |
Whether you get headphones or monitors is up to you, unless you want to mix your own tracks at home, you really only need one or the other.
For noise-conscious music makers and for producing on the go, headphones make an obvious choice.
This is one area where I suggest investing a bit more into the high-end, since your headphones will heavily influence how you perceive and work with your sounds.
Get headphones with a flat, clear response that are designed specifically for music production. Consumer headphones for casual listening are always EQ’d to enhance bass frequencies and will distort your perception of your mix, resulting in a thin, bass-less result.
Audio Technica, Shure, AKG and BeyerDynamic are all great starter brands to try.
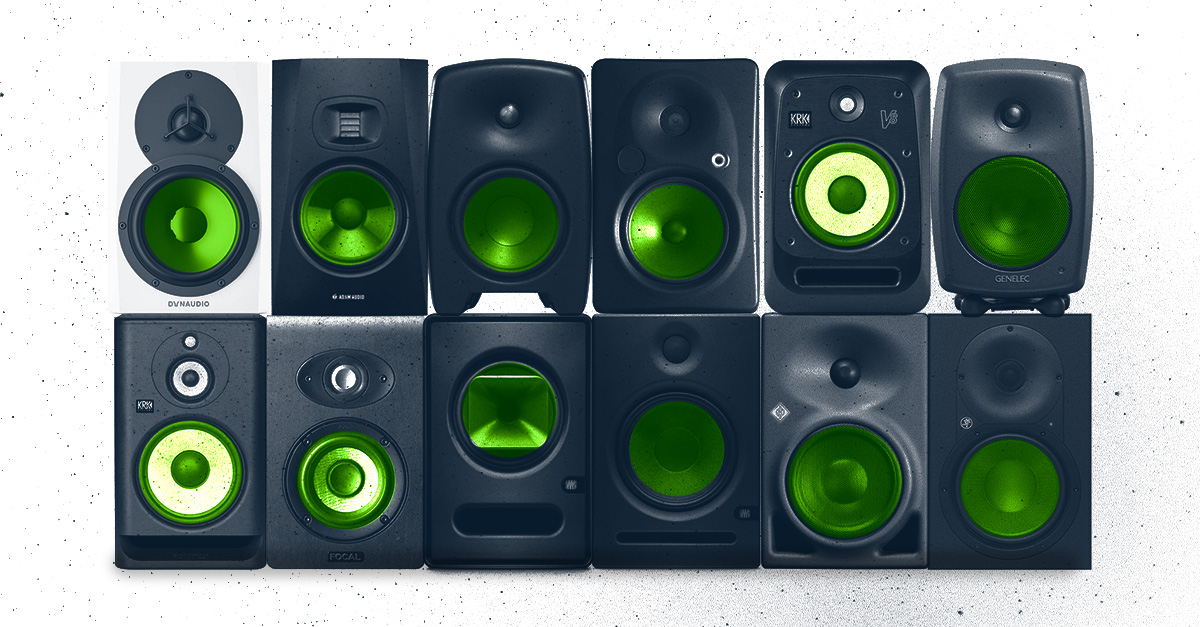
Best monitors for home studios
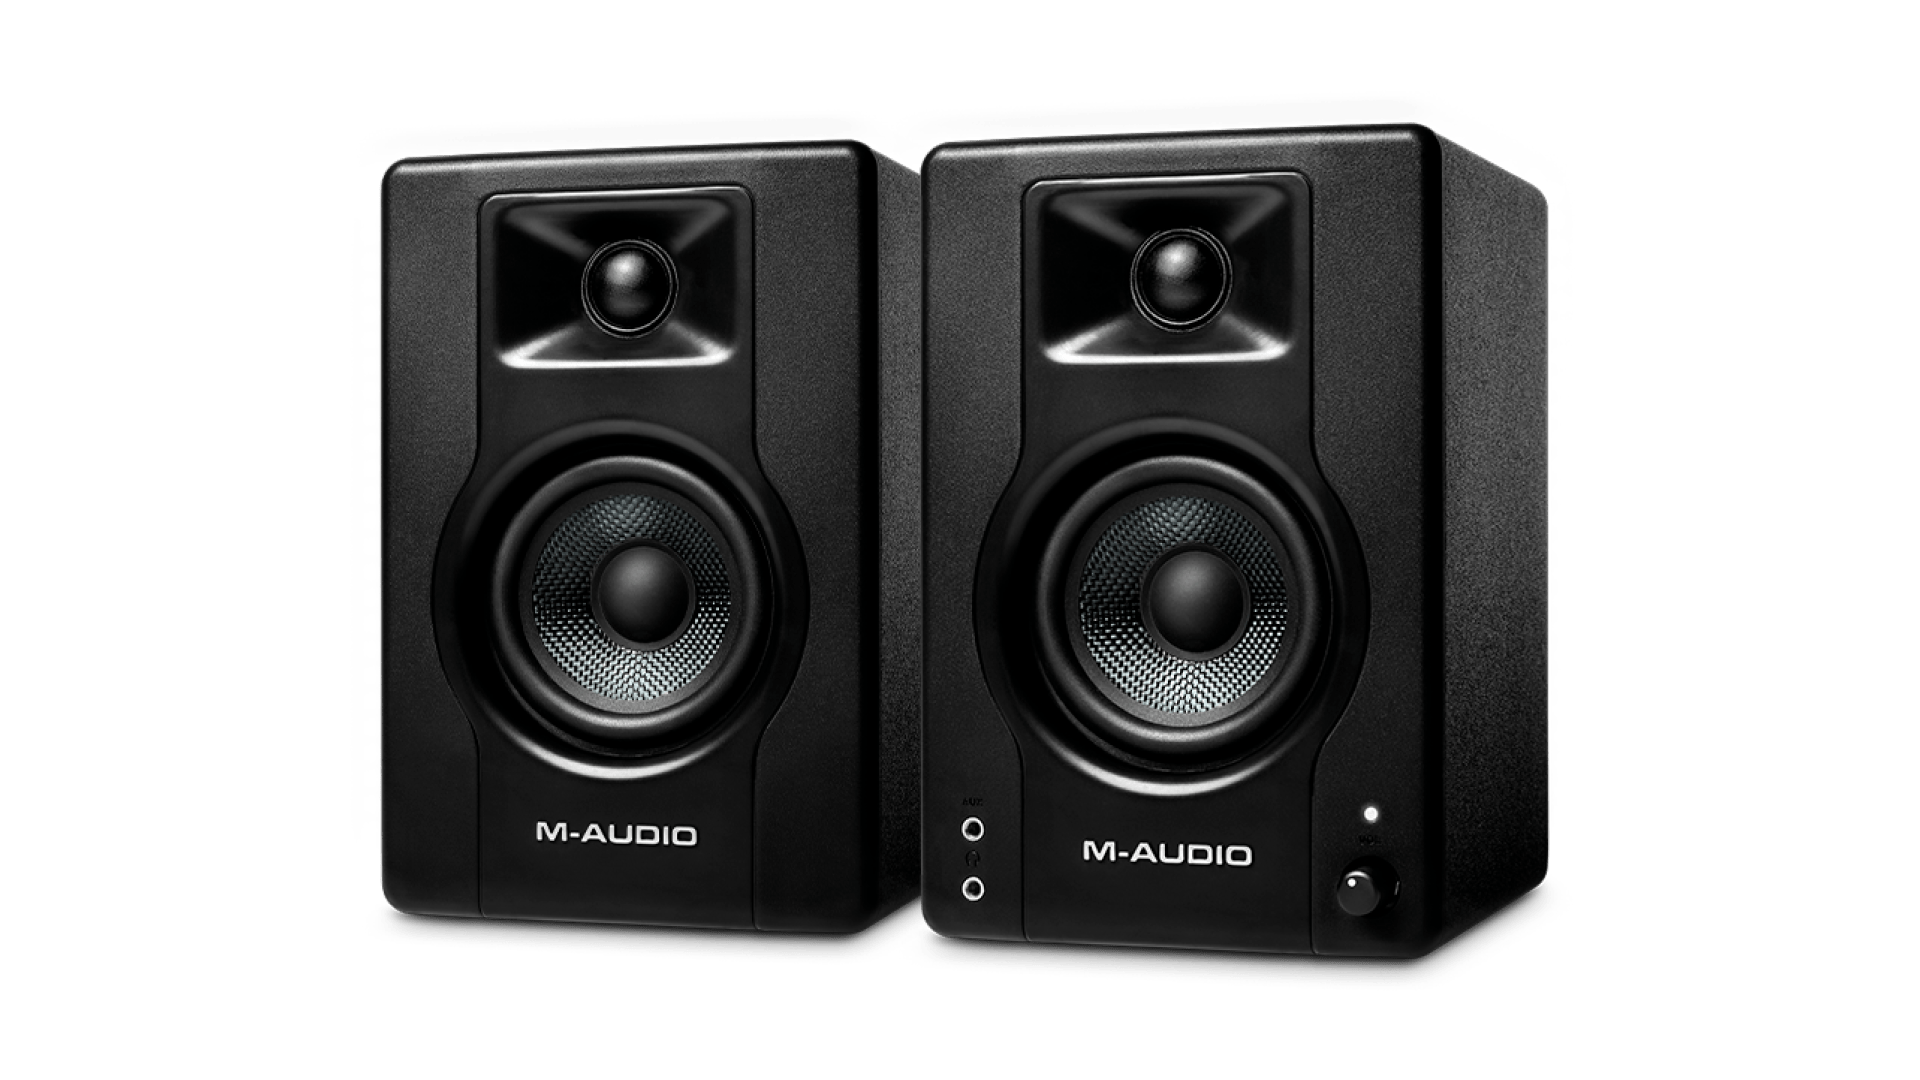
M-Audio's BX3's are an affordable option that offer a clear and flat response for music production.
Best home studio monitors
| Low budget: | M-Audio BX3 ($69) |
| Medium budget: | Yamaha HS5 ($399) |
| High budget: | Focal 65 Evo ($799) |
The main disadvantage of using headphones is that many producers find that they cause ear fatigue much faster than when they use monitors.
Monitors also sound really good and can give you a sense of what your music will sound like in an acoustic environment.
Plus they have the bonus of facilitating group listening whenever you collaborate with other producers and musicians.
So if you have the appropriate space and budget, get a pair of decent monitors that have a flat, clear response without unnecessarily boosting bass frequencies.
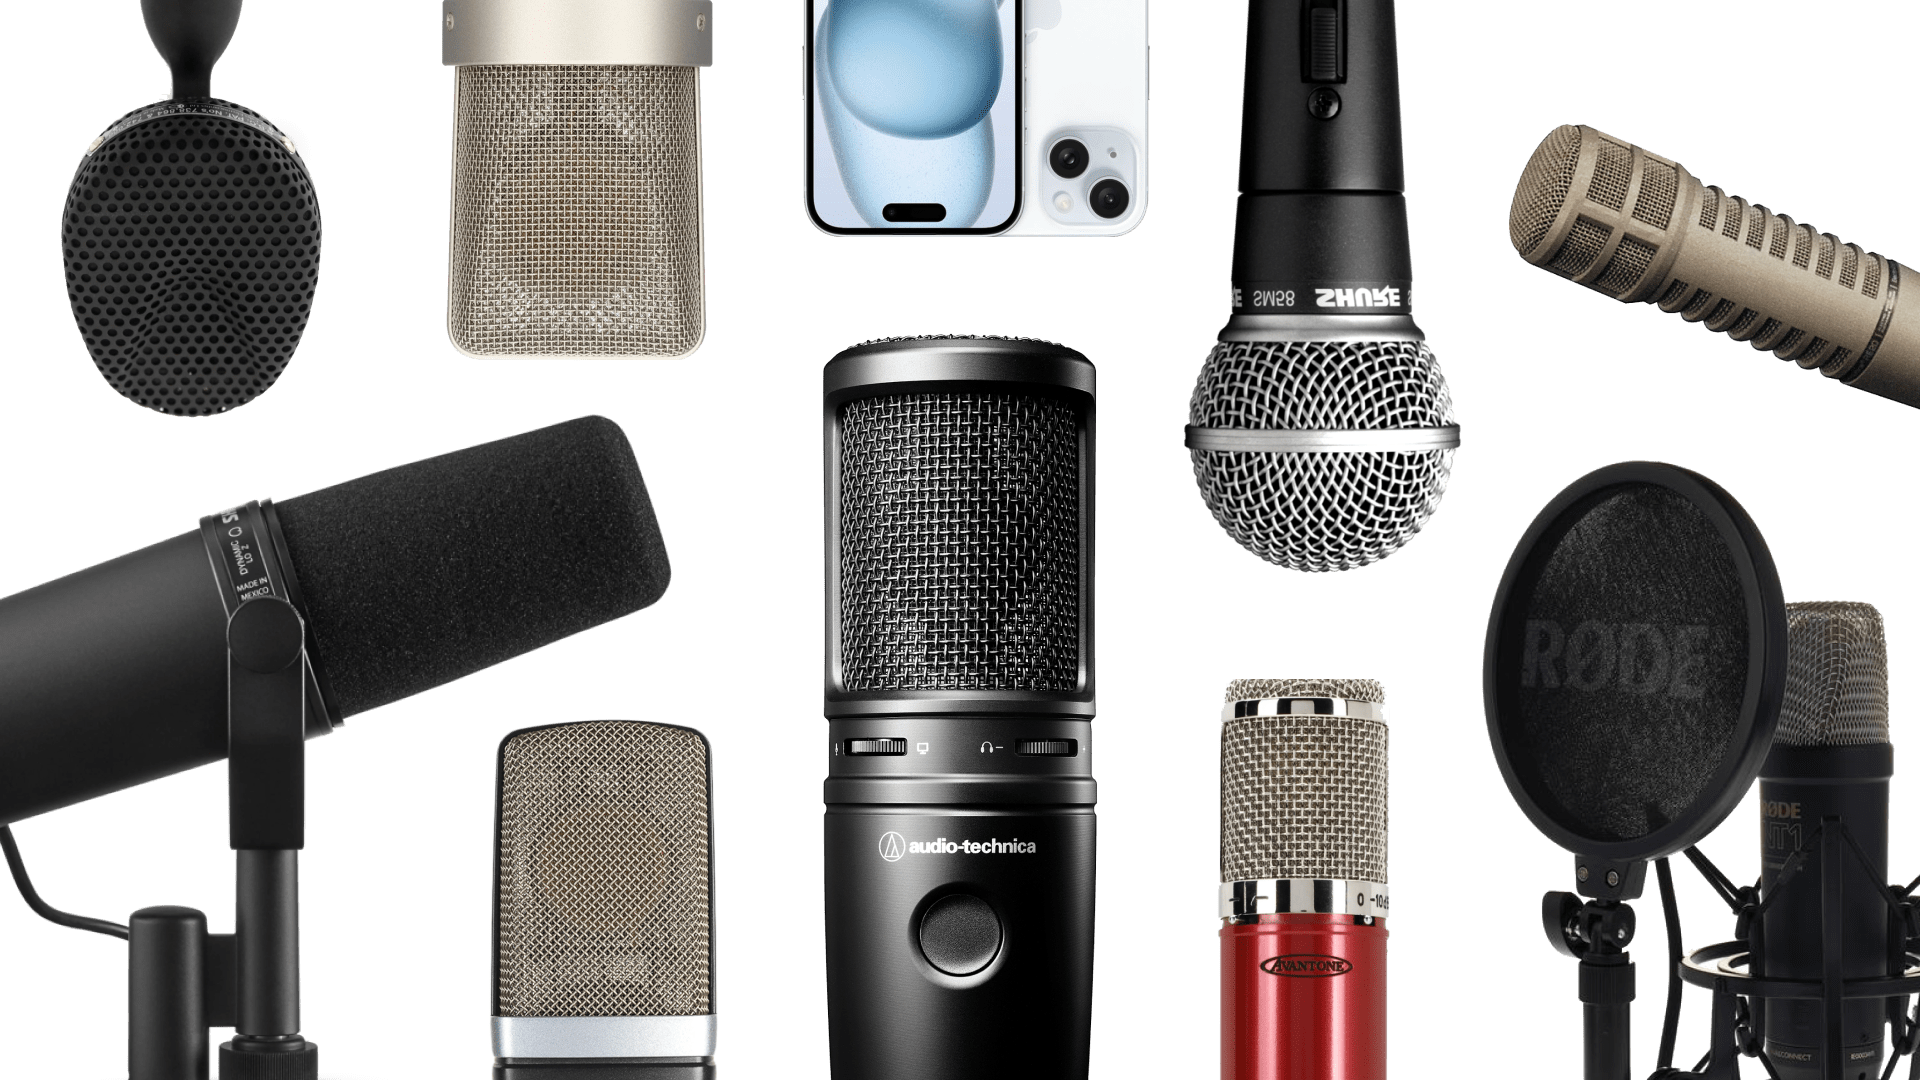
Best mic for home studios
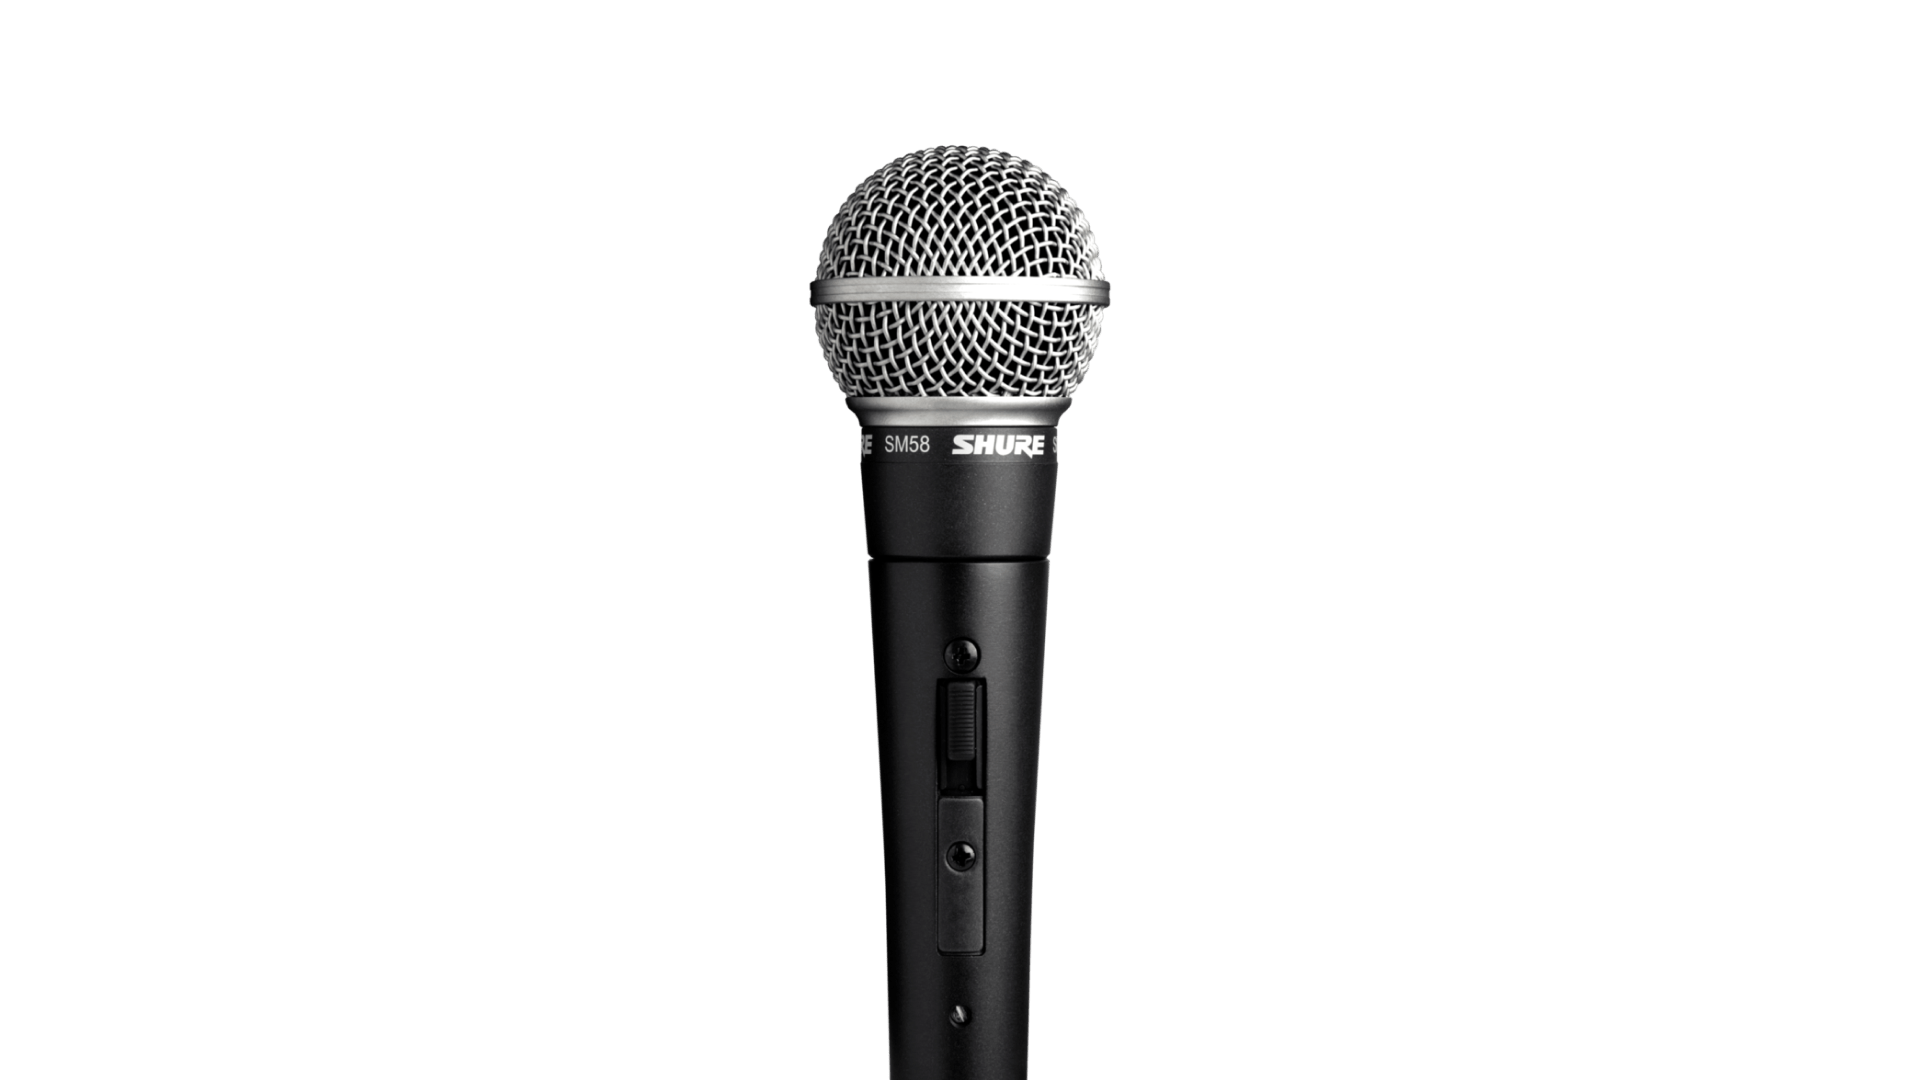
The SM58 is a studio workhorse that makes a great starting point for recording.
Best home studio mics
| Low budget: | Shure SM58 ($99) |
| Medium budget: | Rode NT-1 ($210) |
| High budget: | Shure SM7B ($399) |
Vocal recording is one the most appealing aspects of starting a home studio. Our voices change from day to day and vocal recording is often an intimate and vulnerable experience.
So it makes sense that many producers prefer to record vocals at home from the privacy of their own studio where they can hone vocal takes into something they’re proud of.
That’s why this is one area where you should consider investing—since microphones are often as good as the price you pay for them.
A solid favorite for many singer-songwriters is Rode’s NT-1, but Shure’s SM58 mic is a workhorse that’s been used on more recordings than we can count.
Check out our article where we rated and reviewed the best mics for vocals, if you’re curious about all the other options out there.
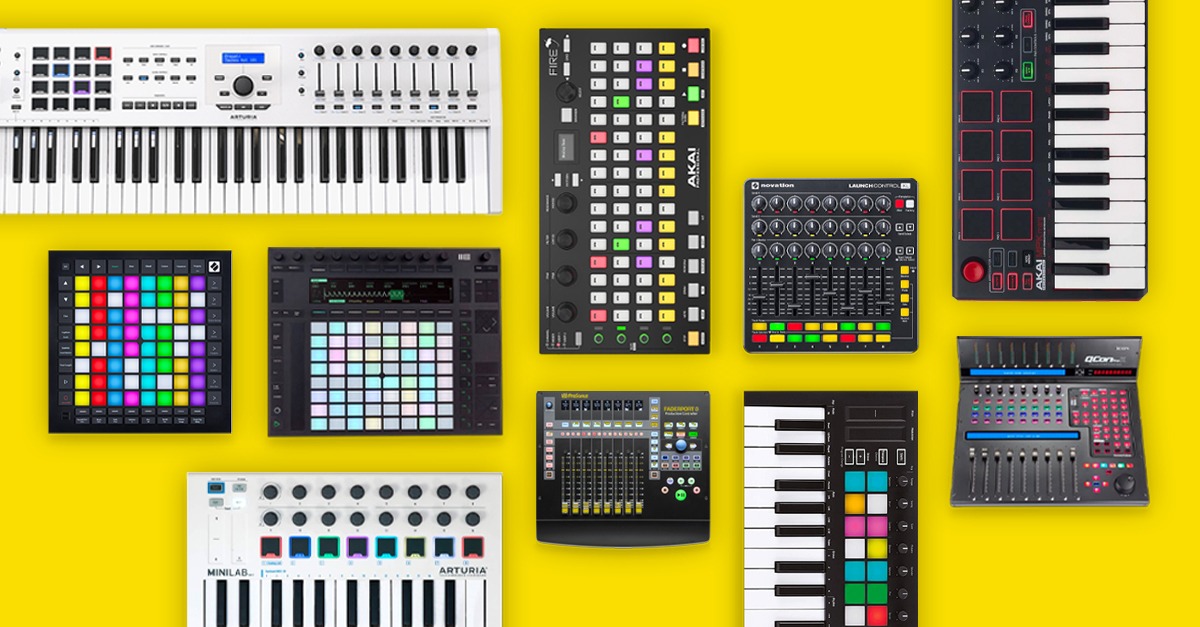
Best MIDI controllers for home studios
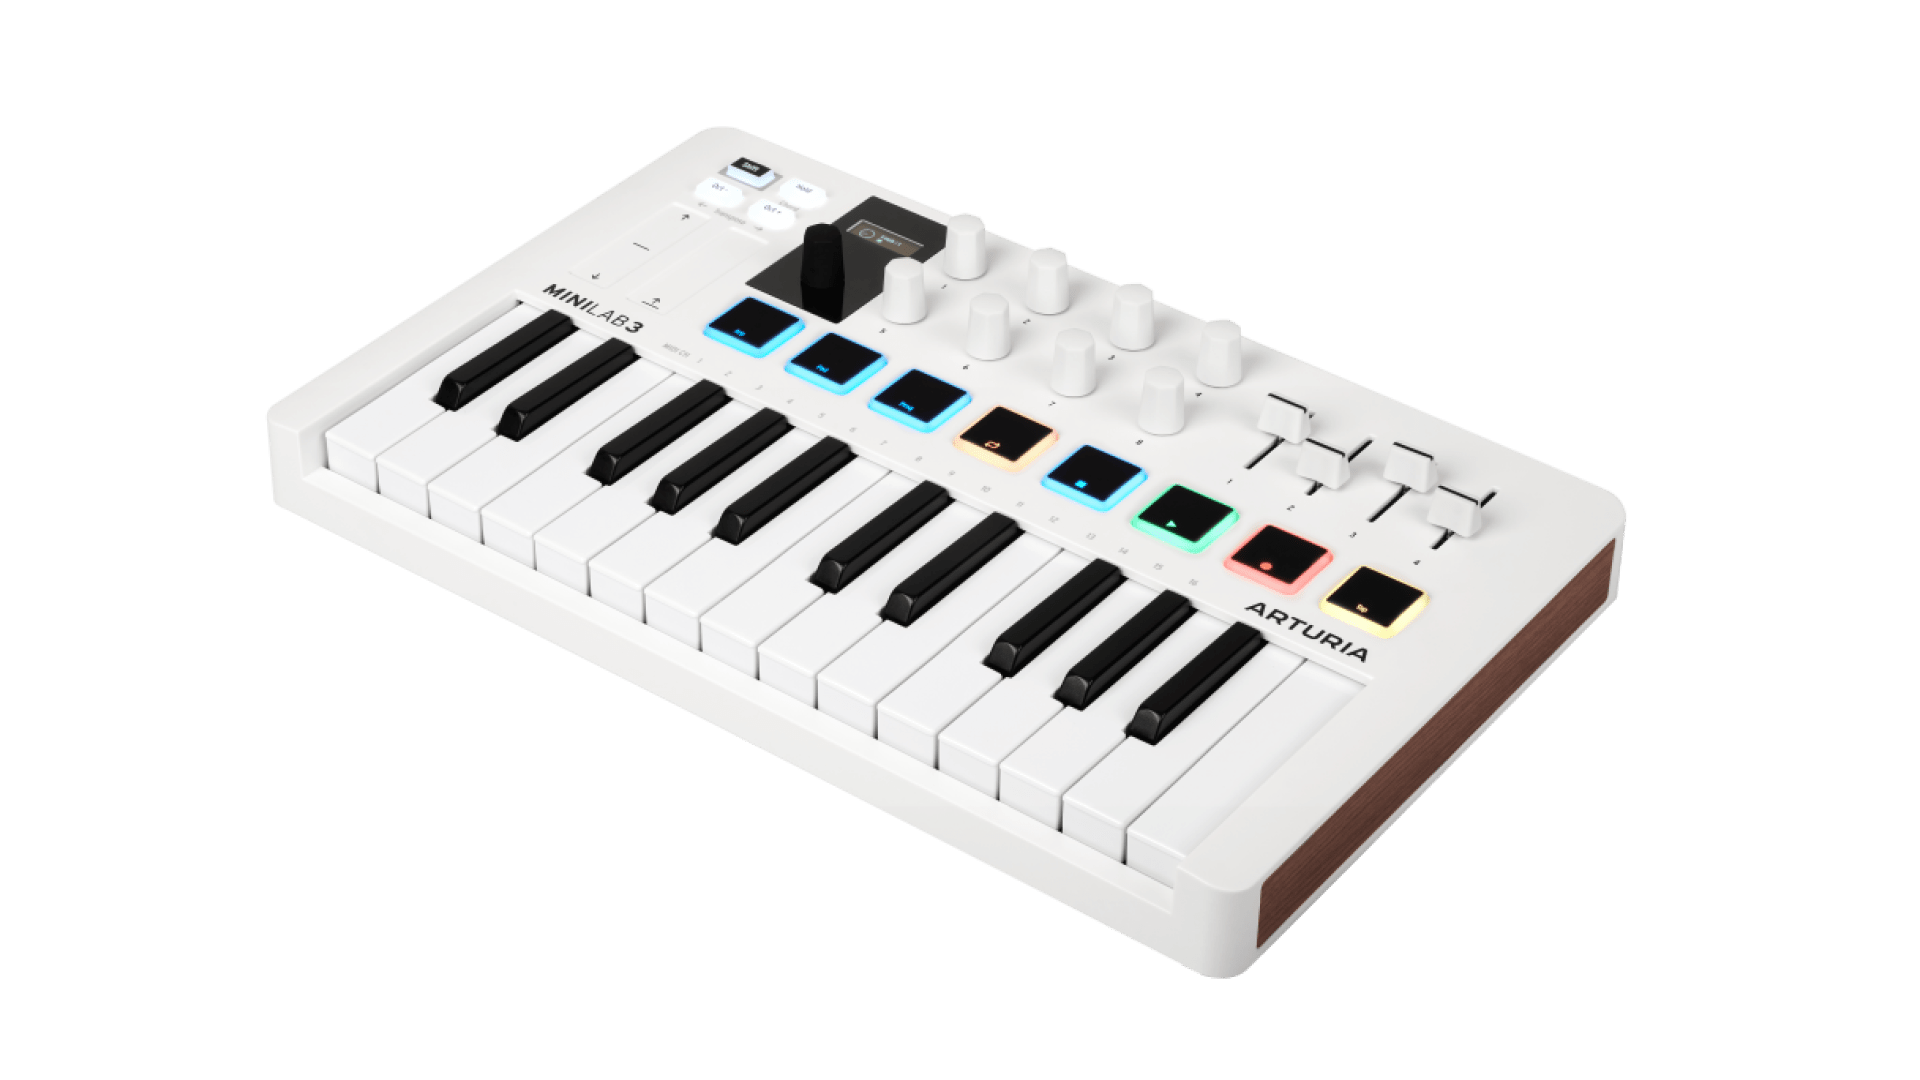
MiniLab 3 offers keys, finger pads and knobs that can be mapped to control your DAW.
Best home studio MIDI controllers
| Low budget: | Arturia MiniLab 3 ($99) |
| Medium budget: | Arturia Keylab Essential 49 ($269) |
| High budget: | Arturia Keylab 88 MkII ($1049) |
MIDI controllers give you a direct way to interact with every synth, drum machine and software instrument in your DAW.
Whether you’re writing a synth bass line, keying in chords or recording in a drum part, having a MIDI controller can significantly enhance your experience.
I recommend getting a MIDI controller that comes with a set of keys, drum pads, knobs and faders all in one place like the MiniLab and KeyLab series from Arturia.
In general, when it comes to MIDI controllers, Arturia really is leading the pack.
At different price points, you’re mainly getting more keys, pads and functionality, with the Arturia KeyLab 88 being a top-shelf option for serious keyboard players.
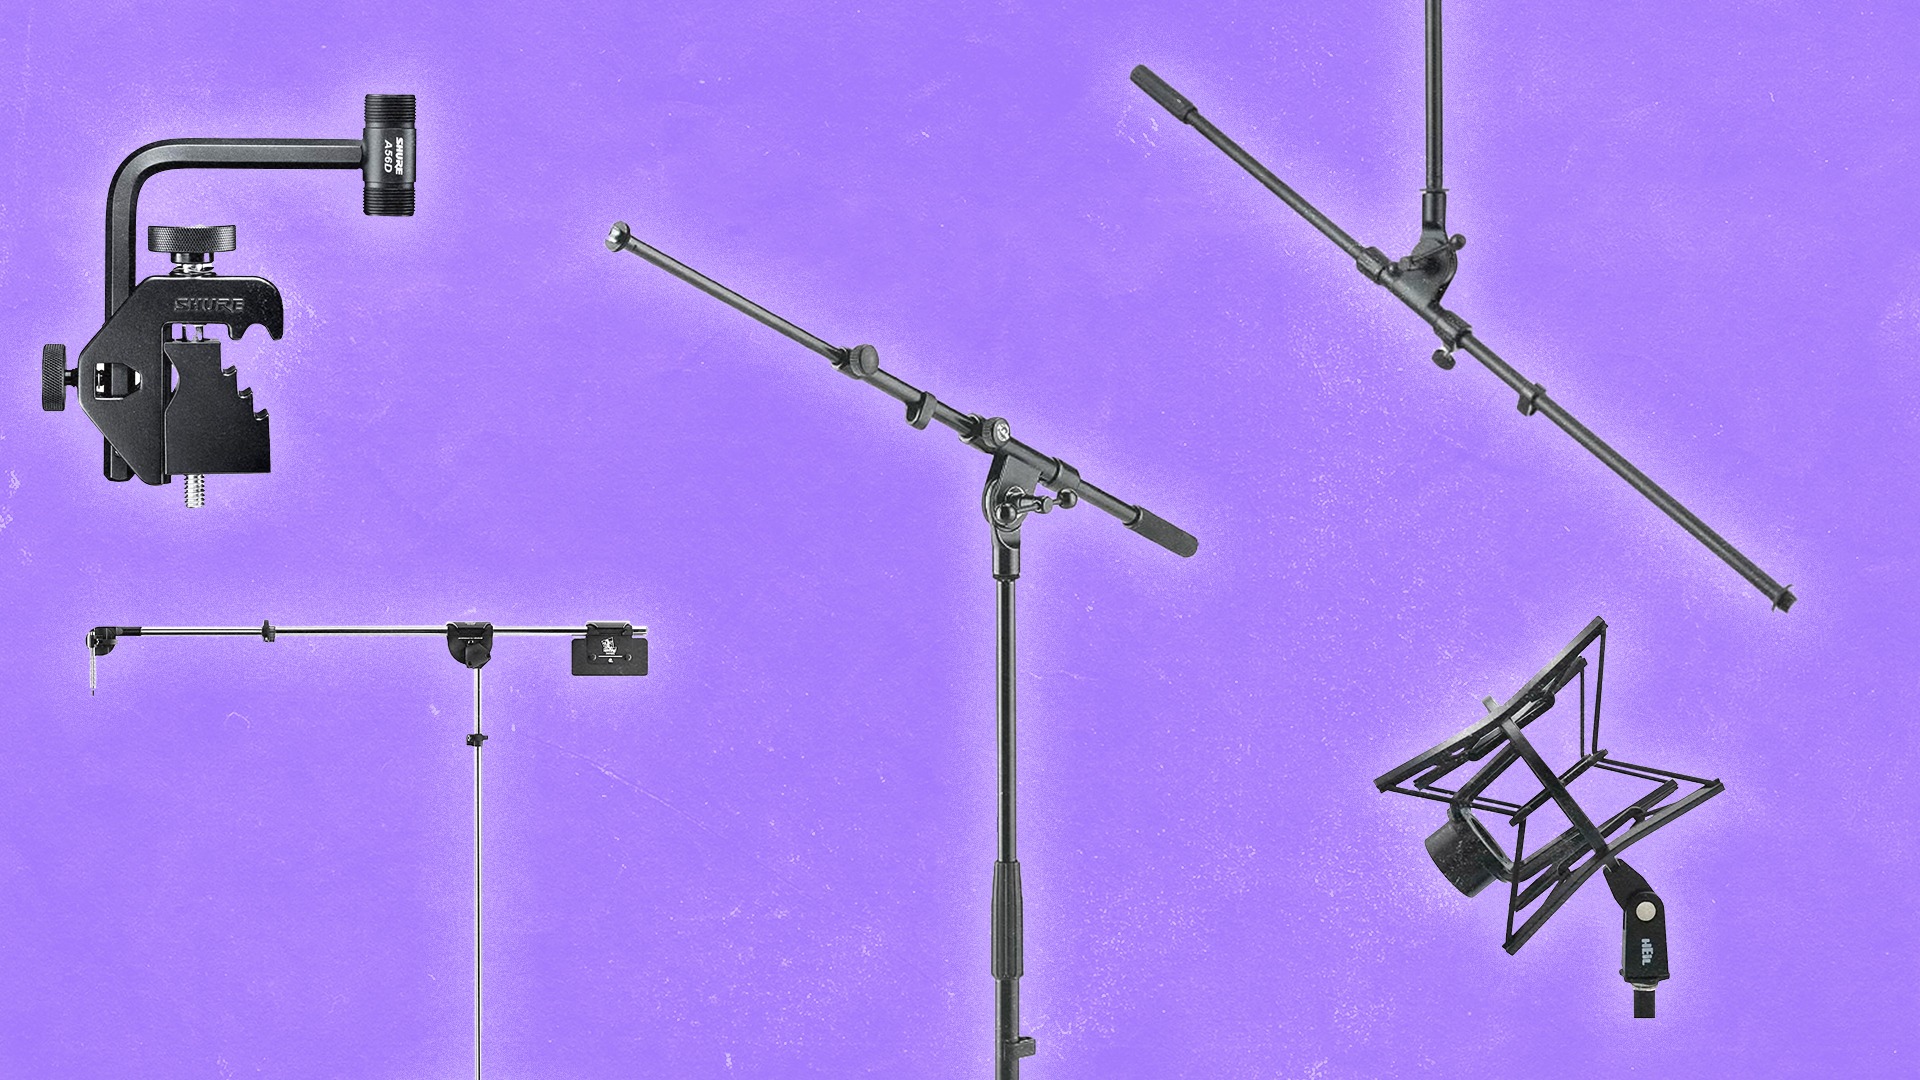
Other home studio accessories
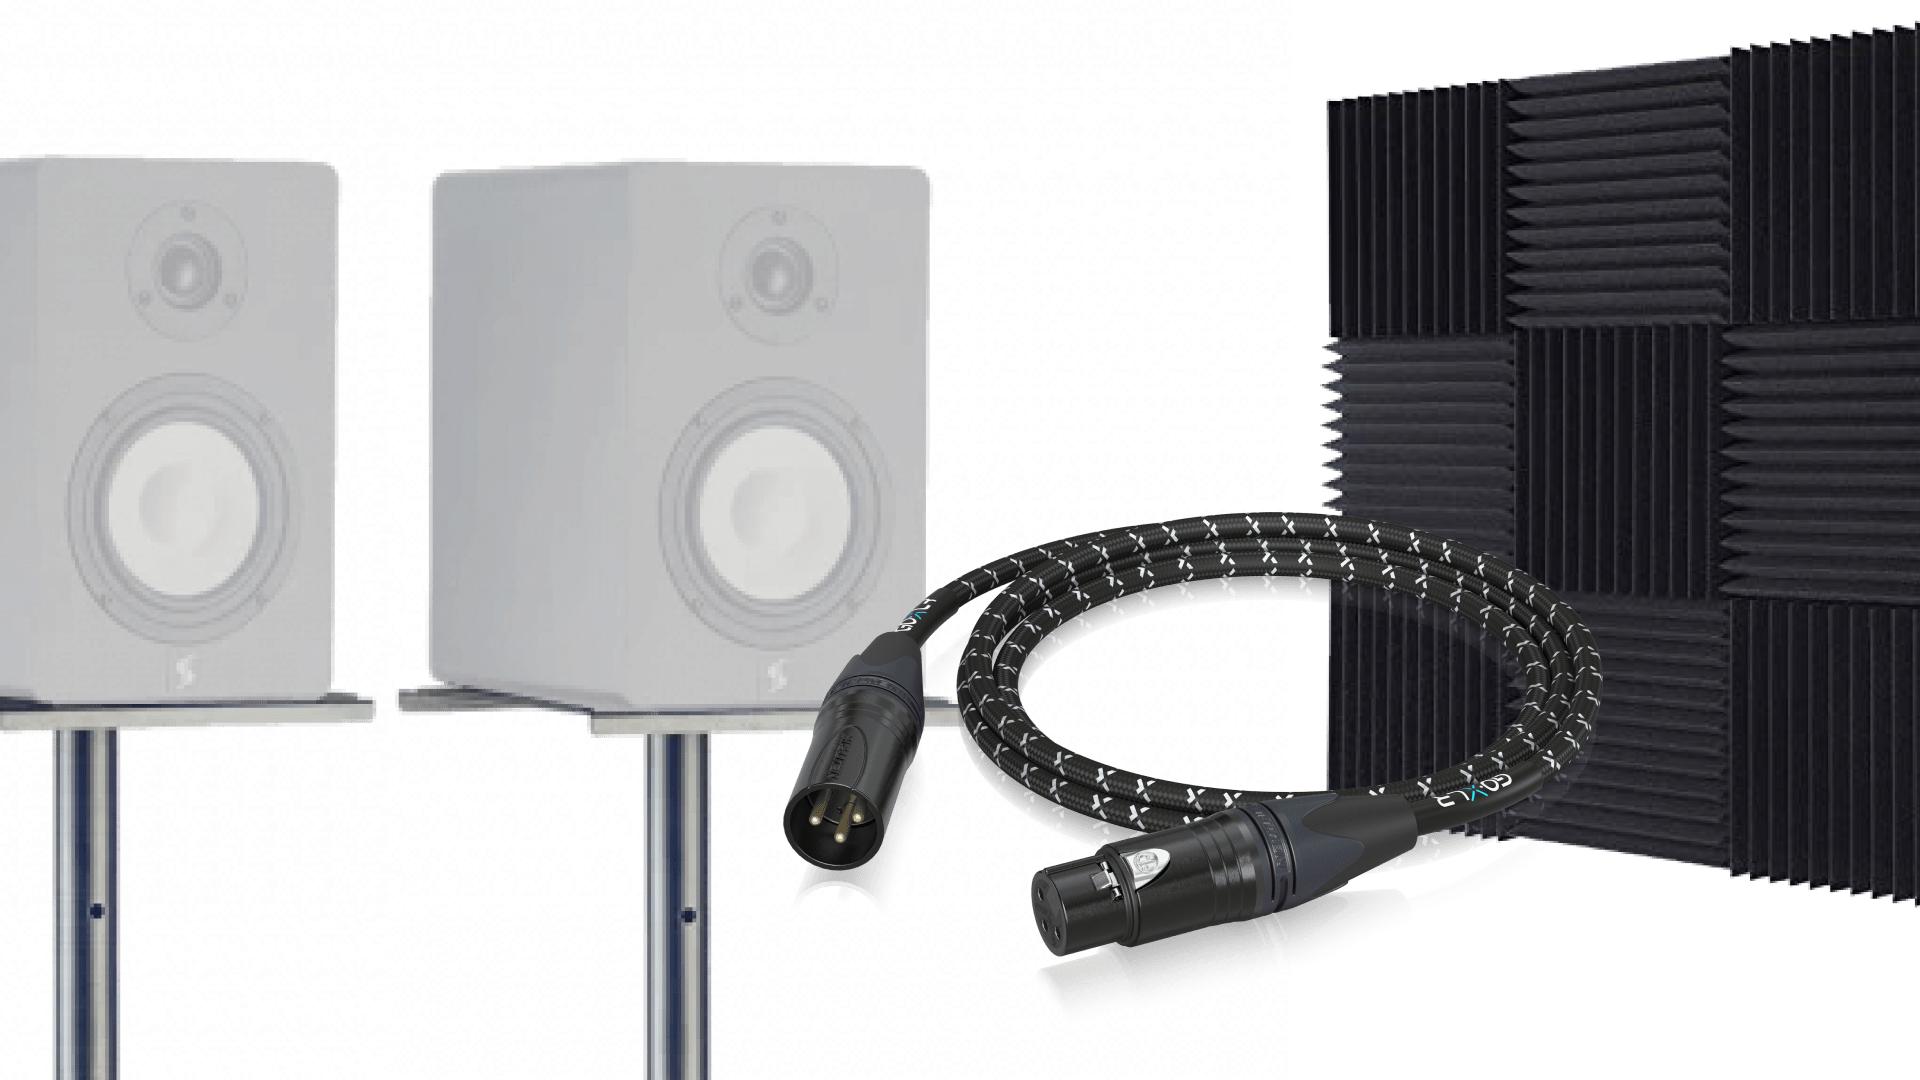
You will need accessories to connect and set up your space for audio production.
Additional equipment
| XLR and instrument cables: &nbs | starts at $50 |
| Monitor stands: | starts at $50 |
| Acoustic treatment: | starts at $50 |
Accessories are always important for any home studio, especially if you’ve incorporated mics and instruments into your recording setup.
If you’re using monitors, you’ll need cables to connect them to your interface. Monitor stands are also well worth considering, as they can help you position your monitors for optimal listening.
On top of that, you may want to obtain some acoustic paneling and even bass traps to treat your room, especially if you have issues with echoes and reflections in the corners.
More reading about recording and producing music at home:
- Music Production: Producing and Releasing Your First Song
- The 10 Best Microphones for Recording Vocals at Any Budget
- The 8 Best Audio Recording Computers For Your Studio in 2026
- Best DAW For Beginners: How to Choose Your First Recording App
- Acoustic Treatment: How to Get a Better Sounding Room
Home studio setup tips
With the core components out of the way, here’s how to set up everything together in your home studio.
Consider monitor placement
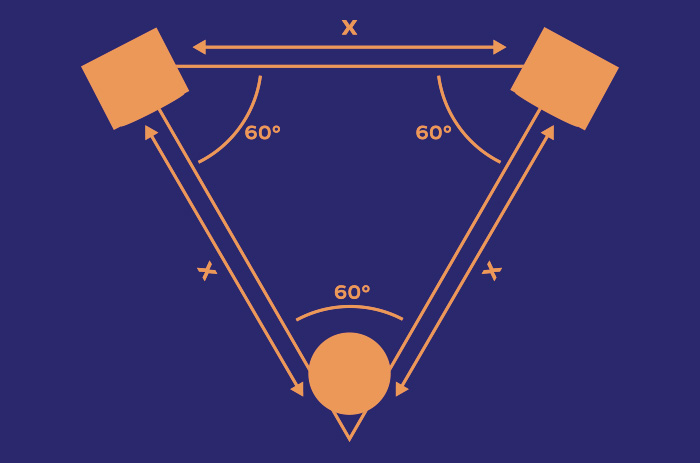
This is the best way to position your monitors.
If you’re working with studio monitors, you need to place them in the correct configuration for the best results.
If you’re in a rectangular room, the general advice is to start by dividing the room roughly in thirds, placing your speakers on the division line of the third closest to the short wall.
From there your monitors should form an equilateral triangle with your listening position.
Your goal is to orient yourself without sitting too close or too far away from the monitor drivers.
If this sounds like vague advice, you’re not wrong—every room is different and there is no one-size-fits-all solution.
Luckily there are some interesting methods out there that can help you find the ideal listening position if you’re willing to experiment.
Configure your audio interface
With your monitors in a good position, it’s time to start connecting your gear.
Start by attaching your audio interface to the computer. Depending on the model, you may need to download drivers or software for your interface to work correctly.
Select the interface as your computer’s system audio device and play any audio file to test your setup.
If everything works as expected, you should see the interface’s meters light up to indicate the presence of a signal.
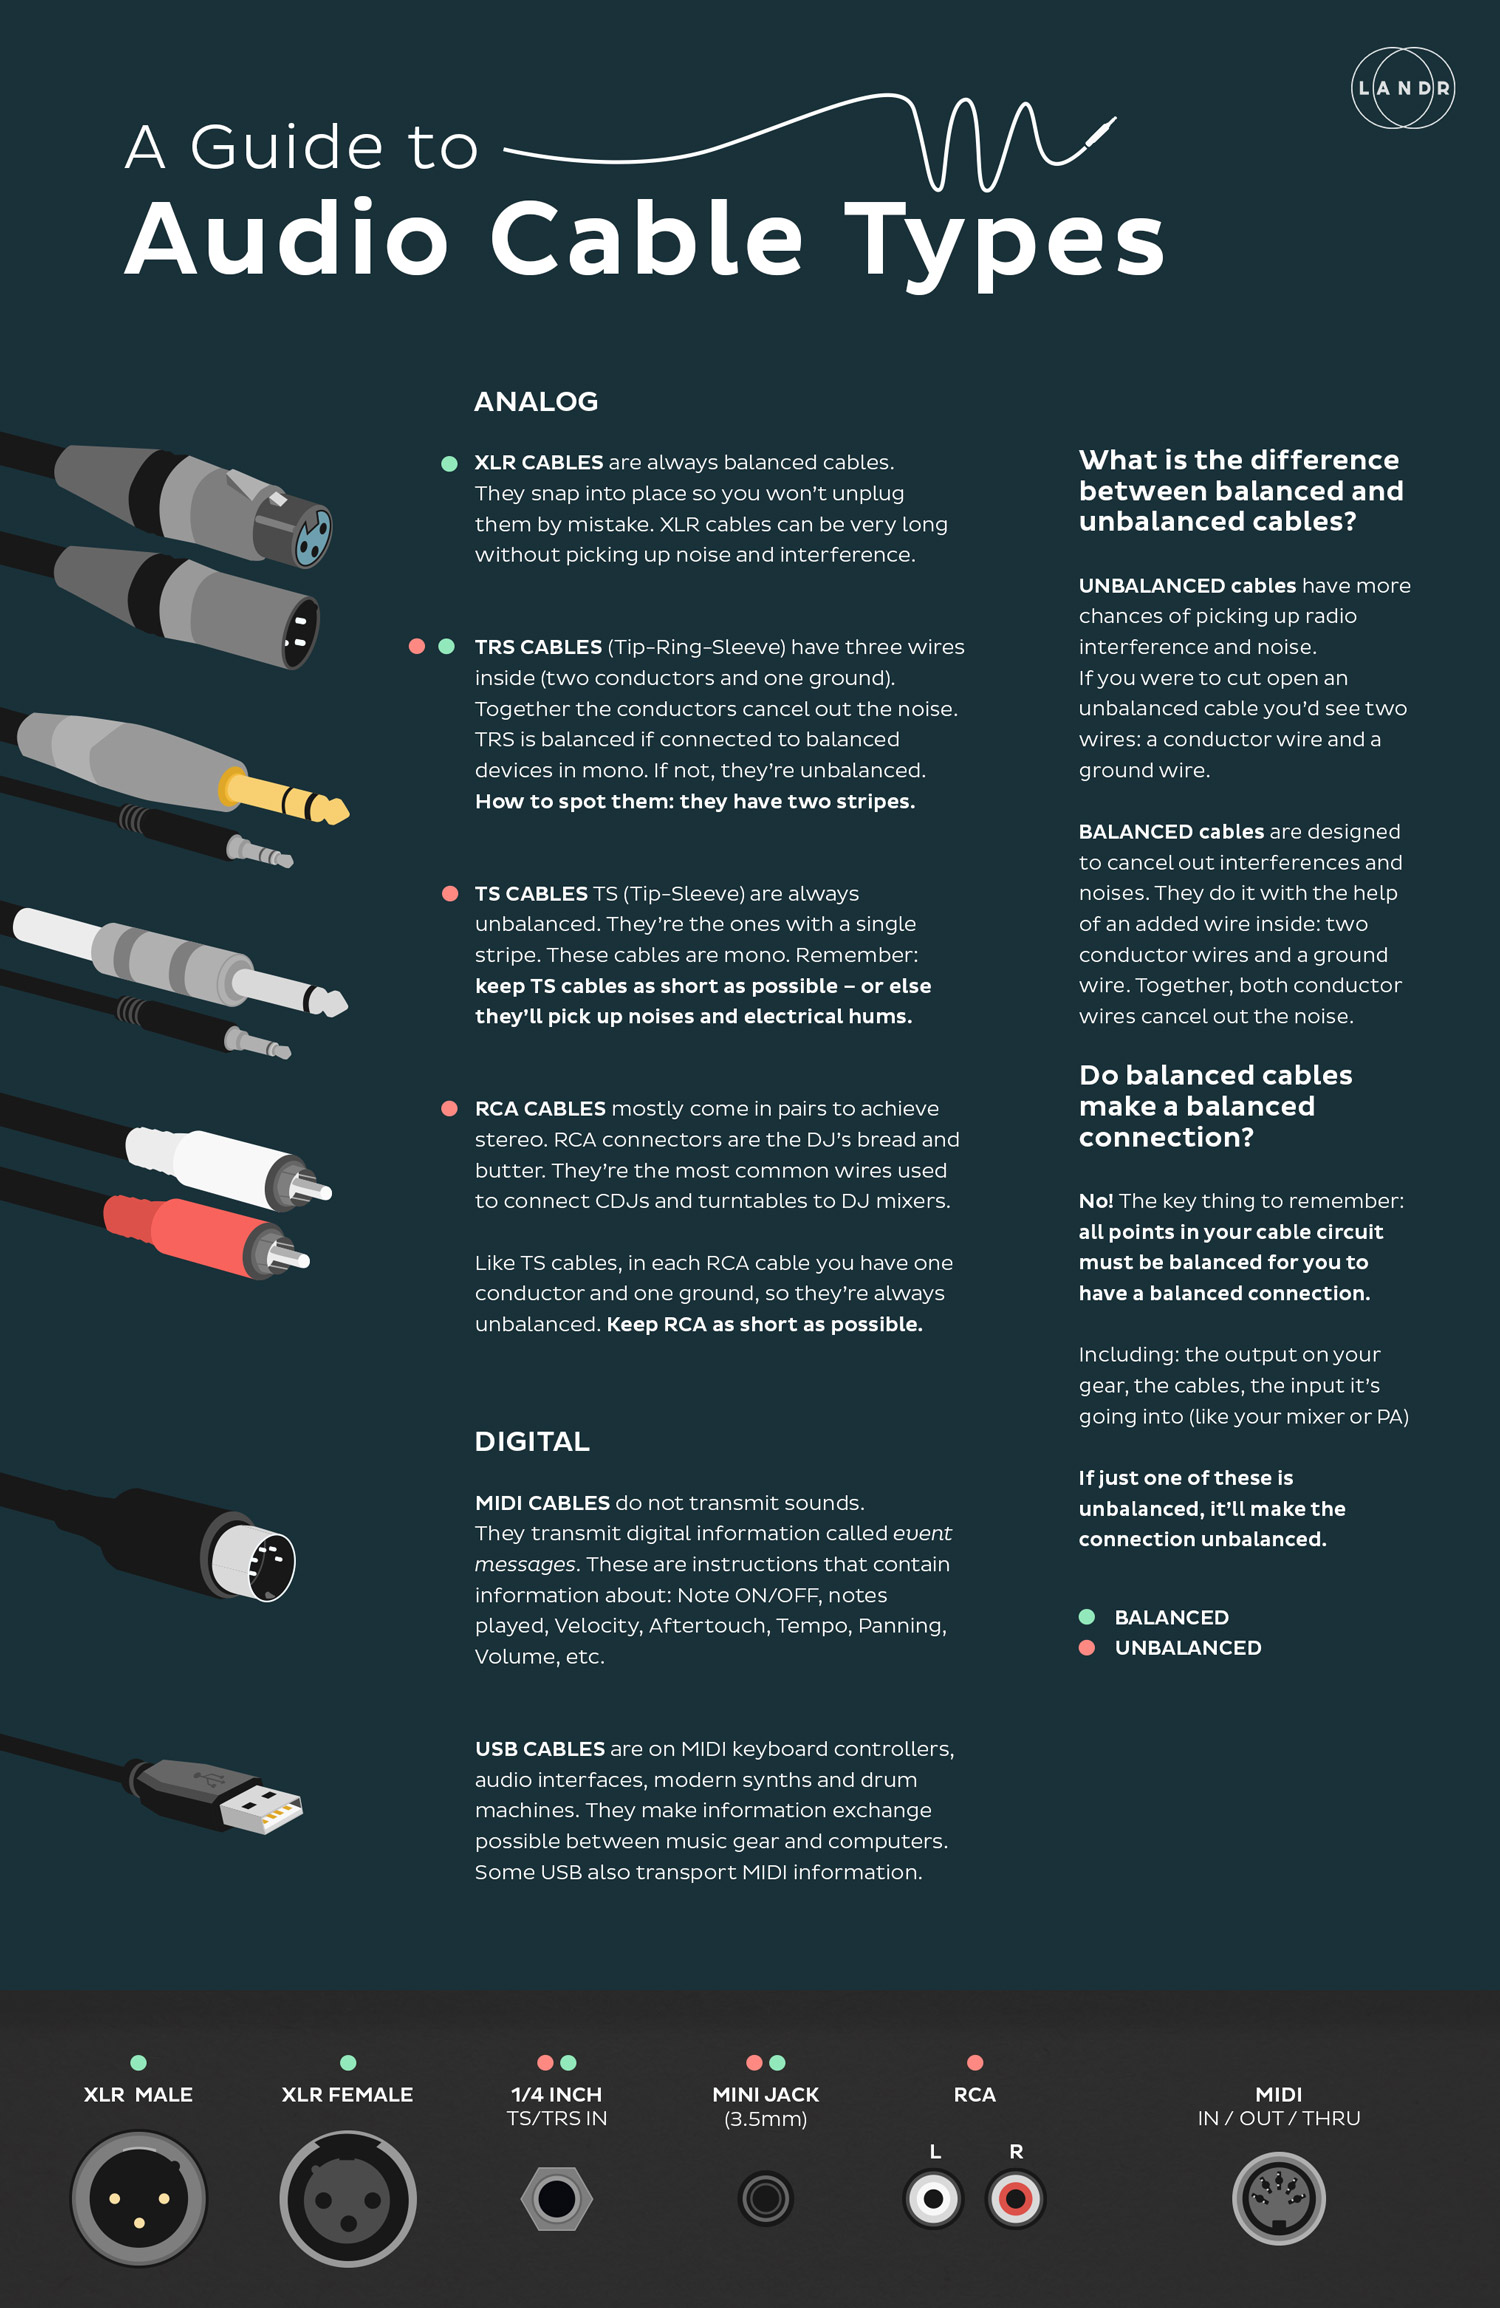
Connect your I/O
Now you’ll need to connect the rest of your I/O, including headphones and monitors.
Powered monitor speakers are meant to connect directly to your audio interface’s line level outputs.
Since these are typically balanced signals, you’ll need the appropriate type of audio cable to make the connection.
This could mean TRS, XLR or TRS-to-XLR, so take note of the correct type.
From there just attach your headphones and microphone (if needed) as directed.
The ultimate home studio setup guide
Building a home studio setup is one of the most exciting parts of becoming a music producer.
With a few simple ingredients, you can create a powerful production setup that’s capable of impressive results.
If you’ve made it through this article you’ll have a great start for building your own home studio.

Alex Lavoie is a drummer, music producer, songwriter and marketing professional living in Montreal, Quebec. He works as a staff writer at LANDR by day and writes indie post-punk tunes in his band UTILS while moonlighting as drummer for folk-rock outfit The Painters. Connect with Alex Lavoie on LANDR Network!
@Alex LavoieGear guides, tips, tutorials, inspiration and more—delivered weekly.
Keep up with the LANDR Blog.