

Lesson 1 of 13

Vocal tuning has become an important step in modern music production.
It’s the secret ingredient that can turn a great take into a perfect pop vocal.
But if used incorrectly it can leave vocals sounding lifeless and unnatural.
So how do you get the best sound with vocal editing plugins?
It takes practice, but with a few basic techniques you can improve your results a lot.
In this article I’ll break down my seven tips to help you become a vocal tuning pro.
Let’s get started.
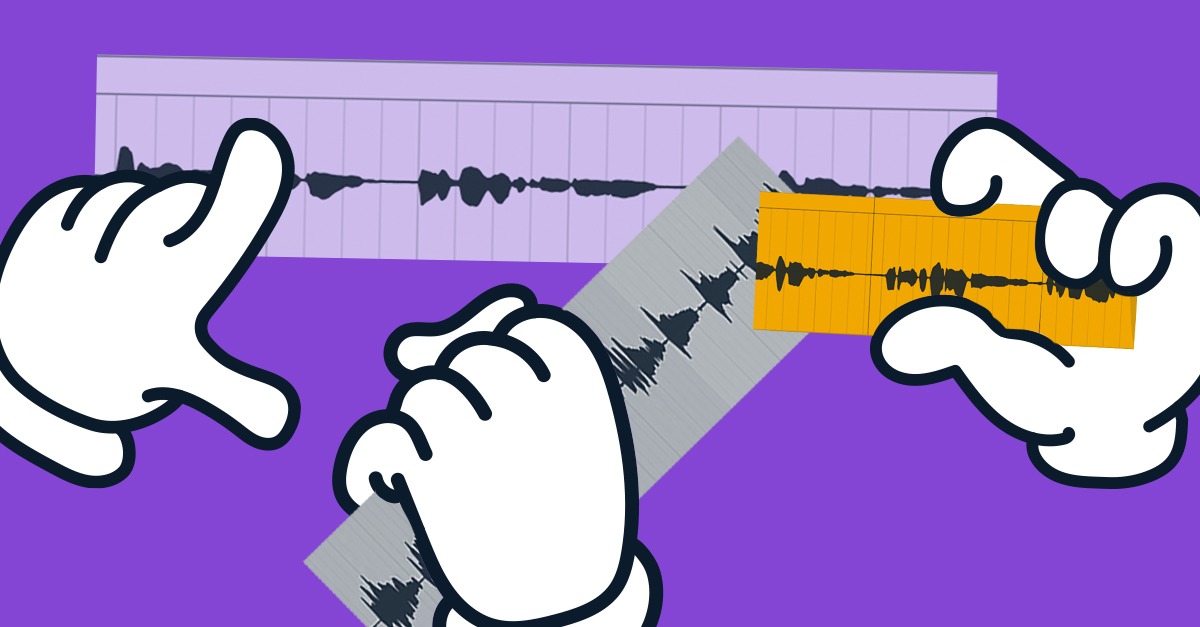
A great vocal starts with a great performance, but today most finished vocal takes are the result of careful comping.
If you’re not familiar with the term, comping is the process of assembling a composite performance from many takes of the same material.
By selecting the best moments and promoting them to the main take, you can create the best possible representation of the vocalist’s efforts during the recording session.
Take the time to make a comp, and move on from there. Once you have your comped take, there’s still some editing to be done for the best results.
Noise, artifacts and unneeded sections of the audio should be trimmed out as they may affect the accuracy of vocal tuning plugins.
You can take care of aligning any double tracks during this phase as well to be sure you’re starting with as close to a finished take as you can.
Unless you’re working with a vocal tuner that supports ARA2 in your DAW, you’ll need to capture the audio from the track you’re working on.
It varies by plugin, but usually you’ll need to enable the capture mode and play through the audio in real time to load it into the plugin.
Aim to capture all the material on the track on a single pass. While today’s vocal tuners can deal well enough with stops and starts, it’s more reliable to capture everything at once to make sure it stays in time.
Unless you’re going for an extreme effect, it’s pretty unlikely that automatic mode at 100% settings will give you the musical pitch correction you need.
That means you’ll be doing the bulk of your pitch correction work manually, using the different tools available in your plugin.
While pitch correction may seem as simple as getting the notes in tune, there’s a surprising amount of variation in any singing performance.
Vibrato, note duration and other inconsistencies may require you to reach for different tools to control.
Make sure you learn what’s available in your plugin, how to use it and where it works best.

Want more music production tips? Here's 50 tips you need to hear.
Speaking of tools, you may be tempted to throw everything you’ve got at each note during the pitch correction phase.
But you may not need as much processing as you think!
Start with pitch center and work your way through the whole vocal. In some cases, a single operation may be enough to accomplish your vocal tuning goals.
After pitch center, adjust pitch drift, but only on the worst offenders.
Next use your shaping tools—you see where this is going!
In general, start your process from least to most invasive tool, making less significant changes at each pass.
It’s easy to go too far when it comes to vocal pitch correction.
Working on vocals?
Get guides to the most essential steps in the process.
Once you start making changes, you can lose your frame of reference for how the part sounded to begin with.
The best way to be sure you haven’t taken things too far is to compare against the original track.
Luckily, listening to the original is as simple as bypassing the plugin in most workflows.
Make sure you do it often!
Relatedly, context is crucial when it comes to any operation in music production.
Many producers know that EQing a sound while in Solo mode is a bad habit that can lead to poor mix choices.
The same can be said for vocal tuning.
Listening in isolation, you may not be satisfied until the vocal sounds robotically on pitch.
But this often isn’t necessary for the song.
Your goal, as always in music production, is to give the music its best presentation for the audience—that may not always mean mechanical perfection.
Are you satisfied with your vocal edit? Go ahead and render the audio using the commit or bounce in place function.
There are two key reasons to do this.
The first is that unrendered audio comes from the vocal tuner plugin itself.
That means it plays back from files stored outside of the project folder and calculates its own timing to stay in sync.
As you add the plugins you’ll need to mix your vocal track, you’ll likely build up more and more latency that can be unreliable for your system to calculate.
The result is frustrating timing issues that are often difficult to diagnose and solve.
The second is more psychological.

Mixing vocals 101 with Isabelle.
Mixing forces you to look at your sounds under a microscope. If you’re still editing your vocals while mixing, you may be tempted to edit pitch rather than deal with issues stemming from dynamics or frequency balance.
That’s a recipe for over-tuning!
By committing your vocal tuning to a simple audio file you avoid the impulse to continuously re-edit the pitch.
Vocal tuning is a standard job for most producers at this point.
Even so, it can feel intimidating if you’ve never done it before!
Whether you need to completely overhaul a rough performance or just sweeten an otherwise clean take, these tips will help you improve your vocal tuning.

Michael Hahn is an engineer and producer at Autoland and member of the swirling indie rock trio Slight.
@Michael HahnGear guides, tips, tutorials, inspiration and more—delivered weekly.
Keep up with the LANDR Blog.