Le guide LANDR du mixage


Mastering et distribution illimités, 1 200 samples libres de droits, plus de 30 plugins et plus! Obtenez tout ce que LANDR a à offrir avec LANDR Studio.
Audio mixing is the process of taking recorded tracks and blending them together. Tracks are blended using various processes such as EQ, Compression and Reverb. Essentially, mixing is making all your different tracks sit well with each other. If you’re new to mixing, this is what to start with. The bare-bones essentials.

Balance Your Levels
Use your channel faders to get a basic balance of all your tracks before you start processing them.
It’s never too early to start thinking about headroom. You’ve probably noticed the level at the master fader increase as you add tracks to your session.
If things get too loud and you’ll start to have issues. Keep an eye on your meters—and never let your individual tracks or master bus exceed -6 dBFS.
Headroom is an important subject for audio engineers. Learn how to get it right and make your mix better with our headroom guide.
Use Buses
A bus or Aux return track is a tool for routing audio inside your DAW’s mixer.
Send the output of multiple tracks to a bus to apply the same processing to them. Or use a track’s Aux send to create a parallel signal path.
Buses are incredibly useful. Organizing your sessions with a bus for each element will help you keep track of your mix and make top-level adjustments on the fly.
Learn more about sends, returns and buses.
Processing
Now for the fun part. Most of your mix process can be broken down into three tasks: EQ, Compression and Ambience. Mixing can get complicated, but these three things make up 90% of your process. Practice them and everything else will follow.
EQ
Equalizing is the art of boosting, cutting and balancing the frequencies of your tracks so that everything works in the mix.
Our ears can detect a huge range of frequencies—roughly 20 Hz to 20 kHz. Each element of your mix has energy in different parts of that range. Keep this in mind while you’re mixing.
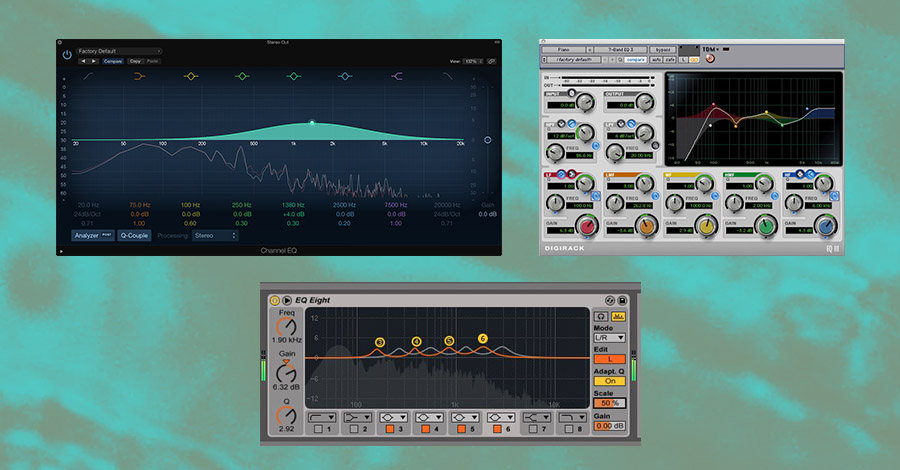
For example, if two instruments in your mix have a lot of energy at the same frequencies, it’s going to be hard to hear each one distinctly on your recording. That’s the effect of masking.
You need to carve out space in your mix so that your sounds don’t overlap. That’s where filters come in.
You might be surprised how much of the sound in your raw tracks doesn’t contribute meaningfully to your mix—especially in the tricky low bass and midrange areas.
Use low-pass (high-cut) filters to make sure nothing is competing with your foundation sounds (like kick and bass) for control of the low end.
Learn more about how to dial in low-pass filters to mix kick and bass.
Compression
Compression is the other main tool you’ll be using in your mix. But unlike EQ, compression deals with dynamics. It’s the glue that holds your mix together.
Compression is the process of reducing a signal’s dynamic range. Dynamic range is the difference between the loudest and quietest parts of an audio signal.
Compressors work by attenuating the loudest parts of your signal and boosting the result so the quieter parts are more apparent.
Compression is essential, but it’s important to use it properly. Bad compression leads to a lifeless, punchless and fatiguing mix.
Learn how to use compression the right way for a better mix.
Reverb
Reverb is how you add a sense of space to your recordings.
Reverb works best as a send effect. Remember those buses we talked about? Create an aux return channel for your reverb and use your track sends to decide how much signal to send it.
Tasteful reverb can give your mixes an immersive three-dimensional quality. It also helps to provide context and subtle blending between instruments.
Learn more about how to set your reverb plugins during your mix.
Plugins
Plugins come in many shapes and sizes. Depending on which DAW you’re using, you might be working with VSTs, AUs or even AAXs.
Plugins are one of the most exciting things about mixing, and lots of them are free. Here’s a few of our favourites from our comprehensive guide to the best free vst plugins.
Here’s a few to get you started on your mix.
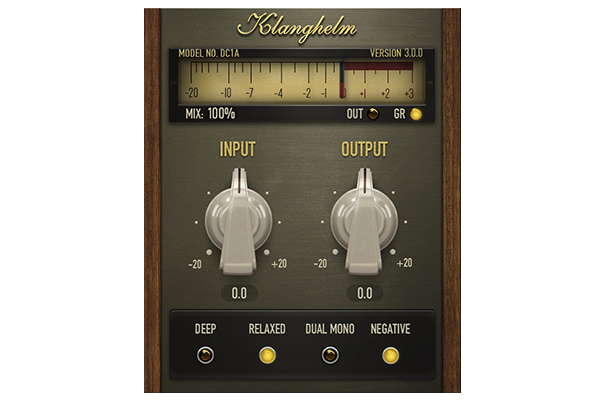
Klanghelm – DC1A Compressor
Klanghelm DC1A is an easy-to-use free character compressor that brings the warmth of analog hardware to your tracks.
With just two knobs the DC1A can cover everything from “smooth levelling to heavy pumping.”
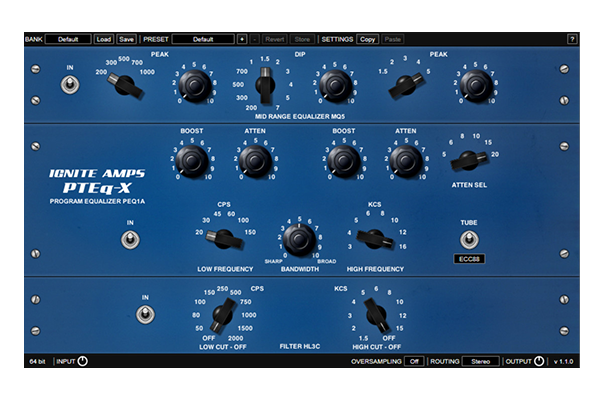
Ignite Amps PTeq-X
Ignite Amps PTeq-X is a free software emulation of one of the best hardware EQs of all time—the Pultec EQP-1A.
Mixing with Pultec-style EQs is sublime. Try it out on your tracks with the PTeq-X.
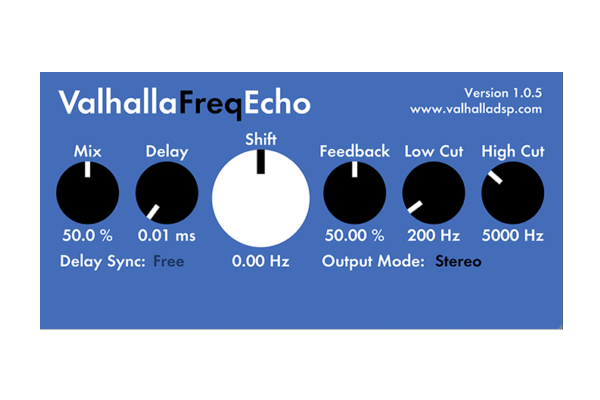
Valhalla DSP FreqEcho
Valhalla DSP FreqEcho is a deceptively versatile free delay plugin. With just high/low cut filters and a pitch-shifter on the repeats, the FreqEcho can conjure a inspiring amount of delay weirdness.
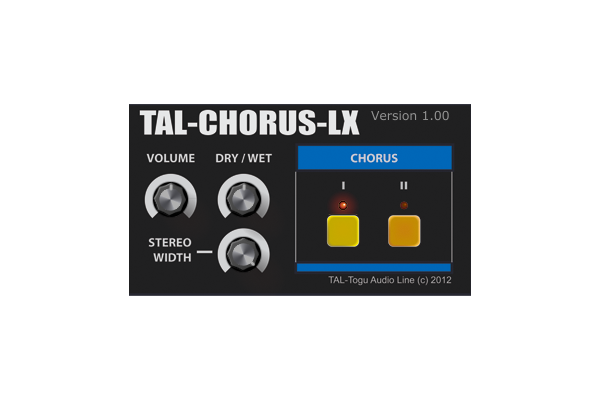
TAL Chorus-LX
TAL-Chorus-LX is an accurate reproduction of the unique chorus found on the classic Roland Juno 60 synth.
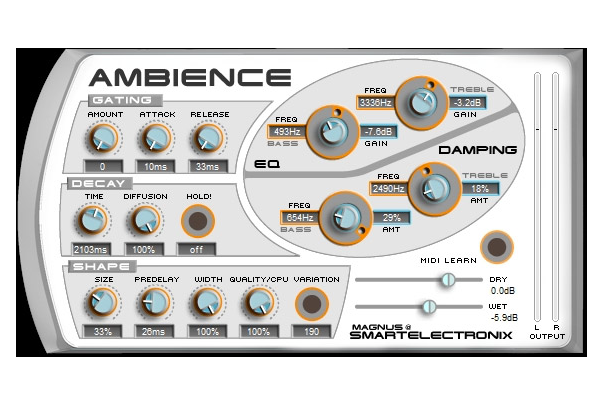
Smartelectronix Ambience
Smartelectronix Ambience was one of the first quality free reverb plugins on the scene. And it’s still a great option for dreamy, ambient reverbs.
Specific Techniques
Mix referencing
Mix referencing is the process of comparing your nearly finished mix to previous mixes you’ve made, other versions of your mix in the same project or commercial recordings to determine the quality of your mix.
Using reference tracks is the best way to make sure that your mix translates and holds its own against commercial recordings.
Your LANDR mastered tracks make this step easy.
A rough version of your track mastered with LANDR will be much closer to the level of a commercial recording right off the bat.
Panning
Panning is the placement of your tracks in the stereo field. The pan dial in your DAW’s mixer changes the position of the sound by varying the amount of signal sent to the left and right speakers.
Panning is what makes your mix wide and immersive. It’s a big part of how you give each element of your mix it’s own space. But that doesn’t mean you can neglect the middle. A good mix has a solid core with foundational instruments like kick and bass panned dead center.
A good rule of thumb is to keep an equal amount of elements on each side. Try to see your mix in pairs and balance one element with another.
Layering
Layering is exactly what it sounds like—laying multiple tracks on top of each other to compliment their different qualities.
To get starting with layering, try stacking some kick samples together to highlight different parts of your kick sound.
For example, the “click” from one sample might be particularly effective paired with the fat low end of another. You’ll have to be pay attention to each sample’s EQ and make sure you’re carving out enough space in the mix.

De-Mudding
Fixing a muddy mix comes down to EQing. Remember the masking effect we talked about?
Muddiness happens when there are too many sounds overlapping in the low-midrange. This area is especially difficult to EQ because so many instruments have harmonic content here.
You’ll have to experiment with carving different pieces out of different mix elements. Use your ears and experiment, it’s the best way to get better at mixing.
Start your mix!
Now you have the basic know-how to start mixing
As with any skill, the best thing you can do to develop it is Practice, Practice, Practice. Make sure to LANDR your mix early and often to see where you’re at.