
Lesson 1 of 8

If you have a collection of songs ready to release, you’re probably wondering how to master an album the best way you can.
There’s always the traditional route of hiring a respected engineer to master each song by hand. It can yield amazing results, but usually costs a lot upfront.
Or you can try AI-powered mastering online for an instant finished product.
But If you’re looking for something in between, your options are more limited—especially if you prefer to stay in your DAW.
You could assemble a collection of high end plugins and try your hand at manual mastering.
Or you could get a plugin suite with presets for the genre of music you’re working in.
But the best option may be something else—an AI mastering plugin like the LANDR Mastering plugin.
In this article I’ll break down the best new way to master an album in your DAW.
Mastering an album means more than just hitting targets for loudness and dynamic range.
A great album needs polished sequencing with just the right flow between tracks.
That means you’ll need to carefully craft the track order, fade ins and fade outs in a separate DAW session
To do so you’ll need to position each track correctly and add level automation for each fade.
This workflow gets confusing when it comes to mastering.
Precise sequencing can be difficult to achieve if you’re not able to manage it directly in your DAW during mastering.
Working with each finished stereo file on a new timeline in your DAW means you can audition the flow in real time .
That way you know exactly how your listeners will experience it!
New to mastering?
Understand the basics with these guides.
Mastering plugins fix this by letting you create fades and automation with mastering applied.
Here’s how to use the LANDR Mastering plugin to master an album in your DAW:

What is mastering anyway?
Any album master should start with a bank slate.
Though it’s possible to add the LANDR Mastering Plugin to an active mix session for a single track, you’ll need to ensure that processing from previous mixing tasks doesn’t interfere with other tracks on the album.
Make sure you bring each track into a new session with a single empty stereo track.
The order that your songs appear on a release affects the listener experience.
Take a second to think through your album sequencing so you can present your tracks with the greatest impact.
For example, it’s common to put your best foot forward with your strongest material upfront.
Following that, the high points should be punctuated by contrasting energy to avoid fatigue.
If you haven’t done it yet, sit down and listen through your entire release start to finish.
It’s important that the experience feels varied throughout with rising and falling tension that keeps listeners hooked.
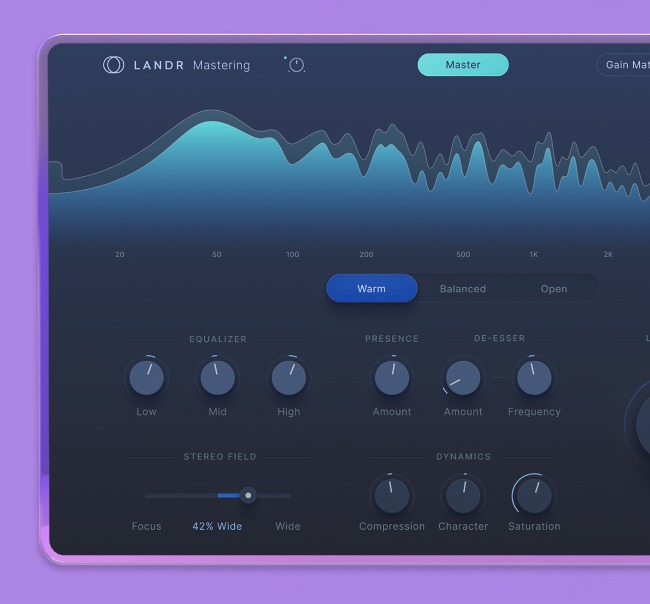
Add the LANDR Mastering plugin to your master bus and select a louder section for the detection process.
Once the analysis is complete, select your preferred mastering style and adjust any advanced mastering parameters if further revisions are needed.
If you need help with this step, head over to our basic guide to how to master a song in your DAW for the full walkthrough.
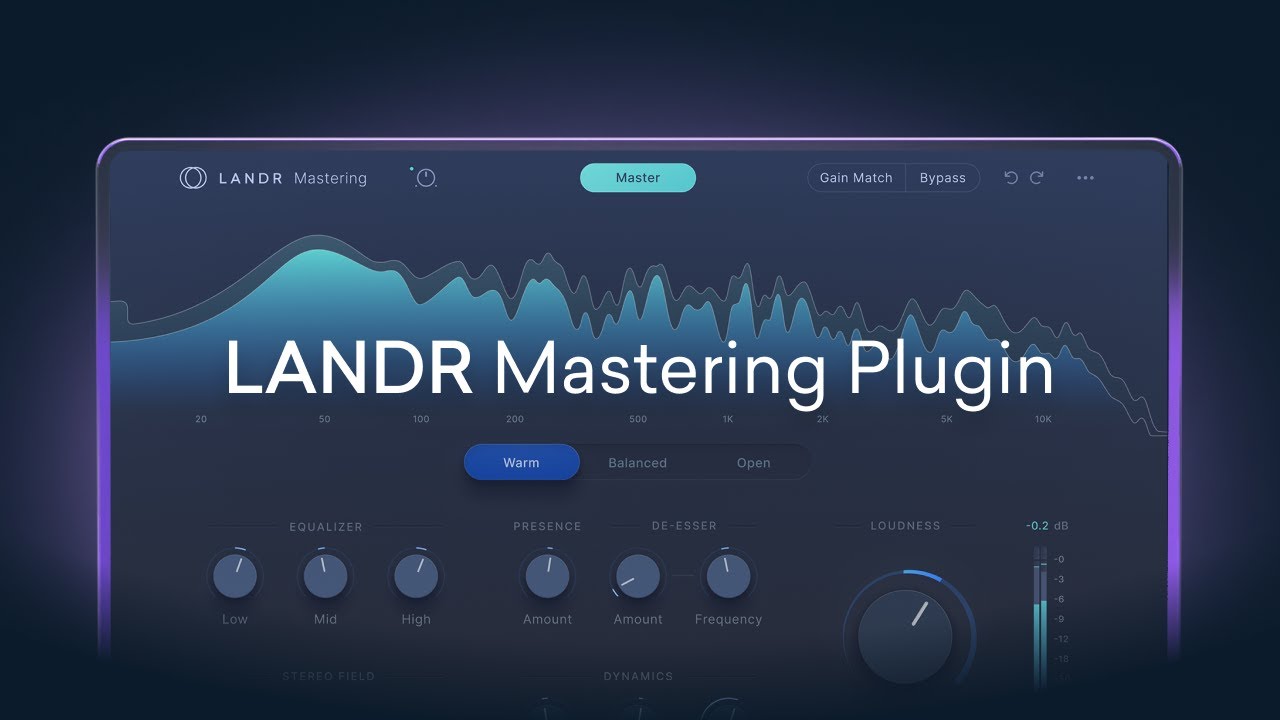
How to use the LANDR Mastering Plugin.
Make note of any settings and changes you may have made. No two tracks are exactly alike, but you’ll want to take the same general approach to keep the mixing and mastering consistent from song to song.
Listen for the overall frequency and level balance and make sure each track sits in a similar space.
If some mixes need more air and excitement, or others need more controlled low end, make sure to adjust the mastering EQ settings to bring each track in line.
Pay close attention to the loudest segments to make sure they don’t stick out too much compared to other material on the album. If the gap is too distracting, increase the loudness control to reduce the song’s dynamic range over all.
When you’re happy with your master, use your DAW’s bounce in place function to render the region with the current plugin settings.
For similar sounding material, you may be able to leave your mastering settings in place from song to song.
But if something isn’t feeling right, you can simply repeat the detection process and start from a new custom master.
In this case you may want to apply any parameter changes you made in your previous masters to keep the sound consistent.
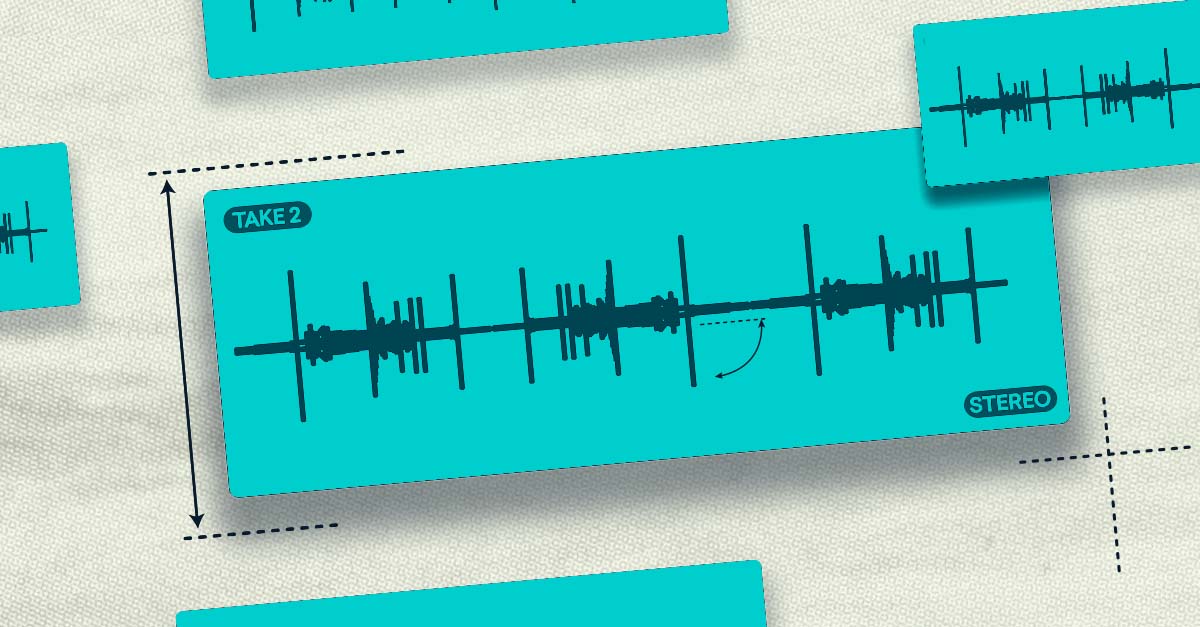
With your mastered tracks in place, it’s time to create your fades.
You can build these by automating the fader from -∞ dB to 0 dB.
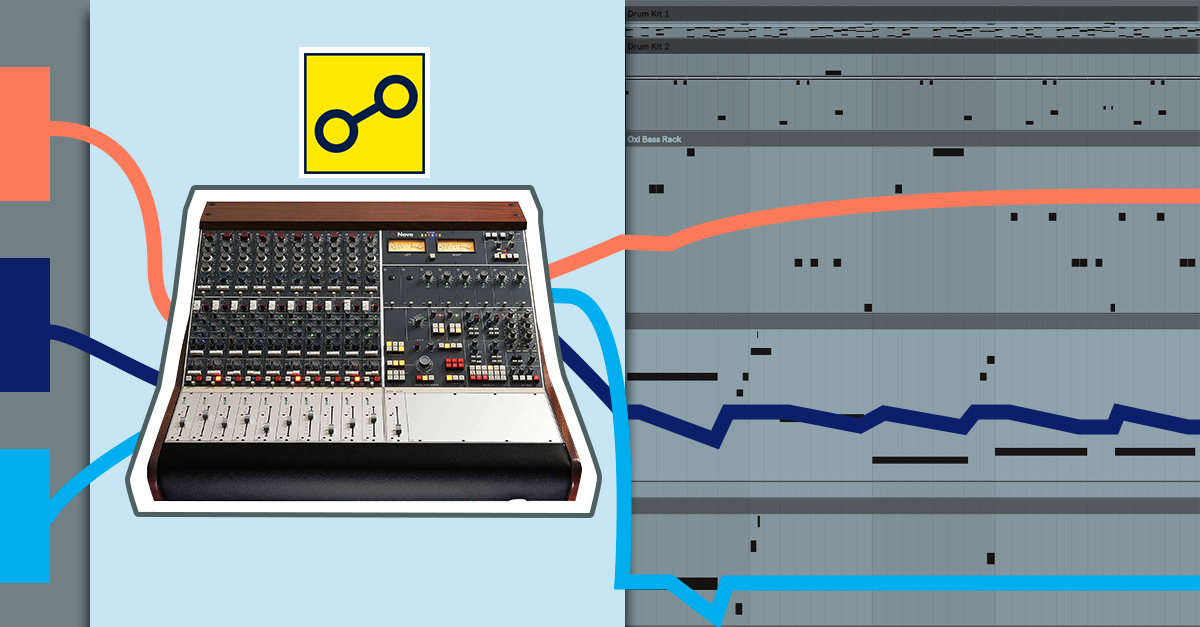
That said, any operation that affects levels will interact with the limiting stage of your mastering chain. That includes automation.
Mastering engineers often use automation for tasks such as lowering quieter sections to add contrast or lightly boosting downbeats to emphasize a transition.
If you’re doing this type of pre-fader automation, it’s best to automate the channel fader rather than the master bus where the LANDR Mastering Plugin is active.
This way you avoid wasting precious headroom and lowering the overall loudness potential of your track. Or worse, creating clipping when you apply a boost!
With all that in mind, it may be easier to avoid pre-fader automation entirely unless you have a clear plan for how to use it.
Simply set the start and end points with automation breakpoints and adjust to get the correct length and feel to your fades.
For most purposes, linear fades can take care of most operations you’ll need during album sequencing.
But you may prefer another fade shape such as a curved, or exponential fade. These fade types have varying intensity over time that may be more pleasing depending on your application.
Try adjusting your fade curves if linear fades aren’t providing the right feel.
As you add fades, you may find that the spacing and timing of the sequence needs adjustment.
Don’t be afraid to change the position of tracks or fades as you go according to your musical intuition.
Tight sequencing is a mixture of rhythm and feel so take your time to get it how you want.
One handy trick is to use your DAW’s nudge command to move tracks or automation by a small, consistent amount to get the positioning just right.
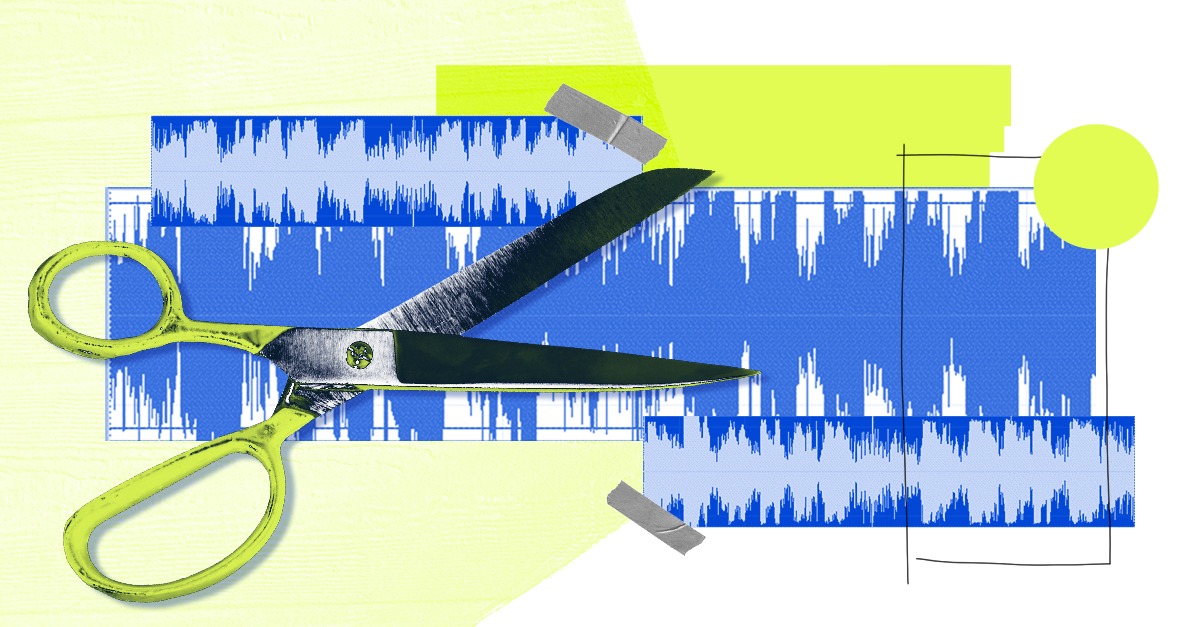
Finally, you’ll have to decide the exact boundaries between each track before exporting.
If your DAW can create markers or memory locations, use these to identify playhead positions you can return to for the cuts between tracks.
Make sure to place your boundary cuts at locations where the fader is at -∞ dB to ensure that each track starts and ends with complete silence.
You’ll also have to add start and end points for the first and final tracks to round out the sequence.
With your boundaries set, consolidate the entire region from first marker to last.
This will print your fader automation to a new audio file inside your DAW.
Now return to each boundary in your memory locations list and cut the regions at the playhead position.
Export these timeline clips as files and your finished master is ready for delivery!
Albums may seem a bit old-fashioned in today’s streaming-oriented industry.
But the format’s rich history means it isn’t likely to disappear completely any time soon.
Luckily, the LANDR Mastering plugin makes preparing an album for release easier and more flexible than ever.
If you care about the finishing touches for a great album, it’s the best choice to master an entire song sequence in your DAW.
Various contributors from the LANDR team of music mentors.
@LANDRGear guides, tips, tutorials, inspiration and more—delivered weekly.
Keep up with the LANDR Blog.