How to Learn Ableton: 11 Key Features to Shape Your Learning
Ableton is easily one of the most popular DAWs in the music production industry today. If you’re getting started with making music, you likely want to know how to learn Ableton.
Fortunately, after years of development, the DAW has become more and more intuitive and easy to use.
But that doesn’t mean the software program doesn’t come without its quirks. Like any creation tool, there’s a learning curve to start making tracks efficiently without running into roadblocks.
In this article I’ll unpack the benefits of using Ableton, the tools you may need to acquire to get the most out of the DAW and unpack how to use Ableton’s main features and capabilities.
Let’s get started!
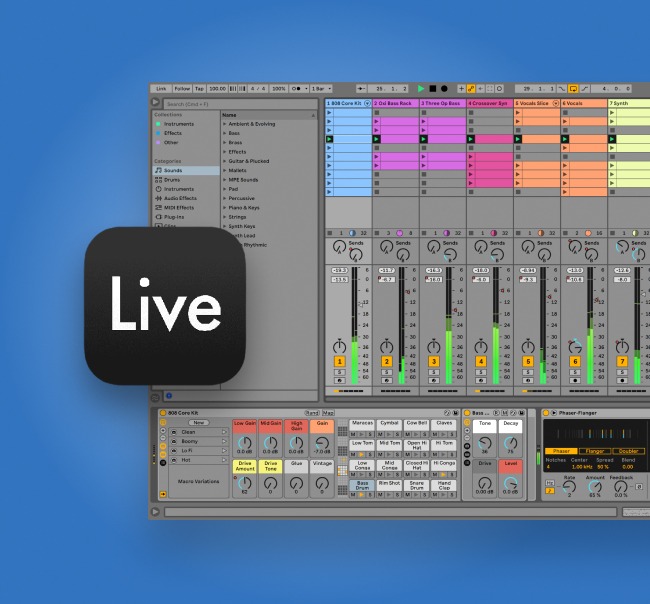
What is Ableton?
Here's a quick and fun tutorial outlining everything you need to know to get the most out of Ableton Live Lite.
Ableton Live is a German music production software developer that’s known for its suite of DAW products called Ableton Live.
Ableton Live was the first DAW to incorporate both a traditional timeline view and its unique clip-based view that was designed to help electronic music producers intuitively arrange various parts and layers.
Today its most recent iteration of Ableton, Live 11 offers a ton of capabilities and features for writing all genres of music.
Its most recent iteration builds on decades of development and makes for powerful all-in-one music production software that’s incredibly versatile and flexible to all creator needs.
Why choose Ableton as your DAW?
Ableton has long positioned itself as the DAW for creators, leaning on its included suite of powerful and inspiring synth plugins and its pioneering foray into clip-based arrangements.
Its most recent feature additions focussed on making the DAW more friendly to live performance—offering more ways for creators to integrate electronic sounds into their sets.
While its interface takes a bit of time to learn, this is a solid DAW that offers a relatively simple system that’ll get anyone set up to start creating in no time.
How to learn Ableton
There’s tons of resources available on the internet for learning Ableton.
Depending on your budget you may benefit from going through any of the vast amount free YouTube content that’s out there right now.
However, for a more structured learning approach that dives into the specific and offers tons of extra knowledge beyond Ableton, subscribing to an online Ableton course is never a bad idea.
There are many music production learning platforms with solid online courses, we’ve written about the topic in a past article if you’re shopping for online learning support.
But with that out of the way, here are 11 key concepts and steps you’ll need to take to have success with learning Ableton.
1. Get the Ableton Live version that meets your needs
Your first step for using Ableton Live is getting a version that works for your budget and needs.
Right now, your options include Ableton Live 11 Intro, Standard and Pro. You can also get your hands on Ableton Live Lite (a lighter version of the software) with a LANDR Studio subscription.
Ableton is not free, so be prepared to budget for the DAW. If you need advice, check out our buyers guide for Ableton.
Ableton Live Lite is the most cost-effective option, but this version comes with a handful of limitations—mainly limiting the number of tracks you can use in a project.
So, if you’re looking to take Ableton for a test drive, before making a big commitment, Ableton Live Lite is a great place to start.
The intro, standard and pro versions offer tiered features with added software instruments, added input and output MIDI channels and added send and return tracks.
2. Get additional hardware if necessary

Our in-depth guide to setting up at home. Read - Home Studio Guide: How to Build a Home Recording Setup
If you really want to learn Ableton, you’ll probably need to get a few pieces of hardware to get the most out of the DAW.
The four main things you’ll need to get started are:
- A MIDI controller with keys and pads
- An audio interface
- A microphone
- Studio-quality monitors or headphones
You’ll need MIDI controller to play instruments like synths and drums in the DAW itself.
An audio interface is necessary to output high quality audio to your headphones or studio monitors.
They also come with the inputs needed to record external audio sources like guitars or microphones in your DAW.
It’s up to you whether you go with monitors or headphones. But, given their lower cost and lower chance of annoying neighbors in a home studio setting, headphones are often a first choice.
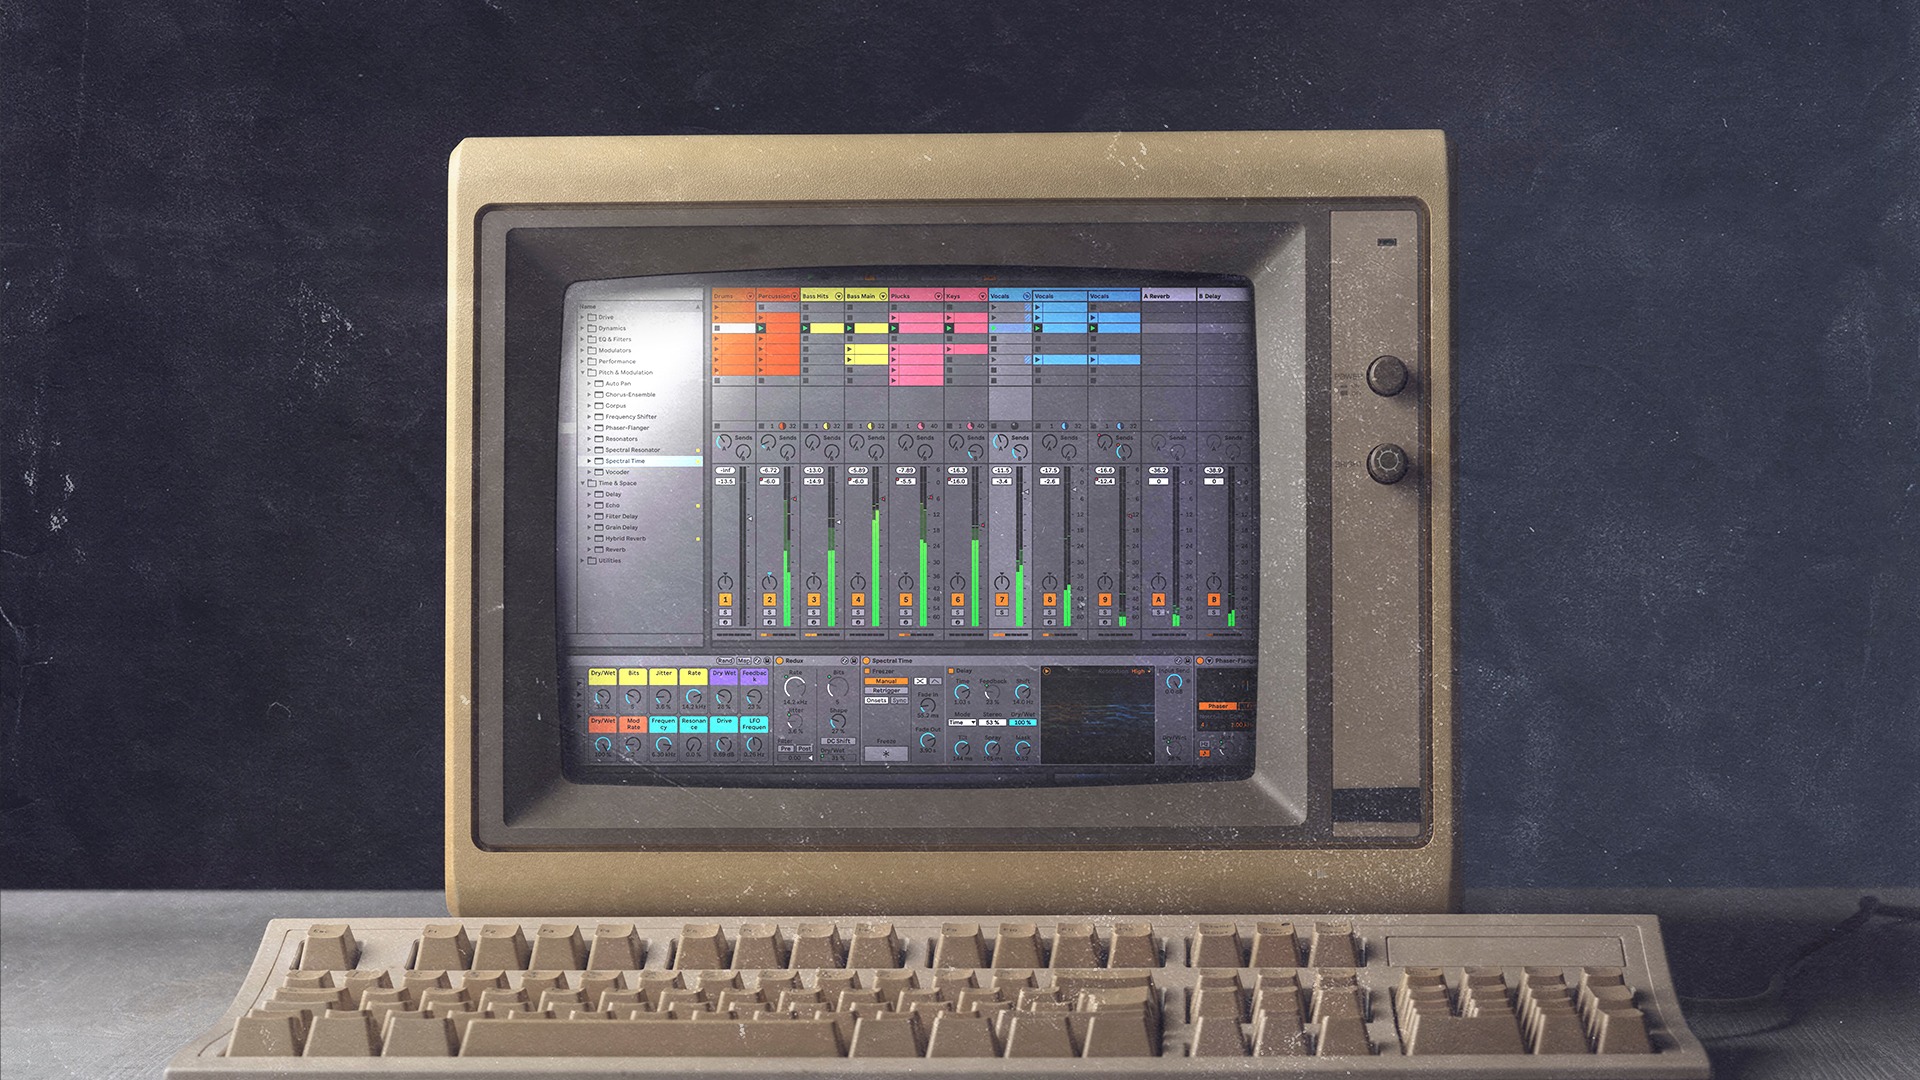
3. Inputs, outputs and the mixer
Here's how the inputs and outputs are organized in Ableton.
Ableton comes with an input and output configuration box in its settings section under Audio.
Here is where you’ll set up audio to come in and out of your audio interface.
You’ll need to configure your DAW to send audio out to your headphones through the interface and receive audio from any external inputs into the interface.
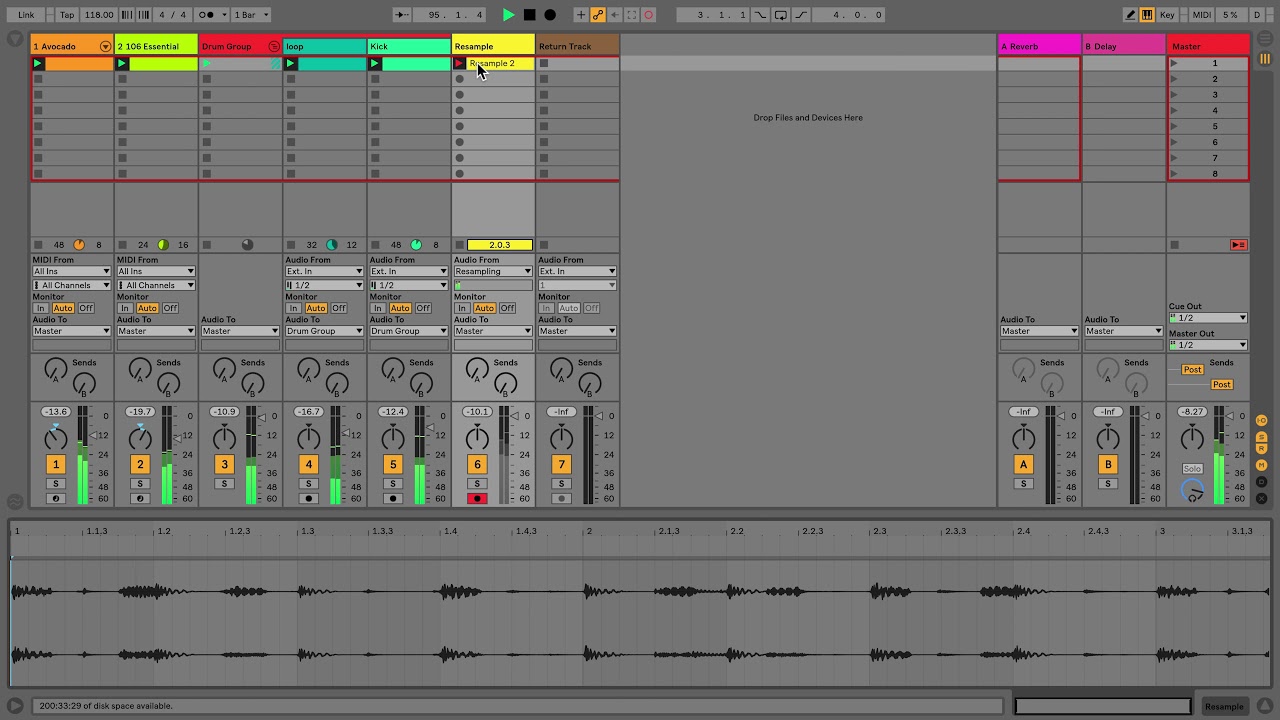
Ableton’s mixer is prominently shown on the Arrangment or Session views—to configure where the audio is going you’ll have to find the right ins and out under the audio from and audio to boxes.
By default you’ll want to send audio to the master channel, found as the last track in your project.
The mixer will also allow you to send audio your project’s effects sends. By default, each project comes set up with a reverb and delay that you can send audio to.
But with Suite and Standard, you can add additional sends for other effects—if you want to send to a different delay or compressor or use a send as a bus for a set of tracks.
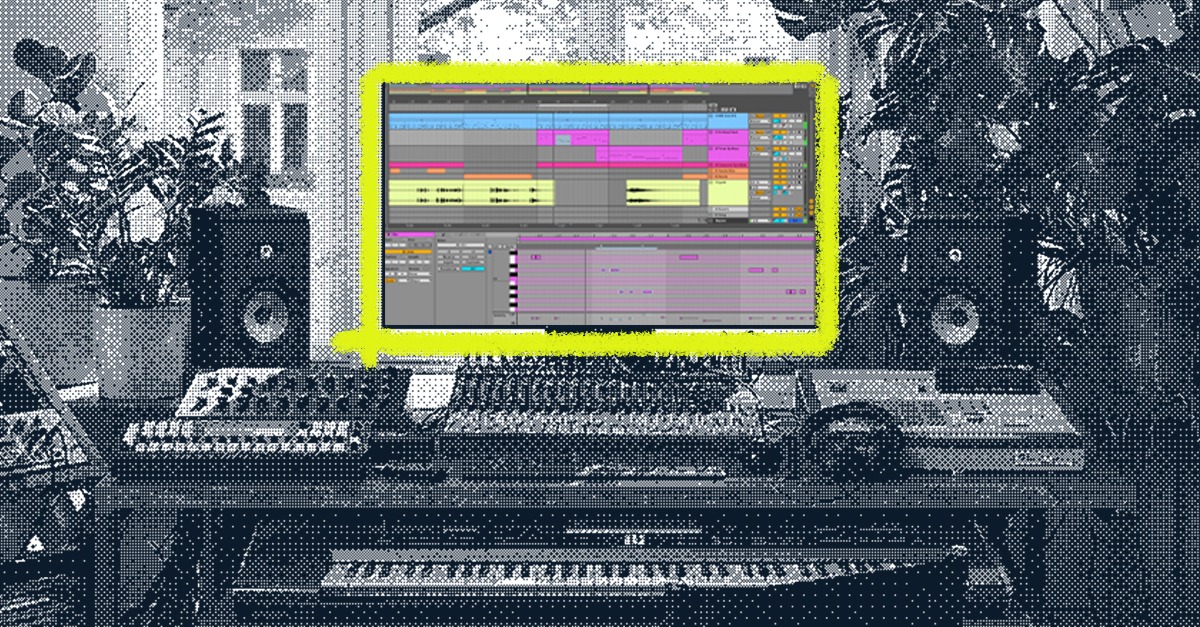
4. Learn how to use the arrangement view

Here's a great tutorial from Ableton about the arrangment view.
The arragement view in Ableton follows a fairly standard format that most DAWs tend to use.
This view gives you a linear view of a song that let’s the producer see what’s going in each track and arrange each part.
If you’re recording a track with live instruments or a group you’ll likely want to use this view to monitor each track and make sure everything is being recorded properly.
The timeline is also a great place to drop samples once you’re ready to start arranging your ideas into tracks.
5. Learn how to use the session view

Here's how session view works.
Speaking of writing ideas… the clip is much more suited to this part of the music process since it’s geared towards loop-based writing and allows producers to quickly try different arrangement ideas.
Session view is essentially a grid-based looper that makes it simple for producers to record different clips and try different loop combinations together.
Each line in the grid represents what Ableton call a “scene” that can be switched in and out of by clicking the play button for each line.
Or you can select a different loop from each track and play different loops that are not part of a scene.
This may sound complicated, but once you understand how easy it is to try different ideas and start compiling loops—you’ll understand why some producers swear by the session view.
The scene feature is particularly useful for live performance, since it allows for such each transition from part to part and these transitions can be made at the performer’s discretion since they’re not a on a linear timeline.
6. How plugins work in Ableton
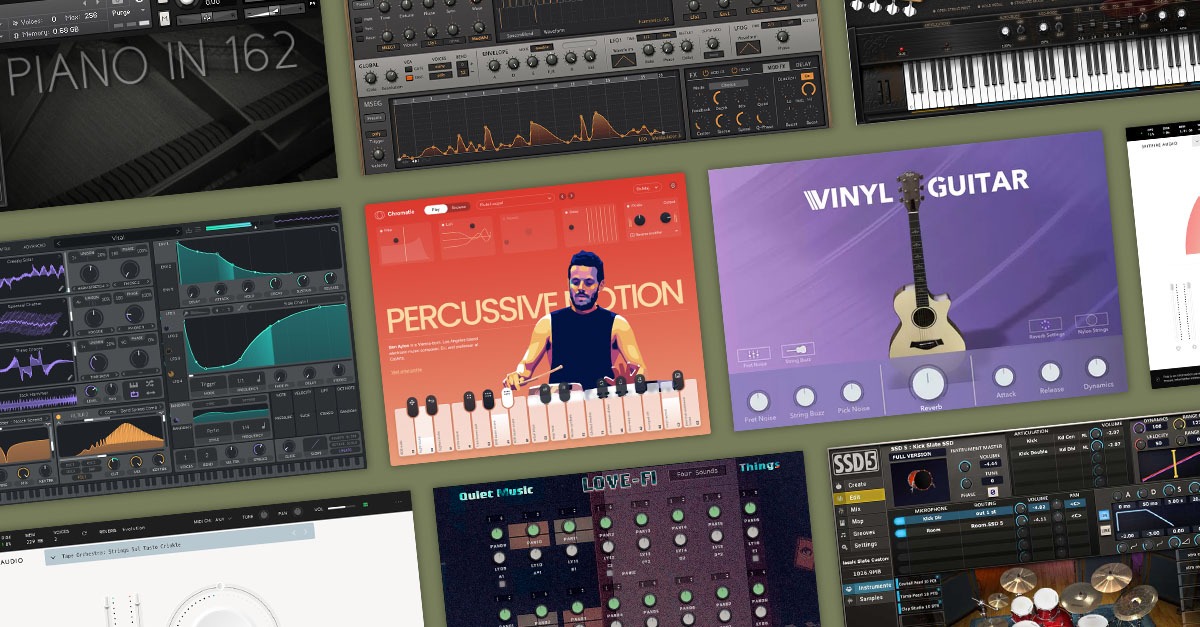
Don't miss this epic list of free plugins. Read - The 250 Best Free VST Plugins Ever
Like most popular DAWs plugins and virtual instruments work in all formats on Ableton.
In Ableton, third party plugins made by other develops can be found in a folder Plug-Ins which is found on the left side.
This left side panel is also where you’ll find all your Ableton software instruments, drum racks, samples, Ableton audio effects, clips for Session view, groove pool settings and saved templates.
It also has an external folder manager where you can keep external samples and save custom drum racks.
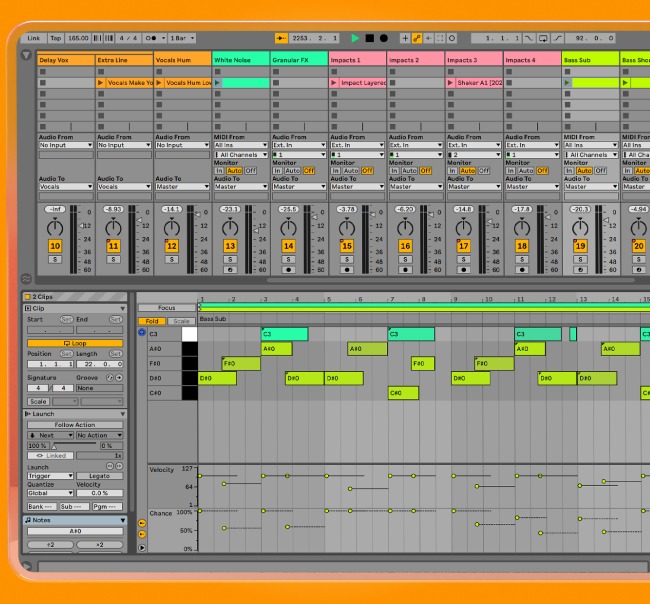
7. How the MIDI roll works in Ableton

This is how the MIDI roll works. Read - Piano Roll: 9 Ways to Use the MIDI Piano in Your DAW
In Ableton, the MIDI roll, or piano roll, is your main tool for crafting melodies. Find it by double-clicking a clip in a MIDI track.
This opens a window where you can click and draw notes, making your musical ideas come to life.
Want to align those notes perfectly? Right-click inside the piano roll and choose quantize to snap them to a grid.
There’s also a little section below the grid for controlling the velocity of each note. This lets you add some real dynamics to your melody.
And don’t forget the automation lanes, where you can adjust things like volume or panning over time. It’s like having a canvas where your musical dreams become reality.
8. Set up templates
Here's some great Ableton templates. Read - DAW Templates: Speed Up Your Workflow With Mix Templates and More
Templates in Ableton are a lifesaver. Imagine having to set up your favorite instruments and effects every time you start a new project. Not fun!
To create a template, go to “File” > “Save Live Set as Template.”
Now you can open your template whenever inspiration strikes and jump straight into creating.
9. Set up presets and custom drum racks

Start using drum racks in Ableton. Read - Ableton Racks: How to Use Them & 10 Ableton Drum Racks You Need
Ableton’s custom presets and drum racks let you tailor your sound. Found the perfect sound or effect?
Right-click on the instrument or effect and save it as a preset. It’s there for you next time.
For drum enthusiasts, the Drum Rack tool lets you load up your samples and assign them to keys or pads.
Tweak them, perfect them, and save your personal drum kit. It’s like having a custom drum set at your fingertips.
10. How to learn Ableton’s groove pool

Anthony shows how groove pool works.
The Groove Pool is where Ableton’s magic happens. Find it on the left side of your screen under the “Groove Pool” tab.
Apply swing, shuffle, or even extract a groove from another track and apply it to yours.
Want to quantize with feel rather than rigid alignment? The Groove Pool’s got your back.
11. Max for Live

Discover Max for Live
Max for Live is the universe inside Ableton. You’ll find it under the “Pack” section if you have the Suite version.
Create your own devices, from instruments to effects and even visual tools.
It’s an experimenter’s playground, and there’s a huge community online to help and share devices.
Now you know how to learn Ableton, the creator’s DAW
Ableton Live is a universe filled with creativity. It’s got everything from drawing notes in the piano roll to creating custom drum racks.
It might seem intimidating, but remember, every great producer started somewhere.
So learn how to use Ableton and start creating!

Alex Lavoie is a drummer, music producer, songwriter and marketing professional living in Montreal, Quebec. He works as a staff writer at LANDR by day and writes indie post-punk tunes in his band UTILS while moonlighting as drummer for folk-rock outfit The Painters. Connect with Alex Lavoie on LANDR Network!
@Alex LavoieGear guides, tips, tutorials, inspiration and more—delivered weekly.
Keep up with the LANDR Blog.