
What is ADR in Film and How to Get the Best Results
ADR is like many other aspects of post-production—when you do it right, the audience doesn't know you've done anything at all.
When it comes to film and TV audio, dialogue is arguably what the audience is paying the most attention to.
This means that for anyone doing automated dialogue replacement, the stakes are high.
Plus, when time is short and budgets are low, you’re faced with a delicate balancing act between quality and time efficiency.
Before we dig into the challenges of ADR and how to conquer them, let’s run through some common questions.
What is ADR in film?
ADR stands for automated dialogue replacement. It’s a common practice in audio post-production for film and television. ADR professionals are responsible for recording, editing, and integrating new dialogue or vocal audio to improve or replace what was recorded during the shoot.
Why is ADR used?
ADR is required when unwanted noise and environmental sounds have made dialogue unusable in the final cut. ADR can also be used to enhance an actor’s performance, improve the accuracy of an accent, or alter dialogue to support changes made to the story.
It all contributes to the goal of having as much control as possible over dialogue audio. This in turn allows for better control over background, foley, and other sounds that make up the final mix.
What does ADR involve?
Before ADR actually takes place, filmmakers need to determine where exactly it’s required. These decisions are made during ADR spotting sessions.
Spotting sessions usually involve the director, supervising sound editor, dialogue editor, and ADR editor. The specifics of this can vary depending on the production.
Once all the required ADR is noted down in cue sheets, the ADR team uses these sheets to carry out their ADR sessions.
In a standard ADR session, engineers play the relevant clips to an actor in repetition (allowing them to rehearse their timing and delivery) and new dialogue is recorded in multiple takes.
A director or producer is often present to guide the actor’s performance, and it can require many takes to get things right.
Recording is ideally done with the original actor, but alternative voice actors can be used in some cases, as long as the believability of the audio is not compromised.
How do you get the best results with ADR?
As we mentioned, automated dialogue replacement is the kind of thing that needs to be invisible to the audience to be successful.
Because of this, a lot of work goes into making sure that the new audio is integrated seamlessly into the scene.
To navigate the challenges of ADR, there are several best practices to follow—and even tools that eliminate those challenges altogether.
Let’s find out how you can get the best results from your ADR.
1. Match the mics used in production
Even the most subtle nuances can make it more difficult to match ADR recordings to the characteristics of the production audio.
Since different microphones produce different sound characteristics, this needs to be accounted for in ADR.
To accomplish this, it’s best to record the new audio with the same type of mic that captured the audio you’re replacing.
It’s common for production dialogue to be recorded with shotgun or hypercardioid mics in combination with lavalier mics.
Whatever the case was during shooting, it should be reflected in your ADR setup, ideally with the exact same microphone models.
If you don’t have access to the same models, you should at least use the same microphone types.
The more similar they are to the production mics, the better.
Without this, ADR isn’t impossible—it will just require more time and effort to get a decent match, and your results may fall short.
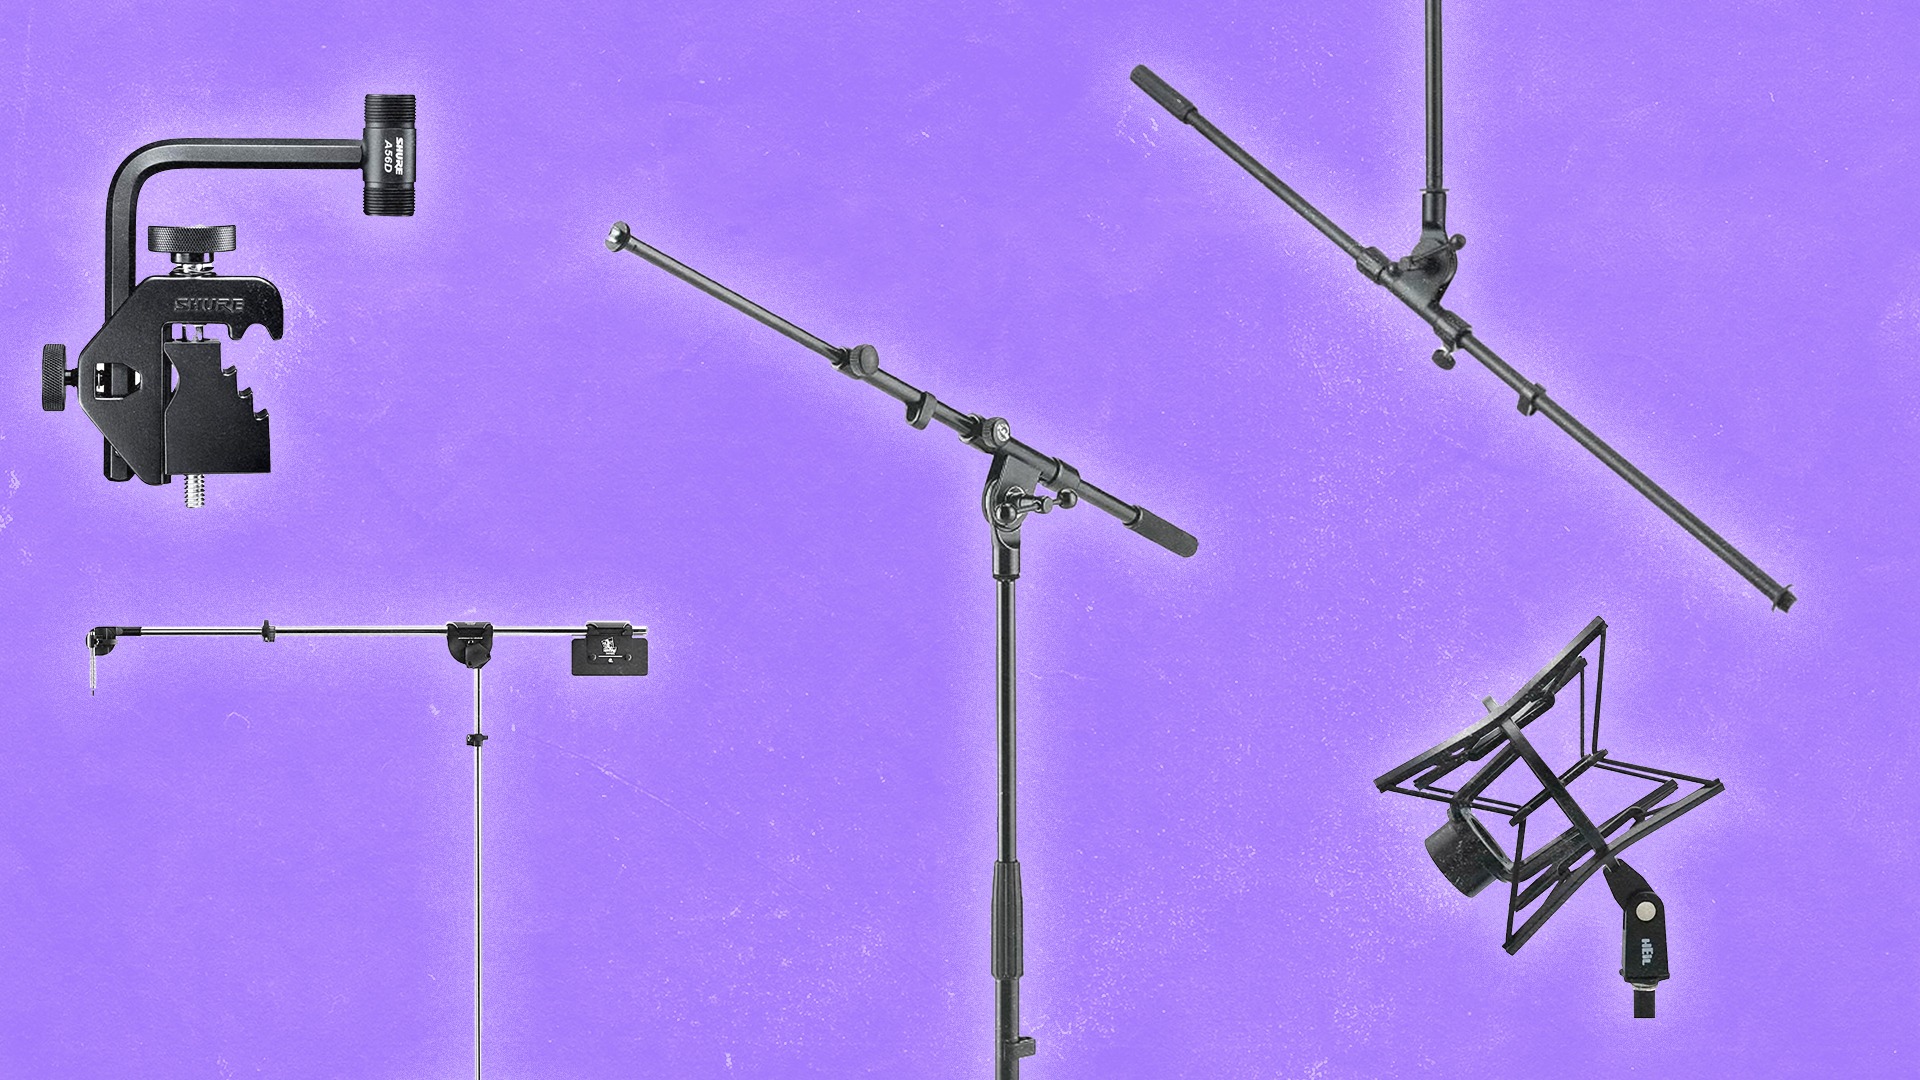
2. Get your mic placement right
The way you place microphones during an ADR session can make or break the editing and syncing process later on.
Some industry professionals would say that placement is even more important than mic matching.
In an ideal workflow, the production sound team will give you the information you need on how the actor was mic’d in each shot.
This way, you can match the placement in your ADR sessions.
If you don’t have access to this information, you’ll need to do some educated guessing.
It may be safe to assume standard mic placements based on the nature of the scene. Having strong knowledge of production sound comes in very handy here.
In most cases, the shotgun or hypercardioid mic was likely operated via an overhead boom, with the distance to the actor depending on the tightness of the shot.
The lav was probably secured within 15-30cm of the actor’s mouth, with the exact method of placement depending on wardrobe.
It’s generally not ideal to rely on guesswork, so be sure to get the information you need from the production sound team if possible.
3. Record in a properly treated space
Our holy trinity of ADR recording technique is completed by a third factor—room acoustics.
Even if you nail your mic technique, a poorly treated space will cause headaches for you when integrating your new audio.
You might expect that your space should be as acoustically dry as possible—but that’s not necessarily the case in ADR.
Instead, the space you use for ADR should be treatable in a more dynamic way, depending on the needs of the audio you’re recording.
Again, it’s all about matching your recording situation as closely as possible to the conditions of the shoot.
Say, for example, a scene was shot in a living room.
It may be helpful for your recording space to have slight, subtle reflections that give a “room feel” to the new dialogue.
On the other hand, you don’t want a room feel for exteriors scene dialogue. It would be wise in this case to dampen reflections with acoustic blankets or other methods.
No matter the situation, you want to avoid having new vocal audio that is so dry, up-front, and clean that it feels more like a voiceover.
This will clash with the audience’s visual perspective of the character.
Meanwhile, of course, having access to room tone and ambience recordings from the production sound team is essential for a convincing mix.
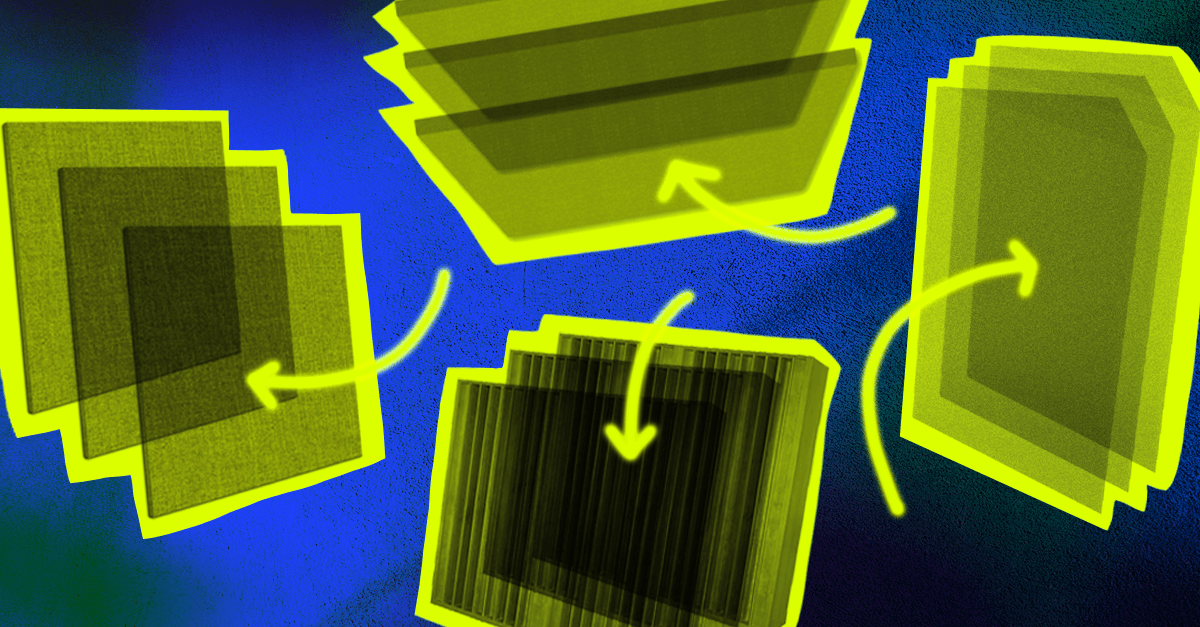
4. Plan ahead with wild lines
Sometimes the best strategy for ADR is carried out long before ADR even comes into the equation.
Imagine if you had access to alternate dialogue that was recorded in the same place, with the same mic setup, and during the shoot itself.
There’s a term for this—wild lines.
These lines are re-recorded in a quieter part of the set or location, usually by the production sound team, and ideally between setups.
They can be a godsend when fixing compromised dialogue.
Depending on the nature of the production and your relationship with the team, you may even be able to record wild lines ahead of time yourself.
Keep in mind, though, that this can be a big ask in some scenarios.
It may not be suitable for the production or compatible with the workflows of the actors.
If you have an opportunity to request or arrange for the recording of wild lines, it can be very worthwhile to do so.
5. Get a good performance from the talent
There’s much more to ADR than mics and acoustics.
In order to get the best match and keep every scene strong, you need to get a good performance from the talent.
For this, you have to set them up for success.
The director or producer will usually be the ones guiding the actor’s performance, but like everything in film and TV, it’s a group effort.
You could be called upon to contribute your input on how the actor executes their lines, and it’s wise to be ready for that.
A producer or director may not always have a strong sense of how the actor’s voice needs to behave within the sonic and acoustic context of the scene.
If, for example, a character is speaking near a waterfall, they’re not just going to raise their voice. They’re going to enunciate their words differently for clarity.
Remember—time and money are of the essence. Your job as the engineer is to be well-informed, prepared, attentive, and efficient.
When you contribute to a productive environment for the talent, they’ll do their job to the best of their ability.
As a result, your job will be much easier later on.
6. Record everything
So, something truly great has happened—and then you realize that it wasn’t captured and it can’t be recreated.
Anyone who records anything for a living probably knows how devastating that can feel.
Fortunately, preventing this scenario is easy—just record everything.
Experienced engineers know that the right take can happen at any time, not just when someone says “action.”
It can be during a warm-up, a mic test, or when an actor confirms the feedback they’ve gotten from the director.
As long as you’re rolling, you’ll never miss that nice, clean, unexpectedly perfect moment.
Some of the best stuff can happen when the talent doesn’t know you’re recording, so you may want to use that to your advantage.
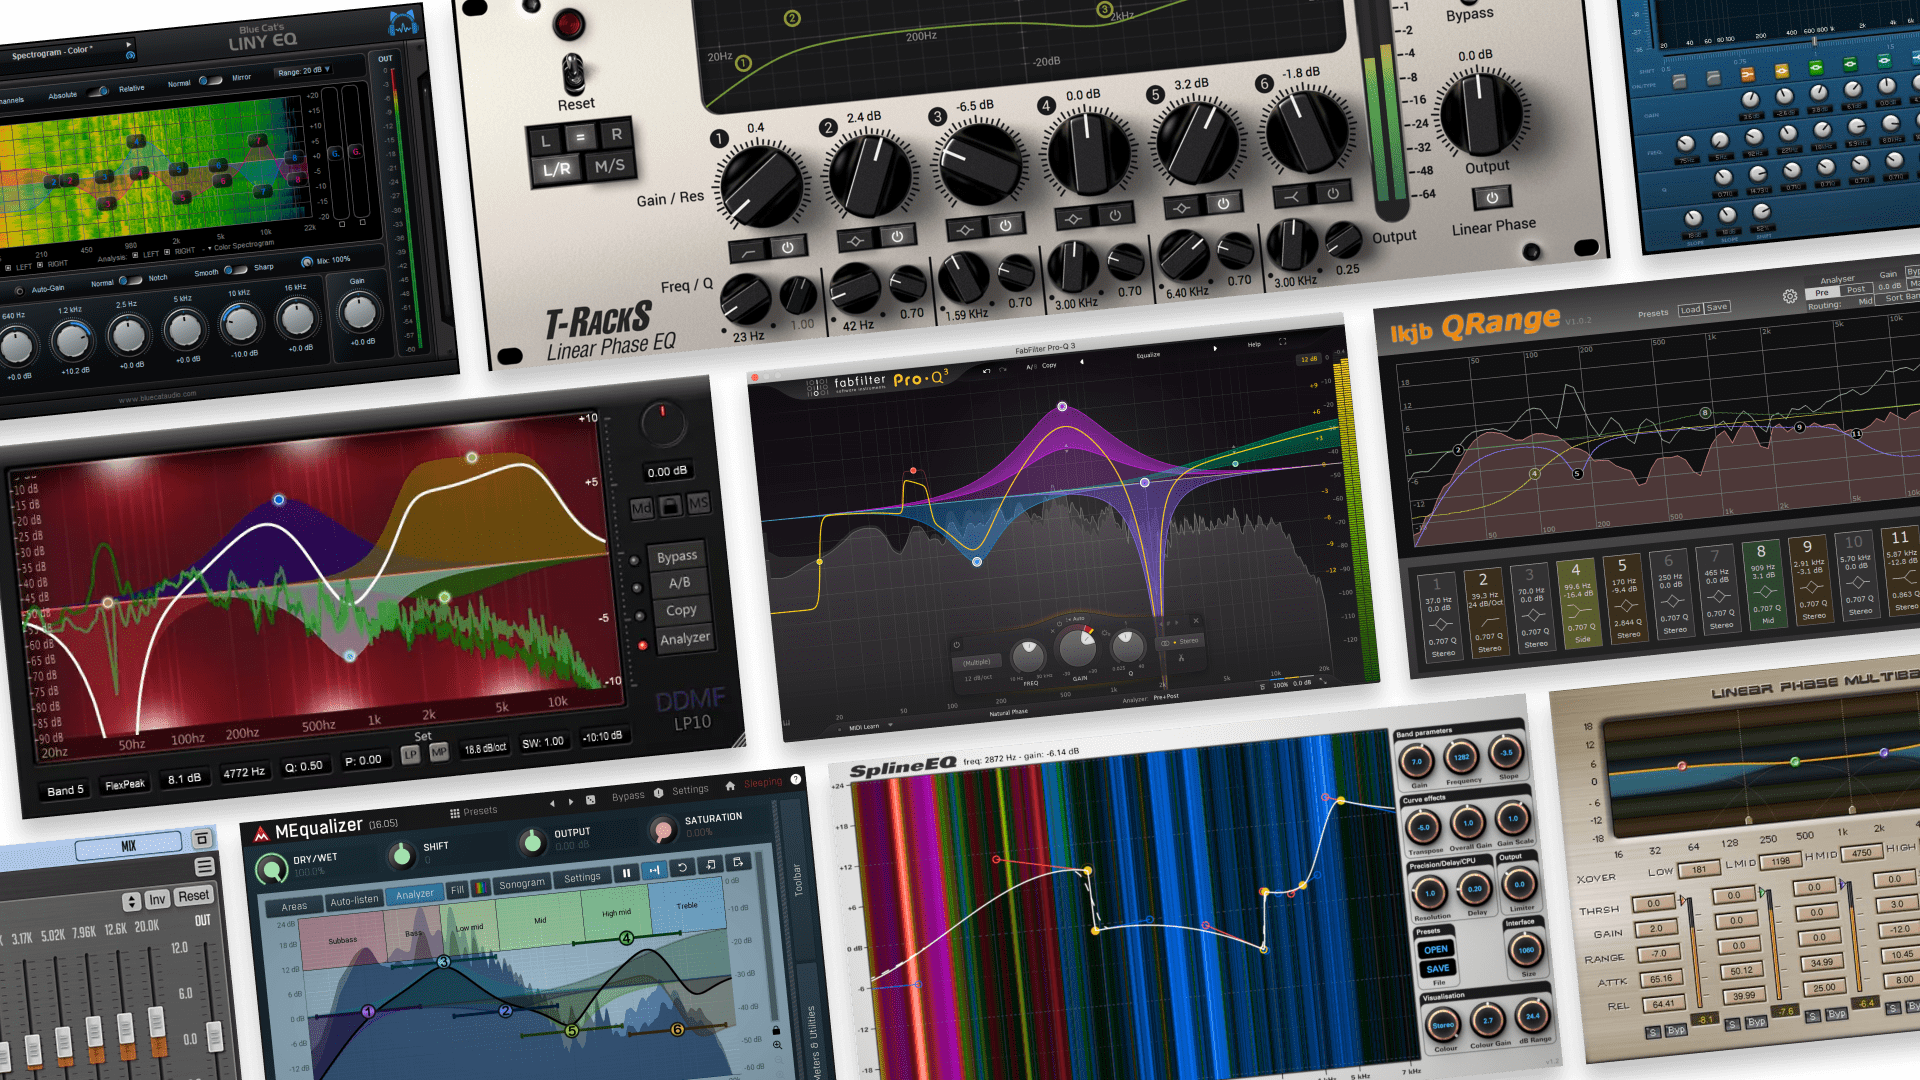
7. Sharpen your editing and mixing skills
As hard as you may work to nail the session, you’re bound to run into situations where your recordings are fighting against you in the edit.
This is because matching and mixing ADR audio is a highly detail-oriented process.
Two of the most important tools in conquering that process are EQ and time stretching.
ADR specialists will also use reverb, compression, or even subtle amounts of distortion.
Whatever can get you a more convincing match, use it. More importantly, know how to use it.
How does the sound of a voice change when an actor turns their head away from the camera, and how do you simulate that?
When should you use automation for more dynamic and adaptive processing of the audio?
Since you’re blending signals from multiple mics, and vocal clarity is of the utmost importance, do you need to use a linear phase EQ?
The more consistent and disciplined you are about sharpening your editing and mixing skills, the better your decisions will be.
8. Be a perfectionist with your syncing
When it comes to syncing your ADR recordings, “good enough” is rarely good enough.
Our eyes and ears are highly sensitive to the nuances of human speech, so when something is off, we usually notice it instantaneously.
You’ve probably seen movies or shows with blatantly obvious ADR.
While it’s not guaranteed to ruin your experience of the entire thing, it’s also not very flattering.
Above all, someone has placed their art in your hands and you’re expected to help maintain its quality. The last thing you want to do is let them down.
This is why commitment to quality is so important.
If you can do better, and time and budget allow you to do so, don’t hold back. Go that extra mile to get it just right.
9. Choose the right tools
The industry has come a long way in developing tech that makes it easier and faster to accomplish a lot of what we’ve mentioned so far.
Time stretching is one of the biggest examples, as it’s indispensable when matching ADR takes to lip movements.
But most time stretching software has a way of introducing audible artifacts far too easily.
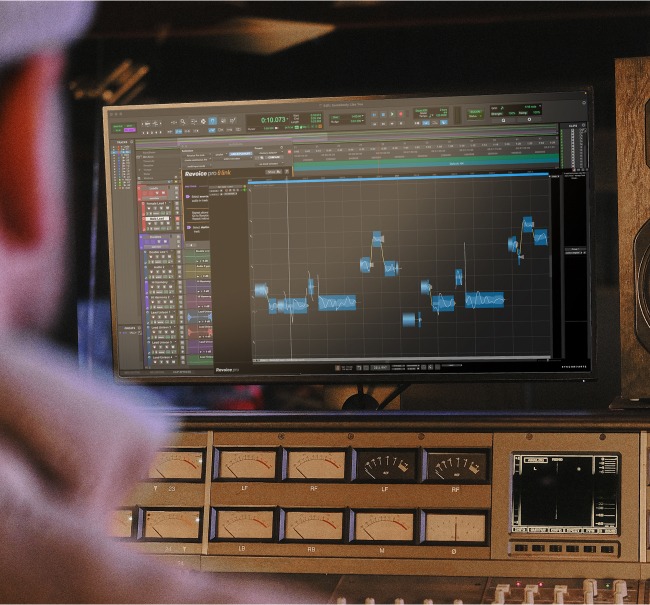
For this reason, many professionals specializing in ADR tend to favor SynchroArts Revoice Pro.
Its time stretching algorithm gives a stunning amount of flexibility without compromising on quality.
This can really put the mind at ease when you’re dealing with audio that needs to retain its natural, human characteristics.
It also gives you deep control over pitch, allowing you to modify the tonality of dialogue in ways that aren’t possible otherwise.
Say, for example, an actor should’ve phrased a line like a question, or their inflection just wasn’t quite right.
Revoice Pro allows you to solve the problem without further re-recording, which can save everyone a lot of time and money.
There are also plugins out there for matching EQ and background noise between production audio and ADR recordings.
iZotope’s Dialogue Match and Ambient Match are key examples.
When it comes to matching and mimicking the reverb in production audio, the pros have a lot of love for Accentize Chameleon.
Ultimately, no matter what tools you use, it takes time and hard work to master the art of ADR.
But when you know the tech at your disposal, and how to leverage it, that time and work will get you much more in return.

Devon Hansen is a producer, DJ, and writer with 20 years of experience in electronic music production. Having worked under various names and in a wide range of styles, Devon has performed several editions of MUTEK Montreal and has released music with labels in North America, the UK, and Japan. When not working on creative projects or playing tunes on Montreal’s n10.as radio, Devon can be found watching movies, cooking, and reading too much about gear.
@Devon HansenGear guides, tips, tutorials, inspiration and more—delivered weekly.
Keep up with the LANDR Blog.