ビートメイキング
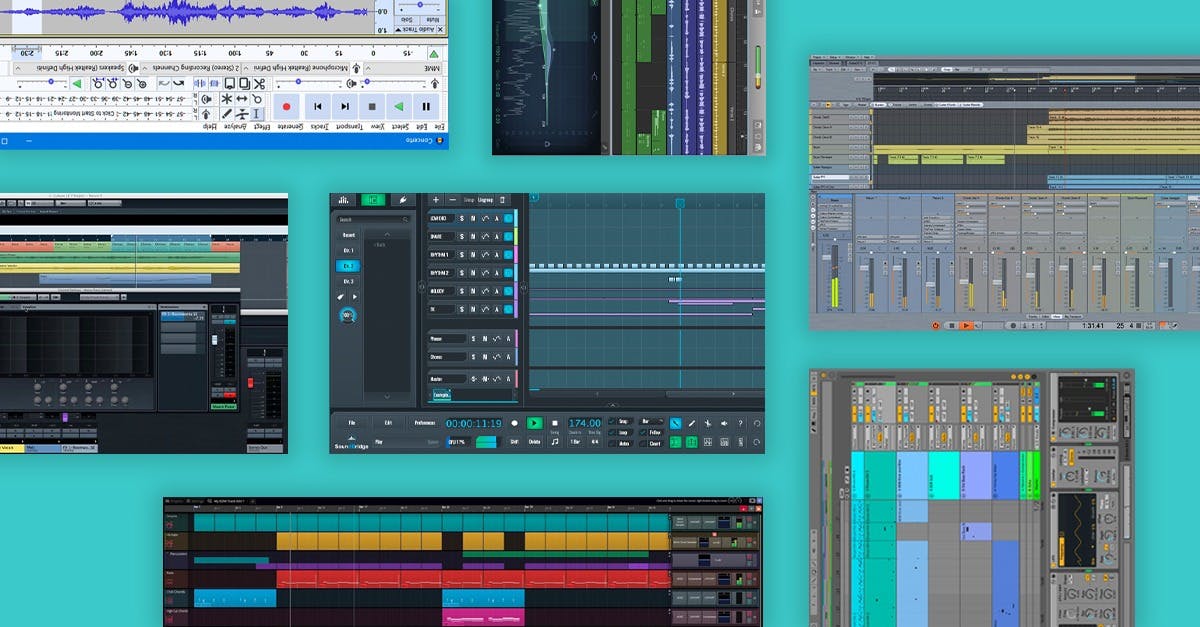
How to Master A Song In Your DAW
If you’re producing your own music, you’ve likely wondered about the best way to master a song in your DAW.
After all, mastering is necessary for every release, but challenging to do on your own.
While there are plenty of tools out there for DIY mastering, DAW-based options used to be limited to complicated plugins that could cause issues in your mix if used incorrectly.
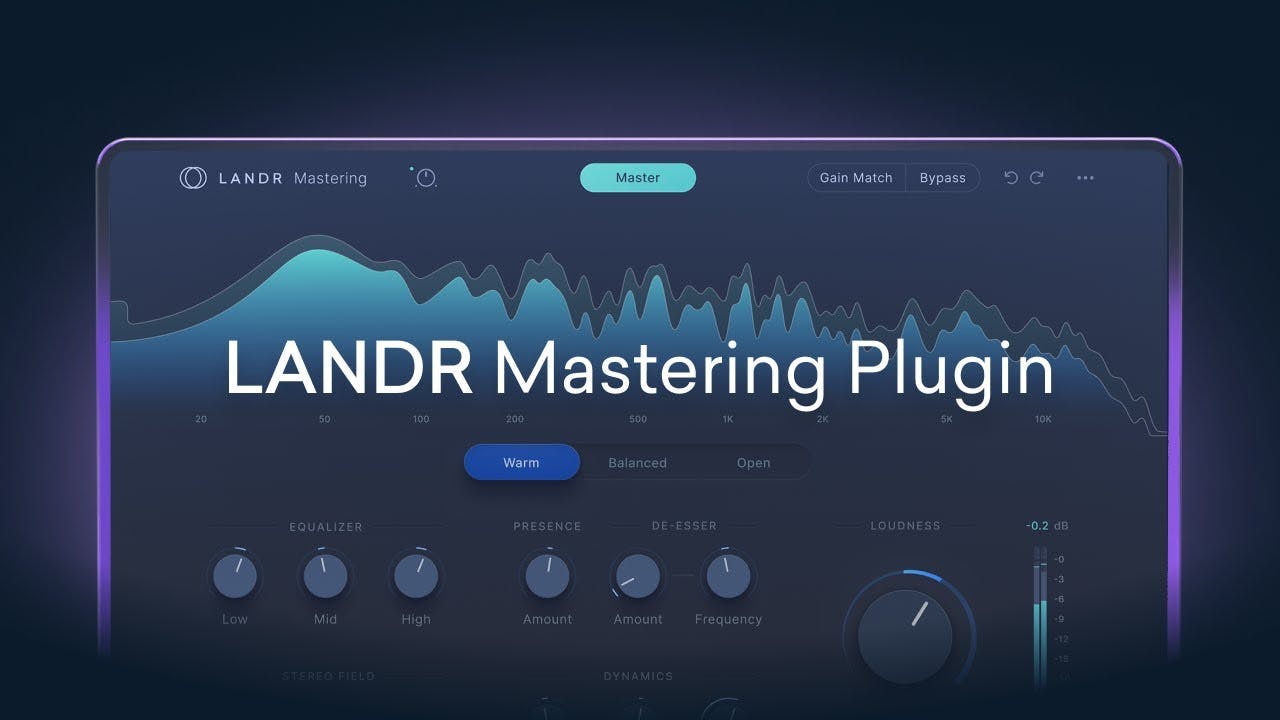
Today, there’s a new solution for mastering audio directly in your DAW—the LANDR Mastering Plugin.
It puts the power of LANDR’s best-in-class AI mastering directly inside your DAW for the first time ever.
But best of all, the LANDR Mastering Plugin makes mastering your own music as easy and effective as the instant online service we pioneered a decade ago.
In this article, I’ll explain everything you need to know to master your own music in your DAW using only the LANDR Mastering Plugin.
Let’s get started.
What is mastering?
Mastering is the final step of audio post-production. It’s the process that turns a stereo mix into a polished release.
Mastering 101 with Isabelle and Daniel.
The purpose of mastering is to balance the sonic elements of a mix and optimize playback across all systems and media formats.
It’s a balancing act between making sure your track is loud enough to compete with other professional music releases while sounding as pleasing and musical as possible.
The mastering process acts only on the finished stereo mix and not the individual tracks. That means you won’t have access to any of the individual sounds during the mastering phase.
As a result, any processing done during mastering affects the entire mix. It’s one reason why mastering plugins and hardware need to be so sophisticated.
It’s also a main reason why mastering is usually done in specialized studios. Bringing out the best in a mix while hitting technical targets for loudness and dynamic range is a tall order.
But that’s all about to change with the LANDR Mastering plugin.
What do you need to master a song in your DAW?
There’s no getting around it—you’ll need pro mastering software to successfully master a track using your DAW.
In the past that meant paying for multiple high-end plugins or expensive and complicated mastering suites.
But the LANDR Mastering Plugin brings professional results to DAW-based mastering without the difficulty of other plugin solutions.
You won’t need any background knowledge to get a quality master with the LANDR Mastering Plugin’s AI-powered engine.
How to master a song in 5 steps
How to master a song with the LANDR Mastering Plugin.
With the basics out of the way, here’s how to master a song in five steps.
1. Add the LANDR Mastering Plugin to your master bus
All you need to do to route your entire mix to LANDR Mastering is insert the plugin last in your insert chain on the master bus of your DAW project.
The plugin will take care of any limiting or brick-wall dynamics control so there’s no need to use any additional master bus processors other than LANDR Mastering.
2. Analyze your track
Inserting the plugin on your track will automatically start the AI-powered detection and processing phase.
For the best results, find a louder section in the song and keep your DAW’s loop brace over it during detection.
The AI will determine the key features of your track and create a custom mastering chain to bring out the best in the mix.
You can click the master button to manually begin the analysis phase if you need to remaster for any reason.
The LANDR Mastering Plugin comes equipped with the classic LANDR Mastering Styles you know and love.
3. Choose a mastering style
The LANDR Mastering Plugin comes equipped with the classic LANDR Mastering Styles you know and love.
Warm, Balanced and Open modes let you control the tonal character of your master from round and smooth to airy and extended.
You can toggle between the three in real time to get a feel for which best suits the material you’re working with.
4. Set input gain and loudness
The headroom you leave in your mix matters for how any mastering chain reacts.
That’s no different with the LANDR Mastering Plugin. But the plugin offers a handy built-in tool for managing signal intensity before mastering.
The input gain parameter controls level of the audio fed into the mastering engine. If the indicator light to its right is red, you’ll need to decrease the input gain to increase headroom.
When it’s white, you’ll need to increase it. The correct balance ensures that the mastering processors respond correctly to the audio material you feed in. You’ll see a green indicator when the input gain is set just right.
Similarly, the loudness control determines the overall level of your resulting master.
The plugin’s output meter displays a LUFS value based on the EBU128 standard with integrated LUFS over the duration of the audio you’ve played.
This means you can set the loudness control to achieve the exact loudness and dynamic range you want in LUFS.
That said, you don’t need to know what LUFS value you want to master a song using this method.
Simply increase the loudness until you hear the right balance of punch and intensity. The plugin will make sure that your master never exceeds the acceptable level for release.
5. Revise your master to customize your sound
The LANDR Mastering Plugin offers more hands-on control than ever before with LANDR Mastering.
While the analysis step can produce a release-ready master with no additional tweaking required, you may find customizing some settings gives you results you prefer.
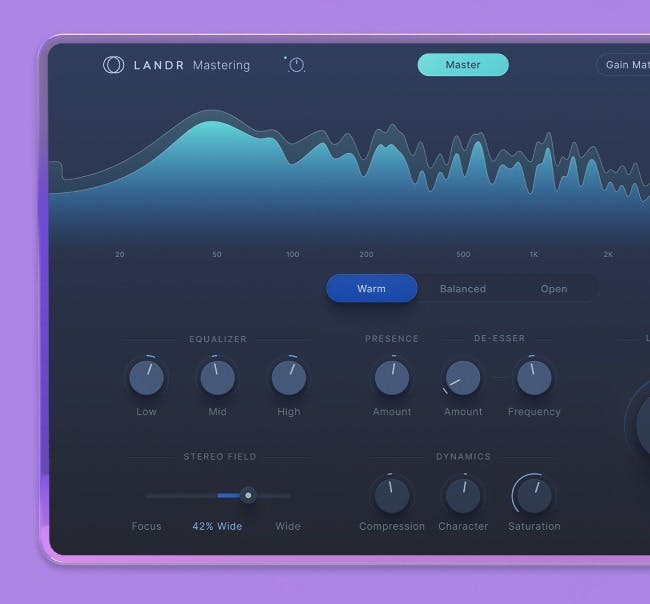
More than just a simple three-band EQ, the equalizer control offers broad tonal sculpting in three essential frequency areas.
The stereo field slider lets you emphasize width or focus content in the center of the stereo image. Increase the width to enhance the overall sense of space, or increase the Focus of central elements like kick, snare, and vocals to create more impact.
The presence and de-esser section gives you fine-grain control over the essential upper midrange frequencies in your master. Use it to de-emphasize harshness or reduce any sibilance that could be present in bright and upfront vocals.
Finally, the dynamics section lets you tailor the response of the mastering compression for just the right balance of punch and sustain.
Decrease the compression dial to let your mix breathe with punchier dynamics or crank it up for more intensity and focus.
Finally, the saturation control adds weight and harmonics with an analog-like thickening effect reminiscent of classic tube and transformer equipped gear.
More from LANDR
Keep with the latest from LANDR.
The best way to master a song with plugins
Expanding access to pro-quality mastering was LANDR’s original mission when we launched our first AI-powered engine in 2014.
With the LANDR Mastering Plugin, we set out to build the perfect plugin-based solution for mastering.
Now you can get a more precise, personalized master than ever before without ever leaving your DAW.
If you’ve ever wanted to master a song, LANDR Mastering is the best tool to use to create professional sounding masters in your DAW.
Various contributors from the LANDR team of music mentors.
@LANDRGear guides, tips, tutorials, inspiration and more—delivered weekly.
Keep up with the LANDR Blog.