Bouncing Audio 101: How to Export Tracks From Your DAW

Congratulations, you made it.
Your mix is done and your song is officially finished. But how do you get it out of your DAW and into the world?
There’s one more hurdle to pass. It’s the last important step in your DAW: The bounce dialog.
In this article I’ll go through everything you need to know about bouncing and how to export audio properly in 5 of the best DAWs.
Theory guides, production tips, new free plugins, gear guides and more—delivered weekly
Keep up with the LANDR Blog.
What is bouncing audio?
[adbutler zone_id=”291816″ secure=”1″ type=”asyncjs”]
Bouncing (or exporting) is how your DAW turns your project into files on your hard drive.
The term bouncing comes from the analog era. The track count is a hard limit on tape machines.
But engineers and music producers could use their consoles to mix several tracks down to one to free up more recording.
The process was called “bouncing down.” The drawback was that the level of each of track would no longer be independent on the printed track.
But today, bouncing usually means writing the final mix of your song to a stereo audio file. It can also mean printing stems of all the instruments in your mix or exporting individual tracks for collaborative projects as well.
No matter how you bounce your project, you’ll have to know how to use your DAW’s bounce dialog to output your files properly.
The best export settings for mastering
You have to choose the right settings to make sure your bounce is ready for mastering.
No matter which DAW you’re using, here’s what you need to know.
Resolution
Don’t export your song to a lower resolution than the one you’re using in your project. If you choose a lower resolution, your DAW will have to convert your exported file to the target sample rate and bit depth.
Stick with what you have or choose 32-bit floating point if it’s an option.
The reason why has to do with…
Dither
Dither is a pretty technical subject. But when it comes to your tracks, all you need to know is when to apply it. Here’s our guidelines:
- Don’t change file types unless you absolutely have to. If for some reason you need to downsample, be sure to dither during conversion.
- Save dithering for when your files are headed outside of your DAW. Dither only once—during export.
- If you’re sending your files for mastering, leave dithering out if you can export 32-bit float files. In this case, the mastering process will take care of dither for you. When you export anything other than 32-bit float, you have to dither. That includes when you bounce files that are the same bit-depth as the ones you recorded.
Hot tip: Your DAW may have the option to create AIFF or WAV files while recording. Both are lossless formats, so there’s no sound quality difference between the two. These formats are best for uploading during the mastering step. So stick with these formats for your bounces as well.
Normalize
Make sure to NOT normalize the files you export for mastering. Normalizing will increase the gain of your file a lot—not what you want for keeping good headroom for mastering.
Channel Width
Make sure to select interleaved if you want a traditional stereo bounce file.
Use multiple mono if you’re exporting tracks one by one.
Offline vs. Realtime Bounce
Realtime bounce writes the audio file to disk at the same speed as playback in the DAW. This method is slow but safe and reliable.
Offline bounce renders the export file much faster than real time. This can save you a lot of time, especially if you need to bounce many tracks individually.
In some cases, offline bouncing may cause issues with CPU heavy plugins or intricate automation. If you’re worried about offline mode having an effect, stick with realtime.
In some cases, offline bouncing may cause issues with CPU heavy plugins or intricate automation. If you’re worried about offline mode having an effect, stick with realtime.
Now that you know the basics here’s how to bounce your audio from your DAW.
Bouncing in Logic
How to bounce in Logic Pro X
- Open the bounce dialog by selecting File > Bounce > Project or or by using the key command ⌘B on Mac or CTL+B on Windows.
- Select the export range by selecting regions, turning on cycle mode and setting the locator positions, or entering the Start and End Values.
- Choose whether to bounce in realtime or offline mode.
- Make sure your settings are correct for mastering.
- Click “Bounce” to begin your export.
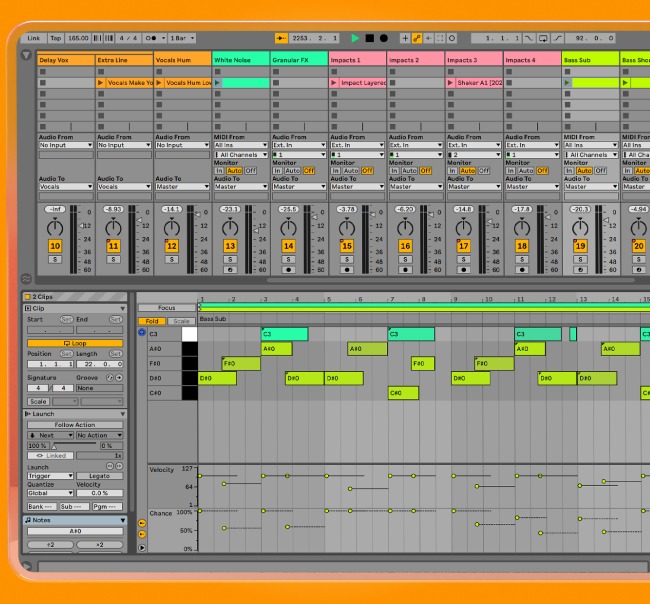
Exporting audio in Ableton Live
How to bounce in Ableton Live
- Open the export dialog by selecting “Export Audio/Video” in the File menu or using the key command ⇧⌘R on Mac or CTL+ALT+R on Windows.
- Select the bounce source using the “Rendered Track” dropdown. Choose “Master” if you want to make a stereo bounce of your mix.
- Select the export range by selecting clips, setting the boundaries of the loop brace or keying in the “Render Start” and “Render Length” bar/beat values.
- Make sure your settings are correct for mastering.
- Click “Export.”
[adbutler zone_id=”291816″ secure=”1″ type=”asyncjs”]
Bouncing in Pro Tools
How to bounce in Pro Tools:
- Open the bounce dialog by selecting File > Bounce to > Disk, or using the key command ⌥⌘B on Mac or CTL+ALT+B on Windows.
- Select the bounce source.
- Select the range you’d like to bounce on the timeline.
- Make sure your settings are correct for mastering.
- Choose whether to bounce offline or in realtime with the checkbox at the bottom left.
- Click “Bounce.”
Export in FL Studio
How to export in FL Studio:
- Open the export dialog by selecting File > Export > Wave File or by using the key command ⌘R on Mac or CTL+R on Windows.
- Select the export file destination.
- Make sure your settings are correct for mastering.
- Click “Start” to begin bouncing.
Bounce Better. Bounce often.
Exporting your tracks is the last thing you do in your DAW before mastering. Don’t let anything fall through the cracks right before the finish line!
Make sure you choose the correct options to export your tracks for mastering and make friends with the bounce dialog in your DAW.
Now that we’ve bounced some ideas off you, get back to your DAW and get your tracks ready to master.
Gear guides, tips, tutorials, inspiration and more—delivered weekly.
Keep up with the LANDR Blog.
