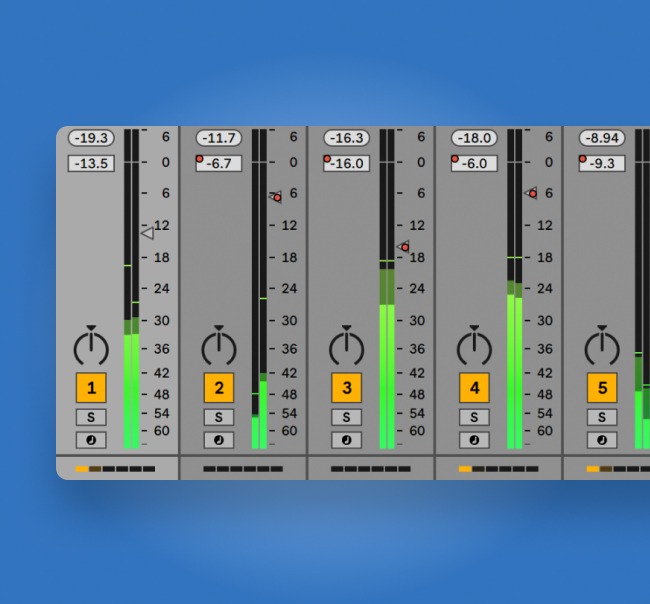
Parallel Compression 101: How to Give Your Mix Punchier Dynamics
Parallel compression is a powerful tool for shaping your dynamics.
Aggressive compression can give your sounds a sense of weight and power. But that feeling of loudness and pressure can come at a price.
Heavy compression settings often result in unnatural dynamics and a lack of punch that’s especially noticeable in a dense mix.
Heavy compression settings often result in unnatural dynamics and a lack of punch that’s especially noticeable in a dense mix.
What if there was a way to get the best of both worlds? Parallel compression is one way to make it happen.
What is parallel compression?
Parallel—or New York style—compression is a technique where the dry (uncompressed) signal is blended in along with the compressed signal.
By mixing in some of the dry signal, you can easily retain the original dynamics of the sound—even if you’re using extreme compression settings.
How to use parallel compression
You can use any compressor in your plugin folder in parallel if you set it up properly. Here’s how:
- Start by creating an aux return channel in your DAW’s mixer. Make a mono return track if your source signal is mono and a stereo return if your source is stereo.
- Add the compressor plugin you want to use as an insert on the aux return track.
- Create a pre-fader send on your source track to route to the compressor on the aux. If you use a post-fader send, changing the level of the source’s channel fader will also affect its level at the compressor’s input—causing your compression to change!
- Select the send from your source as the input of the aux track
- Dial in your compressor settings for parallel compression
- Tailor the mix of dry and compressed signal by adjusting the fader level of the wet and dry tracks.
Parallel compression settings
One of the biggest benefits of parallel compression is being able use to intense compression settings without completely destroying the dynamics of your source.
One of the biggest benefits of parallel compression is being able use to intense compression settings without completely destroying the dynamics of your source.
That’s why parallel compression is often used on drums and percussion. Heavy compression has a particularly satisfying effect on drums.
But if you completely crush your transients, the drums won’t have enough punch for the individual hits to pop out of a dense mix.
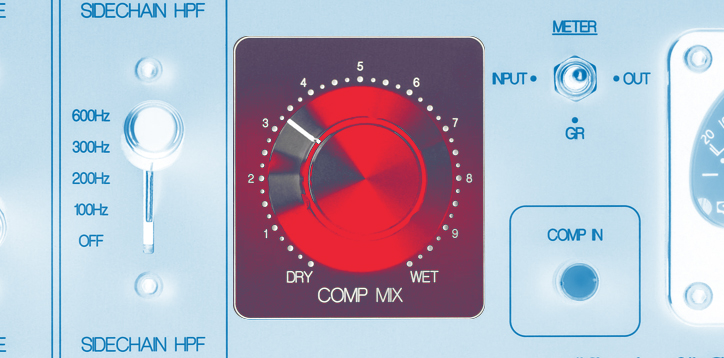
Hot tip: The easiest way to create parallel compression is by using a compressor plugin with a mix control. If you’re looking for an easy-to-use option, LANDR Studio now includes Klevgrand Korvpressor. It’s a flexible and transparent compressor plugin that’s perfect for adding weight and punch in parallel. With studio, you’ll also get access to producer essentials like mastering, distribution and plugins.
Try parallel compression on percussion and experiment with high ratios and low thresholds as you’re setting the parameters of the compressor on the wet channel.
You can deliberately create pumping effects with fast release times for rhythmic emphasis, or bring out the room sound and sustain of the cymbals with longer ones.
Just when you think things have gone too far, start bringing in the dry signal and listen to how your compressed transients interact with the dry drum hits. Use the wet/dry mix to get the perfect balance of punch and body.
Use the wet/dry mix to get the perfect balance of punch and body.
Parallel compression can be useful on all kinds of sources. In addition to percussion, try parallel compression on vocals or any other source that benefits from heavy compression settings.
Parallel Universe
Parallel compression is an incredibly useful pro technique to have in your toolbox.
If you’re struggling to get what you need from traditional in-line compression or you’re just looking for a more creative approach to dynamics, give parallel compression a try.
It could be your next secret weapon technique!
Gear guides, tips, tutorials, inspiration and more—delivered weekly.
Keep up with the LANDR Blog.
