Tape Machines: How to Record With Analog Tape in 8 Steps
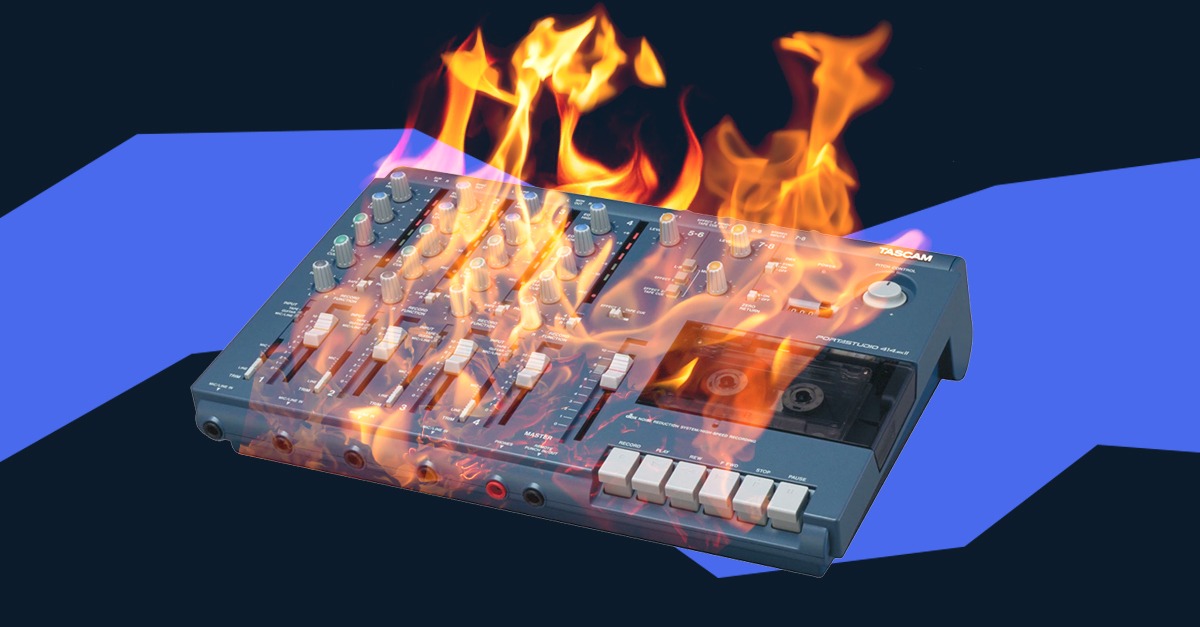
It’s a bit hard to understand why tape machines are still popular with some producers in 2020.
In a recording era with better-than-ever access to free recording software, powerful plugins and modernized gear, some producers find themselves going back to tape machines.
Tape machines are finicky. They’re fragile, intricate and long out of production. You’ll have to find a vintage unit on the used market just to get started using one in your workflow.
Why go through all this trouble to get an arguably worse recording when compared to the wonders of modern recording software and gear?
It’s easy to say that tapes have this special sound that you can’t get any other way.
But even with tons of lo-fi plugins that re-create the sound of tape, there’s something different about using a real tape machine.
It’s more than the nostalgic sound of a warbling cassette or the warmth of a reel-to-reel, the actual workflow of working with a tape machine is undeniably special.
The actual workflow of working with a tape machine is undeniably special.
If you’ve caught the tape machine bug and want to try one in your recordings, we’re here for you.
In this article, I’ll explain why tape machines are still so interesting to work with and what tape machines you should keep an eye out for.
Plus I’ll share seven tips and tricks for using tape machines to make your music.
What is a tape machine?
Tape machines are analog audio recording devices that capture audio by encoding electrical audio signals onto magnetic tape via magnetized heads.
Most tape machines use either reel-to-reel tape or cassette tapes as the recording medium.
Here’s what happens behind the scenes when tape cycles through a tape machine.
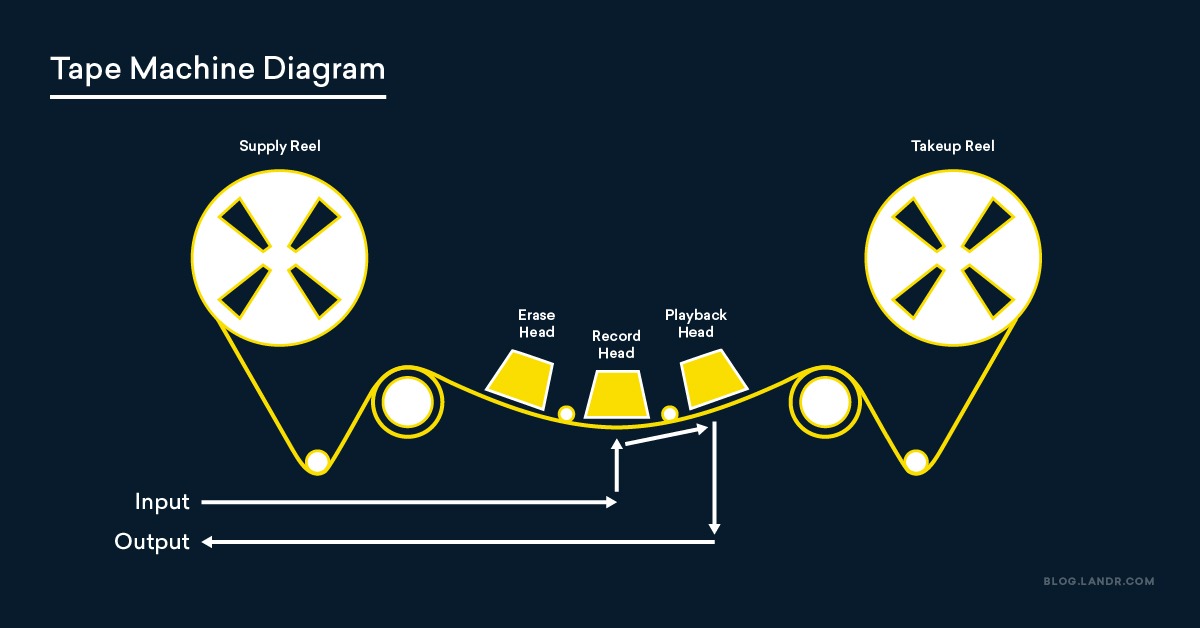
It’s an elegantly simple way to record electrical signals into a physical medium, especially in the 80s when inexpensive cassette tapes made it much cheaper to record music.
Why do tape machines still sound so good?
Not all tape machines are the same. Some classic models are capable of pristine recording quality, but many cheaper ones sound more gritty and lo-fi.
You’ll get a pretty hi-fidelity recording with the original reel-to-reel machine.
But the lo-fi crunchy, saturated sound that comes from the cassette tape machines of the 80s and 90s is particularly appealing to modern lo-fi inspired artists.
Tape machines have a unique sound because of the mechanical nature of their construction.
Tape machines have a unique sound because of the mechanical nature of their construction.
Like the way subtle changes in the speed of tape cause warbling fluctuations in pitch or the hissing white noise in the background that’s present in many tape machines.
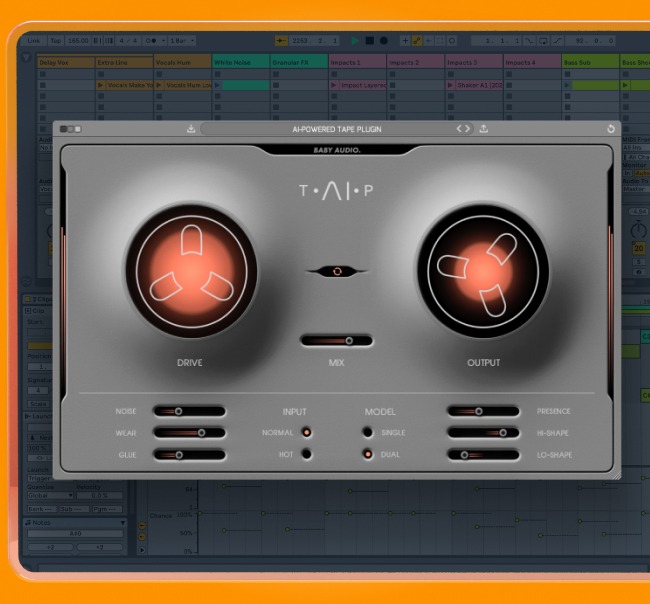
Hot tip: Looking for a convincing plugin for that special tape flavor? Check out Baby Audio TAIP, available now in LANDR Studio for the lowest price ever.
Reel-to-reel vs. cassette tape
Reel-to-reel is the original tape format. It was used for recording since the 20s and is still used in sophisticated recording studios with analog gear today.
The reel-to-reel tape machine records at a much higher fidelity that cassettes do.
That’s because reel-to-reel tape is at least ¼ inch wide and sometimes up to two inches wide.
Compared to the plastic cassette tape which is 0.15 inches wide, that’s a lot more space to capture electromagnetic information.
The reel-to-reel is known for being as hi-fi as it gets, but it comes with some pretty severe limitations when compared to its cassette cousin.
Cassette machines are a fraction of the size of a reel-to-reel machine, both in terms of the recording medium itself (large wheels versus a plastic case) and the machines they record with.
It’s immediately clear which system is easiest to work with when you see heavy reel-to-reel machines compared against a lightweight and portable Tascam PortaStudio.
Really, it comes down to budget and preference when choosing between cassette or reel-to-reel.
Really, it comes down to budget and preference when choosing between cassette or reel-to-reel.
But, if you’re just getting started I’d suggest getting a cassette tape machine since it’s easier and cheaper to find parts and accessories for them and they’re much more portable.
Any model from Tascam’s Portastudio Series is a good place to start when looking for a cheaper tape machine on the used market.
But from time to time a fairly priced reel-to-reel system may pop up on the used market too.
Really, it’s about waiting for the deal that’s right for your needs to come along.
7 creative ways to use tape recorders
Recording with tape is completely different than working in a DAW. You’ll have to get used to some different techniques to make it work
But despite the limitations that come with tape machines they also have some interesting consequences and opportunities.
Here’s how to use tape recorders in your workflow.
1. Multitrack recording
The first thing you’ll want to do with a tape machine is to use it to make multi-track recordings.
This is the most basic way to use a tape machine, but it’s important because it’s the starting point for working with one.
Get to know the audio inputs for each channel of the onboard mixer, then do a preliminary mix of your recordings.
You’ll also have to learn how the transport section works where you’ll start, stop, rewind, record and punch in your parts for each track.
Most portable cassette tape machines have at least four tracks, so you’ll have four spaces to record in different instruments.
But don’t worry, if you run out of tracks there’s a solution…
2. Bouncing to a single track
One of the cool things about using tape is that you can easily record over existing tracks.
One of the cool things about using tape is that you can easily record over existing tracks.
Meaning that if you can always add more sound to any track you’ve recorded on, including any recordings on other tracks.
In practice, this is useful when all the tracks are used up because you can easily record all of these tracks to one track and then continue working with the remaining three empty tracks.
Over time this will cause a loss in audio quality as you bounce more tracks to a single track.
But for making demos and writing songs it’s an effective and well-loved workflow and I’ll explain later you might actually like the way this reduction in audio quality sounds.
3. Varispeed recording
Varispeed is one of the more exciting and experimental sides of working with tape machines.
It’s a technique that even greats like the Beatles used on their recordings!
Because you can vary the speed at which the tape runs while recording, you can get some interesting pitch-bending effects while recording.
For example, if you want your vocal track to be in a slightly higher vocal range than you can manage you can slow down the recording speed.
This means you’ll record vocals to the track at a lower pitch and when you pitch the track up to normal speed your vocal track will pitch up into a higher range.
This works best in very small increments since you still want your vocals to sound natural.
This works best in very small increments since you still want your vocals to sound natural.
Varispeed recording techniques can apply to all sorts of instruments too, whether you want a faster drum take or a thicker bassline.
Here’s what this process looks like in practice in the digital world.
4. Tape saturation
Where does that sought after analog sound really come from?
Words like “warmth” and “warble” are used to describe it, but the phenomenon that causes this sound is called tape saturation.
Tape saturation refers to the subtle changes in sound that a magnetic tape produces as a producer adds more information to the tape.
Tape saturation refers to the subtle changes in sound that a magnetic tape produces as a producer adds more information to the tape.
As you add more audio to a tape it compounds subtle distortion, compression, phasing, small irregularities in pitch, roll-off of high and low frequencies and general changes in resonance across the frequency spectrum.
It’s the reason why bouncing to one track over and over will eventually “saturate” the tape and create that instantly recognizable “lo-fi” tape sound.
Really, it’s a nostalgic sound that modern artists still like to use in their music.
For a modern example, HAIM used a heavily saturated guitar sound on their most recent album in this track.
5. Old-school sidechain compression
Part of the reason why tape saturation sounds so good is because tape recordings don’t clip like digital recordings do.
Yes, there is distortion when the volume of the input is too high for the tape to handle.
But, this distortion instead sounds kind of good, especially because a clipping track will cause a sort of primitive sidechain compression effect.
Next time you record with tape, try using a really hot bass drum mic in one of your channels.
Next time you record with tape, try using a really hot bass drum mic in one of your channels.
Instead of clipping, you get distortion that ducks the other channels in your mix, much the same way modern sidechain compression works.
You can hear this effect in action in Karriem Riggins’ track Dirty Drum Warm Up.
6. Tape delay and tape echo
Tape machines make it possible to use one of the coolest old school tricks in the book–tape delay and tape echo.
Inside your tape machine, there is a write head and read head. The record head reads the signal you send to it, and the read head outputs the audio signal.
Because the play head is physically further from the record head there’s a slight delay between the recording and playback of sound. This distance can be used to create an echo effect!
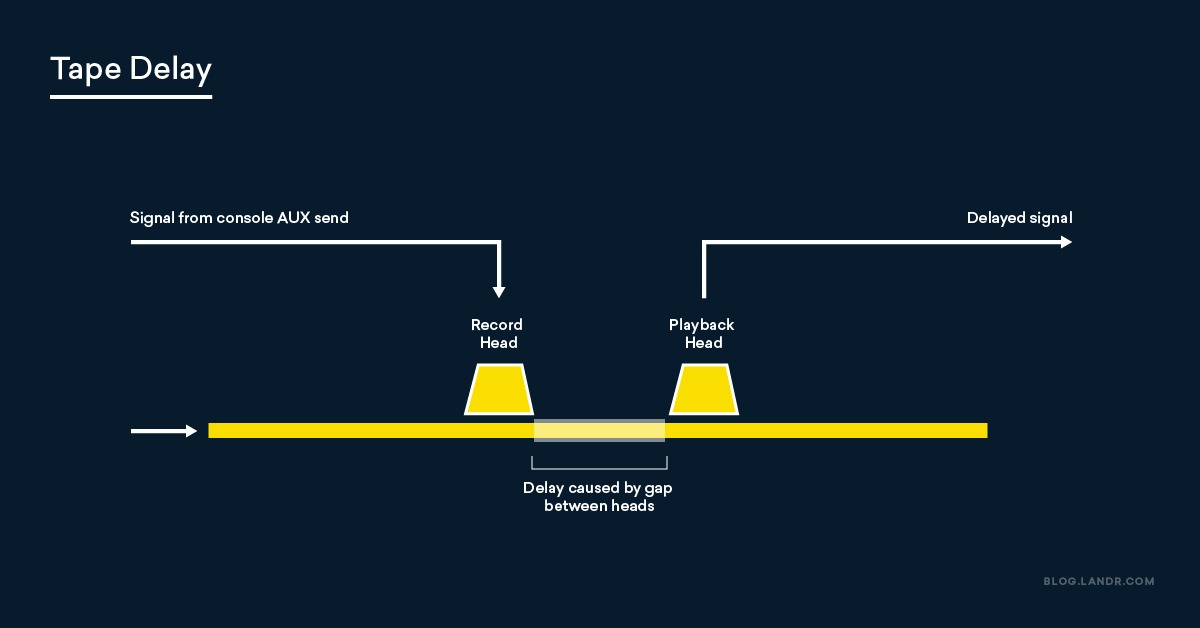
To get a tape delay effect from your tape machine, you’ll need a mixer with an effects send on it.
Route an audio source like a guitar to the input of your tape machine from your mixer’s effects send, then route the audio back to a new channel on your mix board.
This second channel will playback a delayed duplicate signal coming from your tape machine.
To get more echoey feedback all you have to do is increase the effects send from the echo channel in your mixer to feedback the delayed signal to your tape machine, creating an echo feedback loop.
Once you have a feedback loop play with both the speed of your tape machine and the EQ of your echo channel to get a variety of effects.
Here’s a video that shows how this process works:
7. Splicing
Part of the reason why sampling is such a huge practice in music production today is because of a handful of artists who pioneered splicing in the 1980s.
Brian Eno and Steve Reich are two examples of people who created incredibly interesting music that broke ground with splicing techniques.
Splicing essentially takes separate pieces of recorded tape and sticks them together.
Splicing essentially takes separate pieces of recorded tape and sticks them together.
You essentially change the content of the tape by physically collaging different parts from separate recordings together.
There are many ways to splice tape together, most often it involves cutting and physically taping together an interesting section of tape.
The best way to play with splicing is to use it in a tape loop, luckily we’ve written about creating tape loops in past articles.
8. Run your digital mix through the tape machine’s board
Want all that lo-fi grit without all the hassle of recording with tape?
You can always run your mixdown through the board of your tape machine.
This will add a layer of analog warmth to your audio signal and offer a chance to put analog EQ boosts or cuts on your mix.
You could even record your stereo mix to two tape channels to give your track that extra lofi sound.
All you have to do is run your left and right outputs through any two audio recording channels of your tape machine.
Frippertronics?
You can get into some pretty trippy ambient territory once you dive into the world of analog tape.
One of the most legendary tape machine pioneers is Robert Fripp, who played with the legendary prog band King Crimson.
He is credited with the invention of Frippertronics, a version of tape delay that extends the delay time by using two separate reel-to-reels.
Frippertronics–a version of tape delay that extends the delay time by using two separate reel-to-reels.
In this video, he shows his technique and I think it nicely sums up the many things you can do with tape machines.
Listen to how the delay gets more saturated after every echo, resulting in long distorted tails.
Tape machines, while impractical compared to modern recording technology, are super cool.
Sometimes it’s important to work with a format that’s analog and hands-on, it helps us learn things we wouldn’t have discovered working with easy to use modern software.
It’s important to reconnect with the roots and history of recording and tape machines truly are one of the best ways to do it.
Gear guides, tips, tutorials, inspiration and more—delivered weekly.
Keep up with the LANDR Blog.
