How to Prepare your Music for LANDR Mastering
Mastering is one of the most misunderstood parts of music production.
Even though you can save a lot of time and effort by using AI to master your music, you still have to pay attention to the finer points to get the best results.
In fact, there are several essential things you need to do in your mix to prepare your tracks for mastering.
In this guide I’ll show you the 5 steps to make sure your song is ready for LANDR mastering.
1. Reference your mix
Before you decide your mix is finished take some time for mix referencing to get perspective.
Mix referencing means comparing your mix critically against other songs in your library, previous mixes you’ve made or other versions of your song in the same project.
Listen for the critical aspects of your mix like frequency range, dynamics and the levels of each element
Hearing how your mix compares to professional work can give you valuable information about what you need to change to get a polished sound.
Hearing how your mix compares to professional work can give you valuable information about what you need to change to get a polished sound.
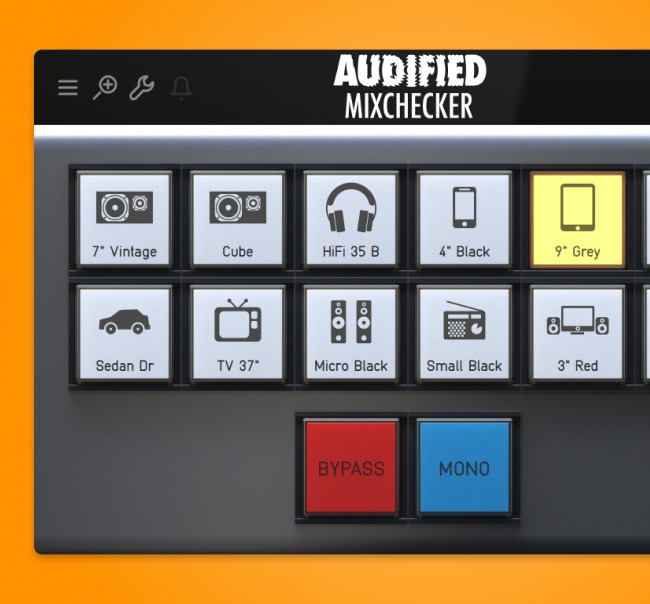
Listening in different listening environments is another important mix referencing technique—especially if you’re mixing in an environment with little or no acoustic treatment.
Reference your mix on a few different sound systems—laptop speakers, earbuds, car stereos and home hifis can help you decide if your mix is finished and you’ve made it sound as good as it possibly can.
2. Clean up your tracks
The next step to preparing your song for mastering is to make sure your individual tracks are properly edited.
Go through every clip on your timeline with a fine tooth comb and make sure any extra noise has been cut out.
Delete any empty regions. Even if it looks like there’s nothing there, empty clips can sometimes contain low level sound that increases the overall noise floor of your mix.
Some plugins model the analog noise of the vintage hardware they emulate. Make sure these settings are turned off.
Apply short (5-10 ms) fades to the start and end all the clips in your session to make sure any transitions to and from silence are smooth.
Check all your edit points in solo with headphones to make sure there’s no stray pops or clicks—especially on prominent tracks like the lead vocal.
3. Leave good headroom
Headroom is one of the most important factors for good mastering results. It’s also one of the most common mix mistakes we see in tracks uploaded to LANDR.
Headroom is how much room your audio signal has before it starts to get compressed and distorted.
If you don’t leave enough on the file you upload to LANDR, the mastering processors won’t have much room to work their magic.
Headroom is how much room your audio signal has before it starts to get compressed and distorted.
Every recording medium has a finite amount of headroom. If you try to record a signal that’s louder than what the medium is capable of handling, it will clip the tops of the waveform and you’ll hear that as distortion.
The way to create headroom is by following the best practices for gain staging. If you need a refresher, check out our overview of gain staging here.
For the quick version, a good rule of thumb is to keep the peaks of your sound hitting not much above -10 dBFS and the body of your waveform around -18 dBFS.
Follow these guidelines on the way in as you record your tracks but also try to stick with throughout your mix. That means maintaining headroom at your busses and especially your master output.
That will give you great headroom for LANDR mastering.
4. Watch your master bus processing
Master bus processing is a touchy subject.
Some engineers swear by it, others claim it does more harm than good.
Here’s my best advice. Don’t be afraid to use plugins on the master bus if they get you closer to the finished sound of a mix you’re aiming for.
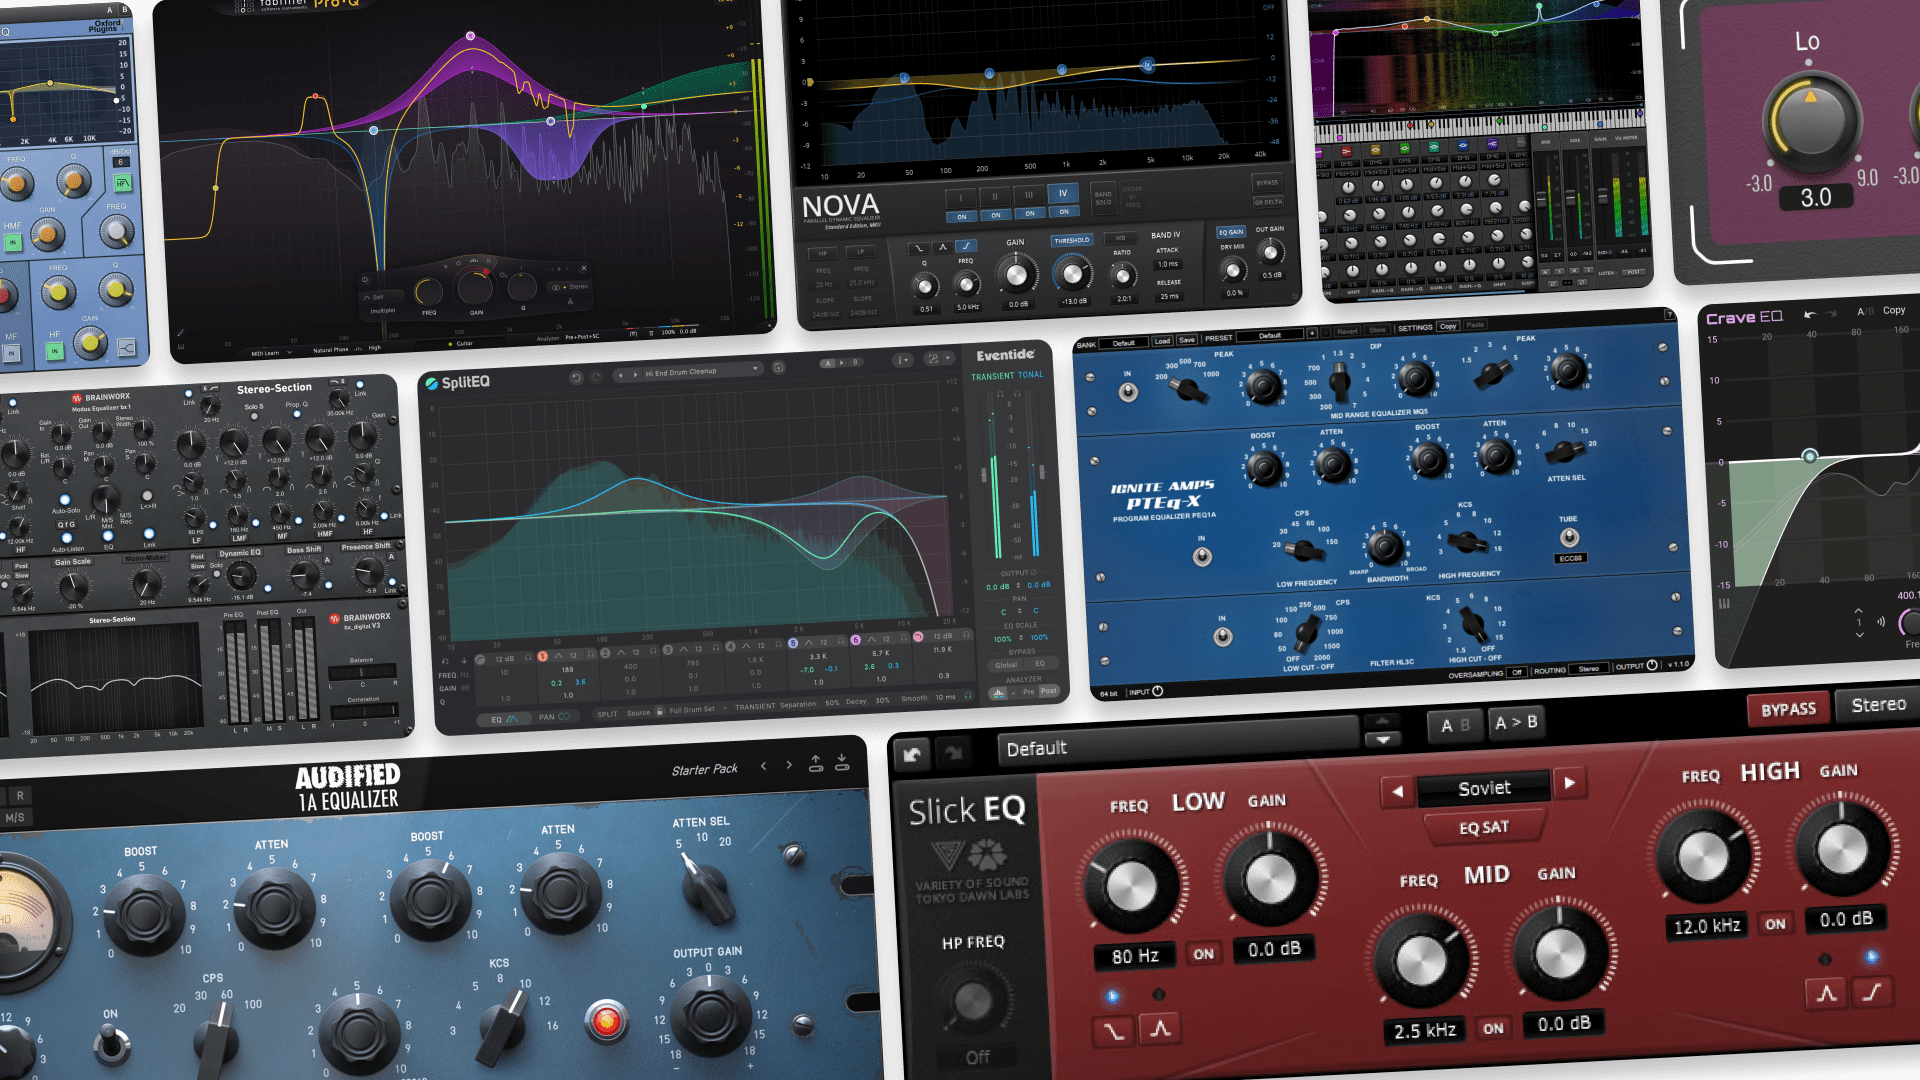
But be careful. EQ, saturation and light character compression are all fair game to use for tone shaping.
Just avoid using plugins that affect the overall gain and headroom like limiters or aggressive compression.
avoid using plugins that affect the overall gain and headroom like limiters or aggressive compression.
The mastering process will take care of raising the level and evening out the dynamics for distribution on streaming platforms.
If you’re unsure about how you want to use plugins on your stereo bus, consider leaving them out altogether.
Unless you’re doing something specific, you can usually get all the control you need just by manipulating the tracks themselves.
5. Choose a high quality export format
This is one of the simplest, most effective tips to preparing your track for mastering.
Choosing the export format makes a big difference to the overall audio quality of the file you send to mastering.
That means selecting the right sample rate and bit depth in your DAW’s bounce dialog.
The export process works differently in each DAW, but here are the basics you need to know for mastering:
For sample rate, select the rate at which you recorded your files. You probably had to choose this at the beginning of your session and you shouldn’t change it now unless you really need to.
For the bit depth, choose to export at 32 bit if your DAW allows it or 24 bit if that’s the highest available. If you choose any bit depth other than 32, remember to check the dither box in the dialog.
Your DAW will now export a high-resolution WAV or AIFF file you can use to create an HD master.
Be prepared
Mastering has never been easier, but preparing your mixes well still matters.
There’s plenty of good practices you can develop in your mixes to improve your results.
Follow these steps to get the best results from your LANDR masters and give your songs the pro polish they deserve.
Gear guides, tips, tutorials, inspiration and more—delivered weekly.
Keep up with the LANDR Blog.
