What is a Patchbay? How to Connect Studio Gear Fast
Collecting gear is one of the funnest parts of building a home studio.
But the more musical equipment you amass, the tougher it is to keep things organized and get connected quickly.
That’s why most studios invest in a patchbay once they reach a certain size.
But what is a patchbay? How do they work and how do you know if it’s worth it to use one?
In this article I break down everything you need to know about patchbays.
Let’s get started.
What is a patchbay?
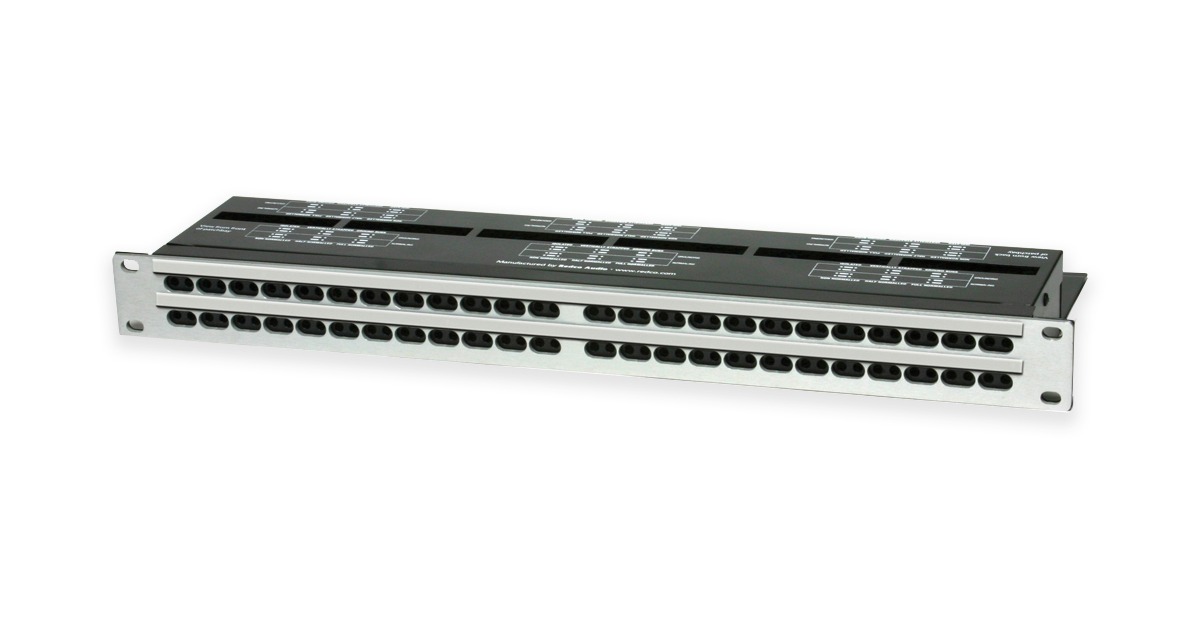
A patchbay is a piece of gear that houses all the input and output connections for the essential gear in your studio.
It lets you easily make connections between equipment without pulling your whole setup apart to access difficult-to-reach jacks.
Patchbays allow you to change routings on the fly by simply re-patching the cables on the front panel.
Should I use a patchbay?
Every home studio is unique. You’ll have to decide on your own if using a patchbay fits into your workflow.
Many studios function perfectly well without a patchbay, and the extra cost associated with them can be off-putting for some producers.
However, patchbays can definitely save you time and effort during set up and tear down.
A patchbay is a piece of gear that houses all the input and output connections for the essential gear in your studio.
The efficiency, flexibility and organization they offer is why most pro studios are built around a robust system of patchbays.
Consider a patchbay if:
- Your home studio is permanently set up and doesn’t often change
- You have gear that gets connected in different ways for each session
- You feel like you’re wasting time or energy patching cables manually
Patchbay types and connections
Patchbays come in several formats to address the different types of connectors and signals in your rig.
The front panel connections are where you route signals with patch cords and connect additional inputs.
The cable type used here will determine which type of patch cables you’ll use to make connections.
The rear panel connections are where the patchbay interfaces with the rest of your gear. You’ll need to patch these to the I/O on each piece of equipment, so matching connector types is important.
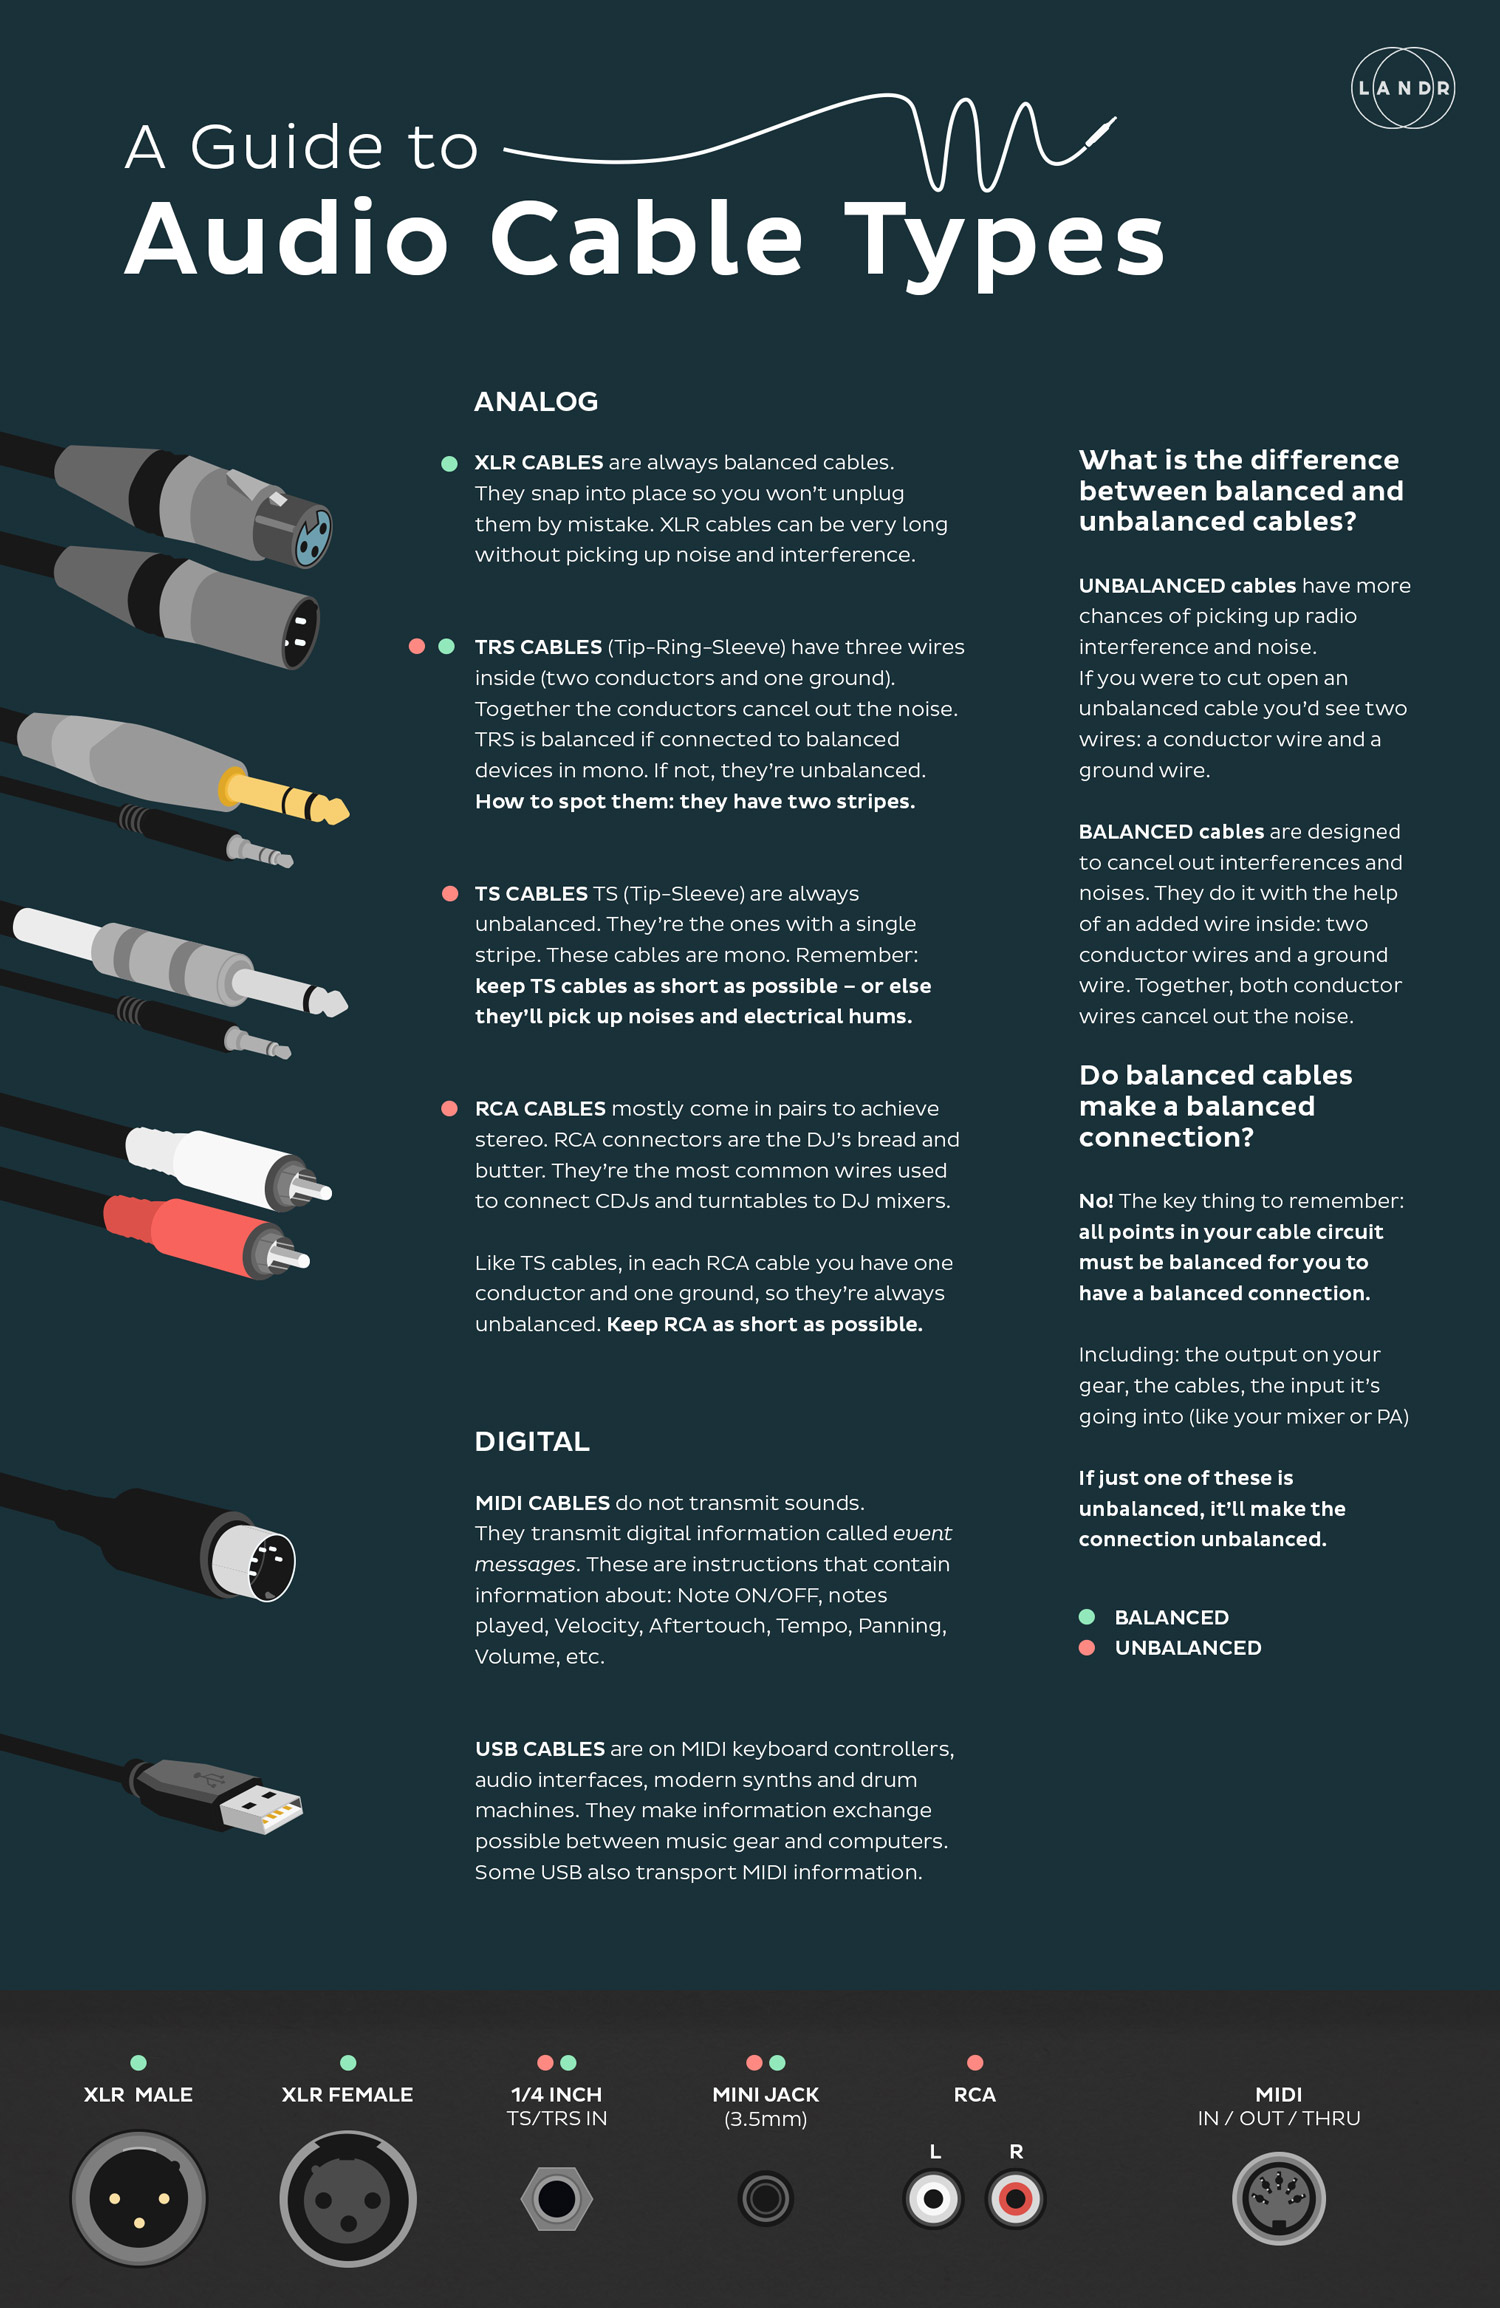
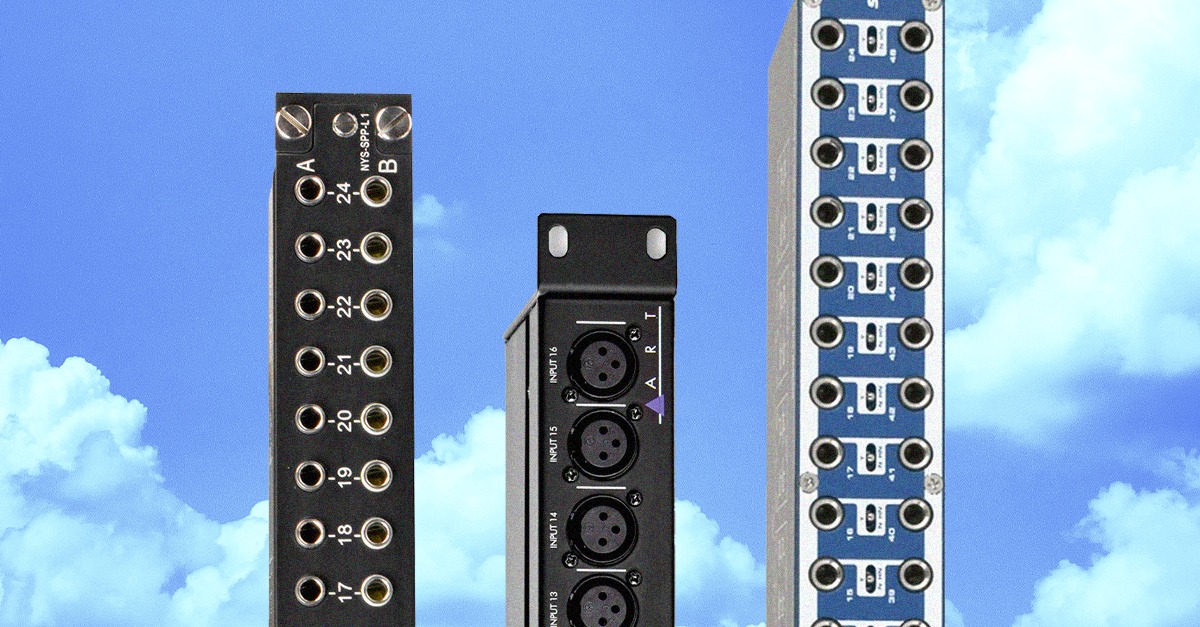
Here’s an overview of the most common patchbay types and connections.
Front panel connections
XLR—XLR patch bays are often simple, single point systems with a front panel female input connected directly to a male rear panel output.
These bays are typically used to move single XLR connections to a more convenient location for direct patching.
¼” TRS—1/4″ TRS patch bays are the type most commonly seen in home studios. TRS stands for tip ring sleeve.
TRS cables can carry the balanced line level signals that come from the output of mic preamps, outboard gear or hardware like synths, samplers and drum machines.
Hot tip: While it may sound tempting, running different microphones on an ¼” patch bay before they reach your mic preamp isn’t recommended. The 48v phantom power that’s required to run some microphone types can cause dangerous side effects when ¼” cables are accidentally removed. Avoid it altogether by using an XLR patchbay or skipping the patchbay for your mics.
TT/Bantam—Bantam or tiny telephone cables are a compact format that allow a single patchbay to house up to 96 individual connection points.
These are the standard connections found on pro quality studio patchbays.
Individual TT cables can be pricey, so unless you’ve got a rack full of high-end outboard, this patchbay type is probably overkill for a home studio.
Rear panel connections
DB25 or DSUB—DB25 connectors look like the kind that connect to an old school desktop computer—because they are.
But when used for audio, these connectors can carry up to 8 balanced signals each. They’re often used on TT patchbays to get the maximum number of connections in the smallest space.
To connect to gear with ¼” TRS or XLR inputs you’ll need DB25 snakes with the correct connector ends.
¼” TRS—Typical consumer patchbays use ¼” TRS for input and output. This brings down the cost and makes the connectivity more universal for home studios.
EDAC—EDAC is another high density connector type that’s sometimes found on pro TT patchbays.
None—Pro studio patchbays are often configured for maximum flexibility. This means that big studios with complex systems often wire their own patchbays with soldered connections.
Solder-type patchbays are sometimes less expensive, but can be tough to install—even if you’re handy with a soldering iron.
Normalled vs. half-normalled patchbays
Patchbays come in three different styles depending on how you need to connect your gear.
The most common configurations are normalled, half-normalled and isolated.
Normalled and half-normalled configurations provide a signal link between the top and bottom rows of the patchbay without the need for additional cabling.
Normalled and half-normalled configurations provide a signal link between the top and bottom rows of the patchbay without the need for additional cabling.
This is helpful if your gear stays connected in the same way most of the time.
For example, the line level outputs of a bank of mic preamps are typically normalled to the line level inputs of the analog-to-digital converter in a pro studio setup.
If the engineer needs to insert audio effects like EQ or compression after the mic preamp, they can break the normal by inserting a cable into the patchbay.
A normalled (or full-normalled) patchbay means connecting a cable to either the top or bottom inlet will break the connection immediately.
Half-normalled means that connecting a cable to the top row of the patch bay won’t break the signal link, but inserting a cable into the bottom row will.
That may sound confusing but most patchbays can be configured in either style, so you don’t worry if you’re not ready to decide upfront.
How to use a patchbay
How you use your studio patchbay depends on how you set it up. The location of the individual inputs and how they connect to the rest of your gear is up to you.
But in general, patchbays are set up with some common practices in mind.
Here are some general guidelines for using patchbays:
- Always patch from top to bottom of each row to connect outputs to inputs
- Never run XLR mic signals on a patchbay connected to other gear
- Use normals to keep gear connected if it’s usually patched to the same place.
The 5 best patchbays for home studio
With the background info out of the way, here are some top choices for home studio patchbays:
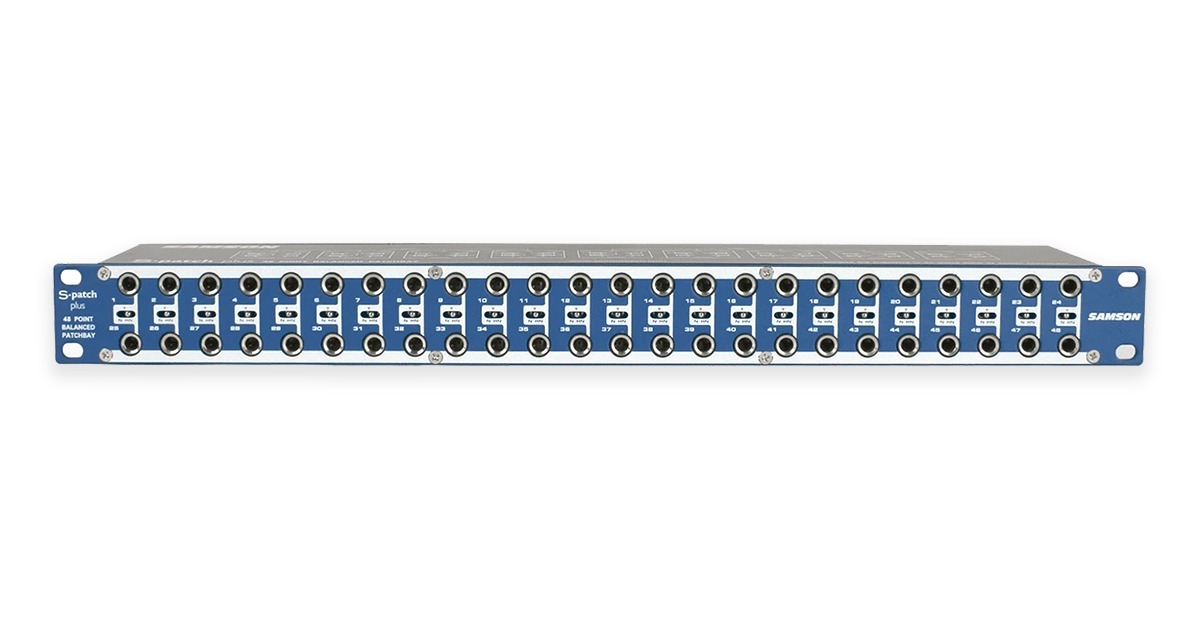
Samson S-Patch Plus
A 48-point TRS patchbay is probably the most common format for home studio usage. While there are plenty of options out there on the market, the build quality and features still matter.
The Samson S-Patch Plus is well-built and features a unique normalling switch that lets you change connection type on the fly.
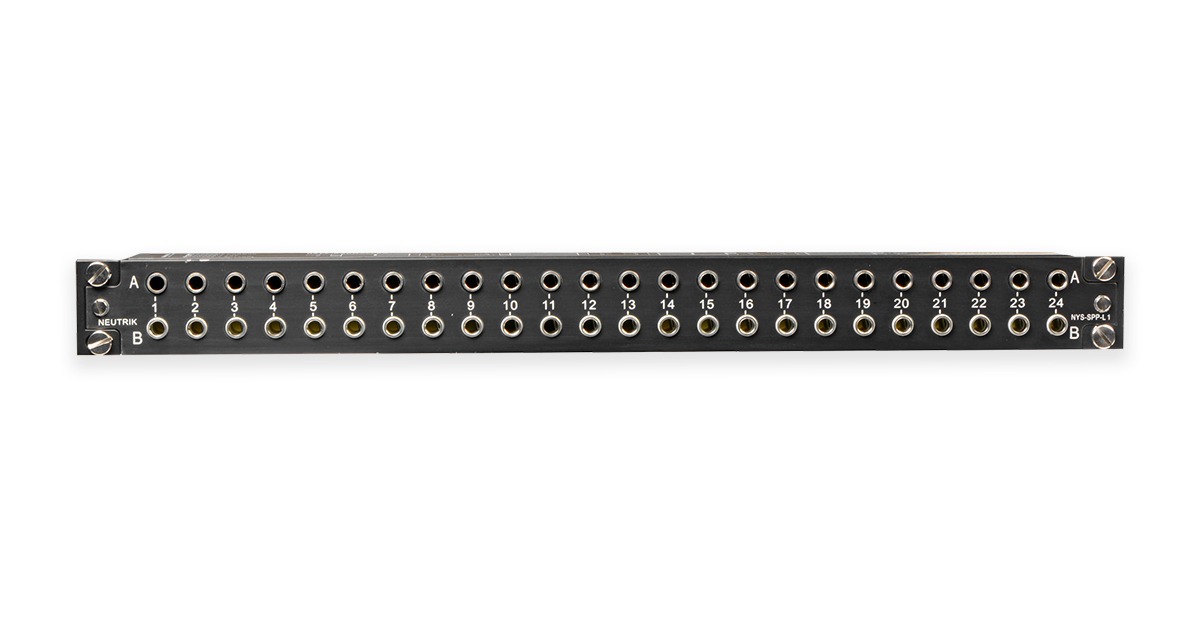
Neutrik NYS-SPP-L1
The Neutrik NYS-SPP-L1 is a budget-focused option that provides 48 patch points for under $99 USD.
If you’re looking for a low cost patchbay to get started, it’s an effective option.
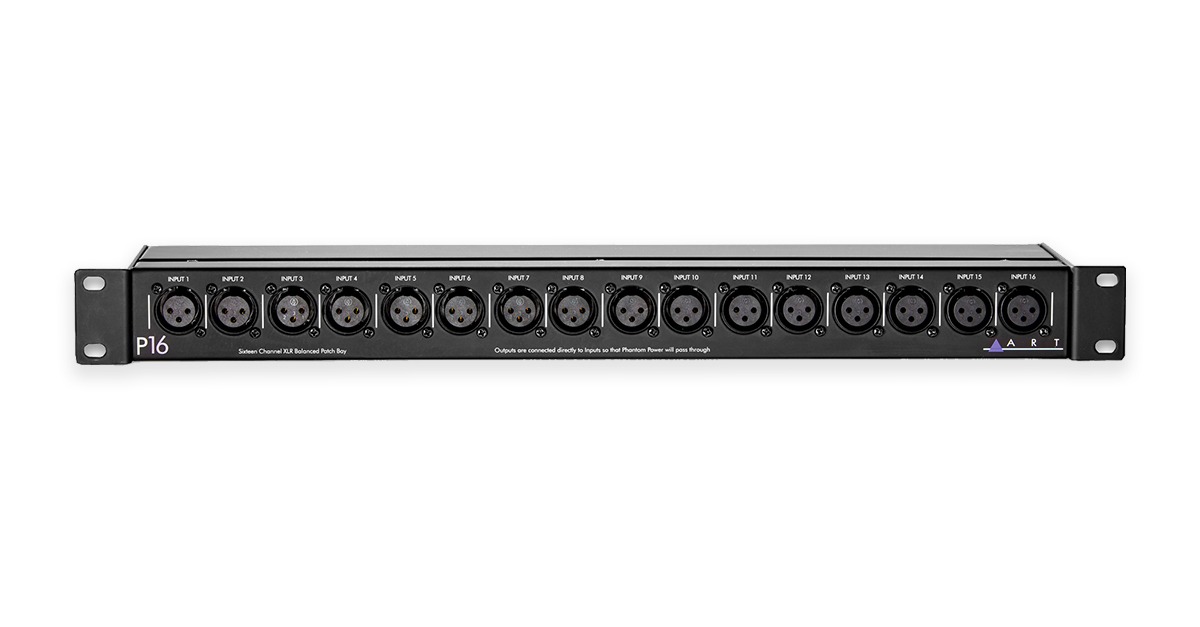
ART P16
The ART P16 is a handy studio utility for relocating XLR inputs. If your gear features rear mounted XLR inputs and rerouting is a pain, consider the P16 to move your XLR access closer to hand.
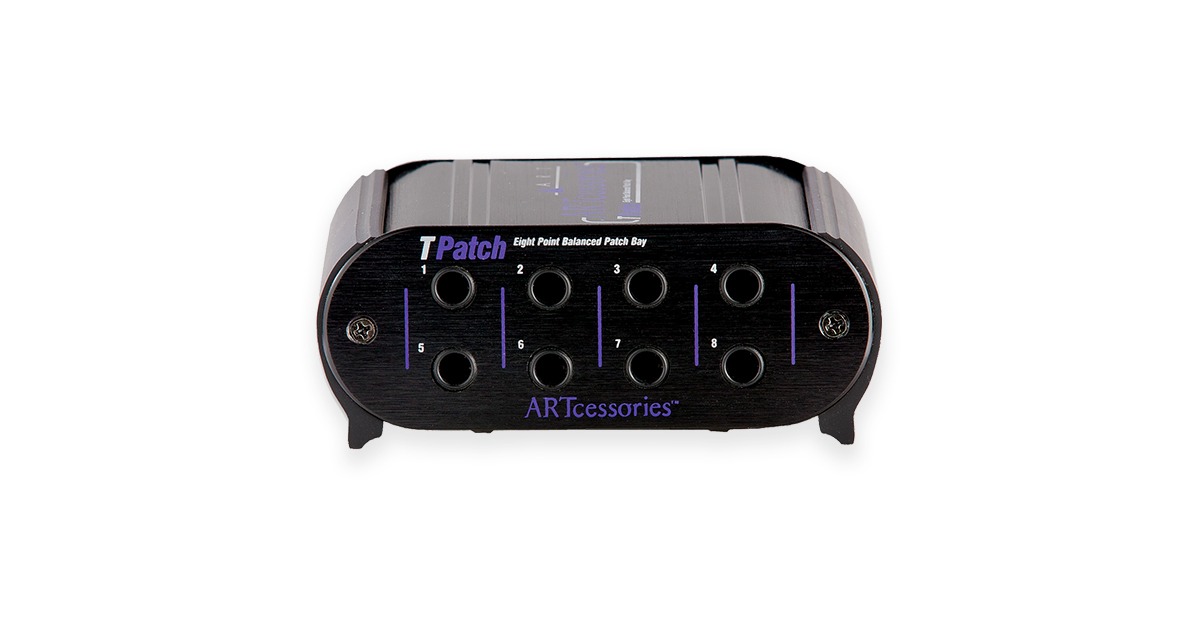
ART TPatch
Sometimes even 48 patch points are too many. If you only need to reroute a handful of connections, you might consider a mini patchbay like the ART T patch.
Redco TT/DB25 96pt
If you’ve got a serious home studio that demands powerful patching capability, the professional-grade Redco TT/DB25 is an industry-standard.
It’s got full pro connectivity, so expect to spend a bit more on snakes and TT cables to get things connected properly.
Patch in, patch out
A patchbay is a helpful piece of gear in a complicated studio.
It’s not essential, but you might find using one makes your workflow smoother.
In that case, you’ll need to know how they work and which one is right for you.
But if you’ve made it through this article you’ll have everything you need to get started with patchbays.
Gear guides, tips, tutorials, inspiration and more—delivered weekly.
Keep up with the LANDR Blog.
