


Abmischung & Mastering
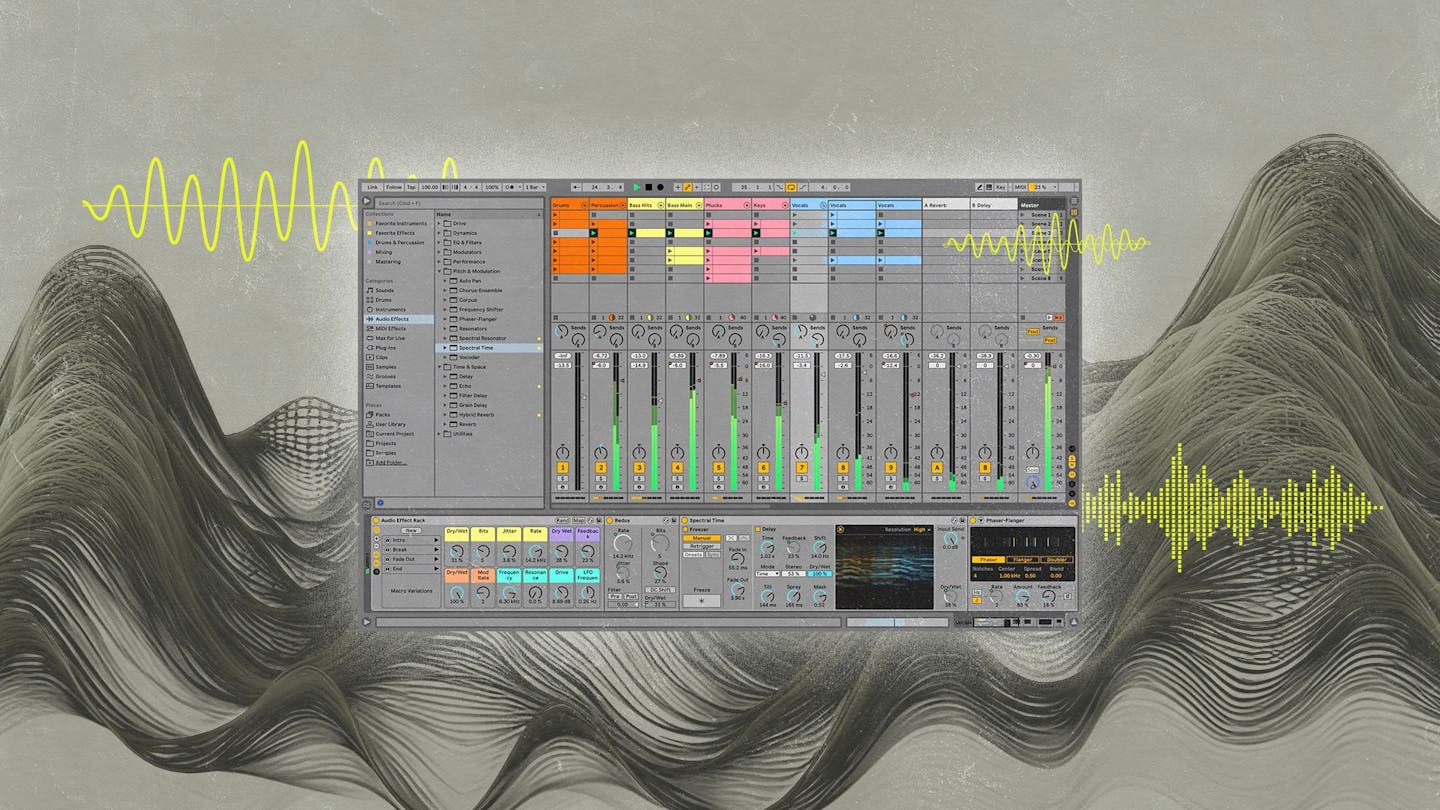
Mixing in Ableton: 7 Tips For a Better Mix Workflow in Live
Mixing in Ableton Live is better than it’s ever been.
While the popular DAW has long been a favorite for making beats, composing music and playing live, many producers felt it fell short when it came to core mixing features.
With the release of Live 11, Ableton’s mixing tools make it just as powerful as traditional studio DAWs like Pro Tools and Logic Pro.
But if you’re not sure how to take advantage of them, you might not be getting the most out of your Ableton workflow.
In this article, I’ll break down my top seven tips for mixing in Ableton.
Let’s get started.
1. Customize your session view for the mix
If you’re familiar with Live, you know that toggling between Session and Arrangement view plays a big part in the workflow.
Session view is where you’ll find the traditional fader and channel strip layout that’s standard in many DAWs.
But if you’ve crafted your song’s arrangement in the Arrangement view, you may be left with some unused space in the session view.
If this is the case, consider minimizing sections of the strip that don’t contribute to mixing tasks.
Of course, insert effects will still appear along the bottom panel in left to right order, rather than top to bottom.
2. Search in the browser tab
The browser tab features a handy search bar to help you find samples, plugins, templates, grooves or other Ableton content elements.
By default the bar can only search the contents of the selected folder.
But the key command CMD+F (control+F on PC) will toggle search to “all results” so you can access any plugins or devices by name.
It’s a huge time saver compared to manually searching through a large plugin folder.
3. Adjust the buffer size
Ableton Live offers excellent performance, even for mixes with lots of instruments and effects.
However, it’s always best to increase the buffer size to the highest that is practical after tracking is complete.
After all, if you’re not monitoring through your channels to hear yourself while recording, you don’t need latency at a minimum.
If you find your mix is starting to weigh on your CPU resources, you may find that increasing the buffer size yields better performance.
4. Try racks if you’re running low on returns
One limitation of Live that has raised eyebrows since the beginning is the limit of 12 aux return channels.
While this may be enough for many users, producers who use a lot of parallel processing may find it constraining.
One solution is to use the parallel features inside Racks. Simply add additional parallel chains by stacking new effects below one another in the Rack window rather left left to right in the insert window.
Now you can build up a whole new set of serial effects and manage the blend with the others.
Racks allow for the most flexible configuration of effects within Ableton. Consider a dedicated Rack for channels that are consuming a lot of aux return real estate.
5. Use groups instead of returns
Speaking of returns, Live’s architecture offers an alternative to bussing similar tracks together on aux return channels.
In many cases, the better option is to use groups, which act as summing container tracks.
All About Ableton
Learn more about the popular producer DAW.
These can be especially helpful when working in the arrangement view. Groups conveniently flatten large stacks of tracks while leaving their macro controls accessible.
They also provide convenient color coding that helps for navigating large sessions.
6. Enable high quality modes for built-in effects
Ableton Live comes with an impressive suite of built-in tools for mixing and producing.
While native DAW plugins offer some of the best performance available, some devices may still provide options to save on processing power.
Anthony tackles DAW swing and groove in Live.
In these cases, the plugins include high quality processing modes that may yield better results if enabled.
This is most commonly implemented on saturation effects, since their internal sample rate affects how harmonics are introduced to the sound.
If you’re not low on processing power, consider enabling Hi-Quality mode on Saturator and EQ8 and Oversampling on Glue Compressor.
Simply right click on the top bar of the effect to see the options and enable them.
7. Watch your warp settings
Warp is a powerful feature in Ableton Live.
It makes it easy to work with samples of any pitch and tempo in your arrangement.
But even the most transparent pitch shift and time stretch software leaves a trace on the original sound.
If warp is engaged on a track that doesn’t need it, some artifacts from the processing may make their way into your mix.
It’s probably not worth the damage of warping your audio if it doesn’t need to be stretched to fit.
Mixing in Live
Ableton Live keeps getting better with every new edition.
Mixing in Ableton 11 expands on all the inspiring creative features with more great functionality for mixing.
It’s an excellent choice whether you’re new to mixing or a seasoned pro.
If you’ve made it through this article you’ll have a great start when it comes to mixing in Ableton Live.
Michael Hahn is an engineer and producer at Autoland and member of the swirling indie rock trio Slight.
@Michael HahnGear guides, tips, tutorials, inspiration and more—delivered weekly.
Keep up with the LANDR Blog.