How to Produce an Entire Track With One Plugin
Have you ever created a whole song using just one plugin? You should try it.
Whether it’s as a fun production exercise or just a way to get the most out of your gear, building a whole song using a single plugin is a rewarding challenge.
There’s no better way to explore the versatility of a single sound source than to use it for every single timbre in a composition.
In this article I’ll show you how to build an entire track with just one plugin in 7 steps.
1. Choose the right plugin
Not every plugin is capable of creating an entire track.

Get the tools to shape your sound with 30+ synths, instruments, effects and utilities plugins from industry leaders like Arturia, UJAM and more. Try LANDR Plugins.
You’ll need to rely on software that’s efficient enough to run multiple instances at once—and versatile enough to make lots of different sounds.
That means your CPU-hogging, RAM-guzzling orchestral sample banks might not make the cut.
You’ll have to use a synth plugin that’s flexible enough to cover a lot of ground, but streamlined enough to use for every sound in your song.
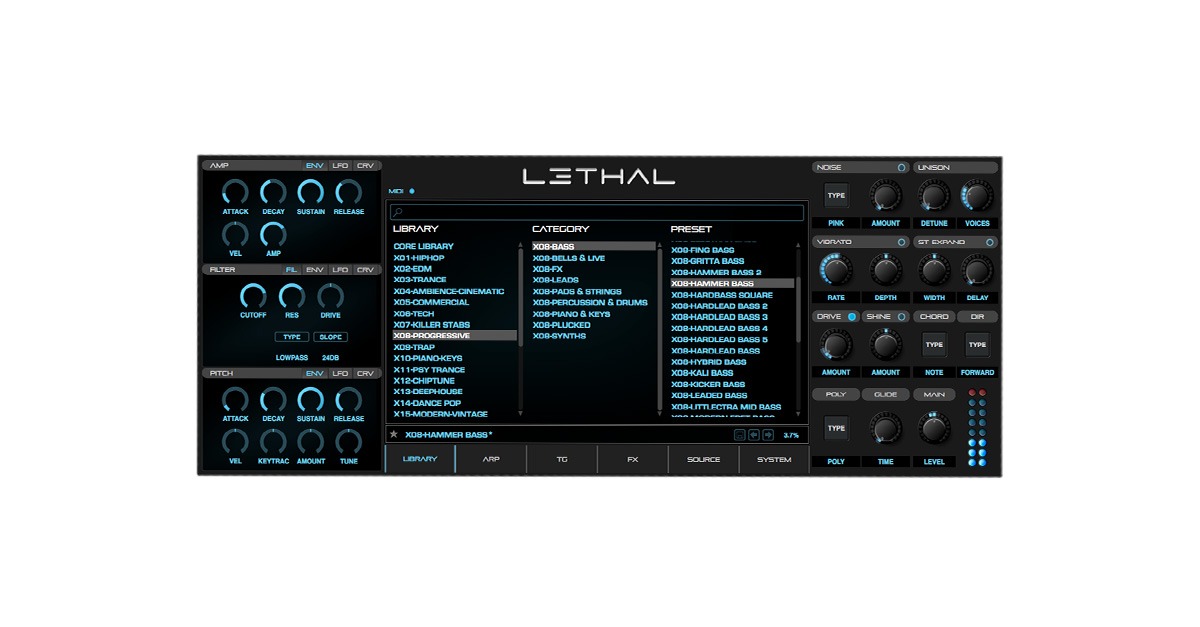
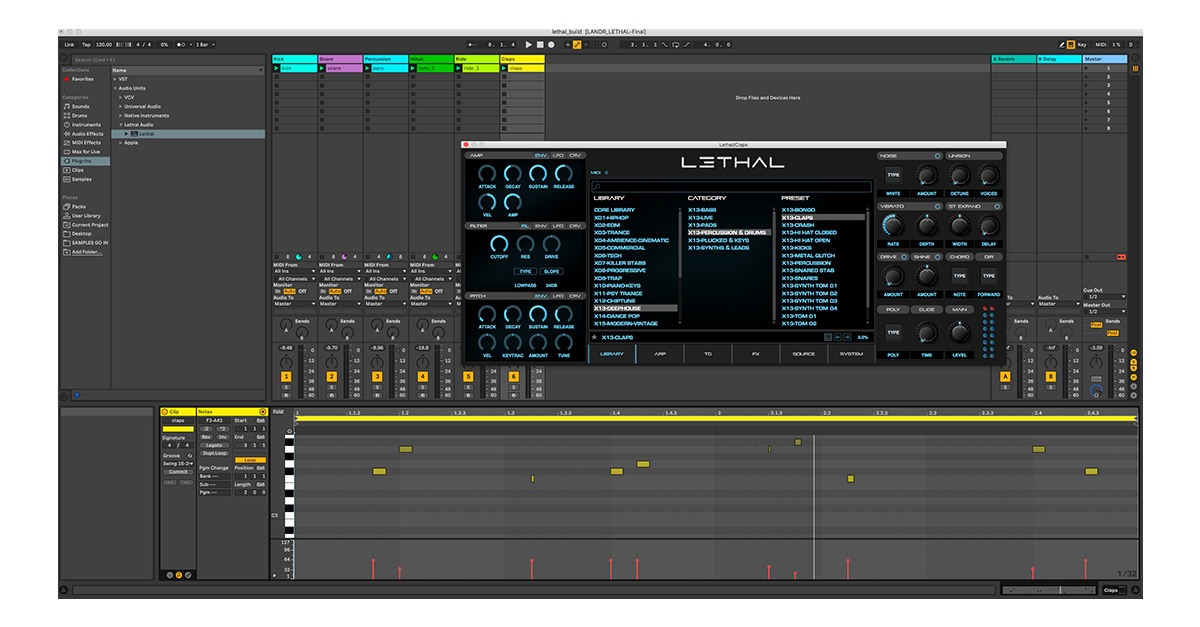
For this tutorial I’ll be using Lethal by Lethal Audio. Its ROM-based approach to synthesis makes it the perfect candidate for creating entire tracks. It’s fast, flexible and lightweight.
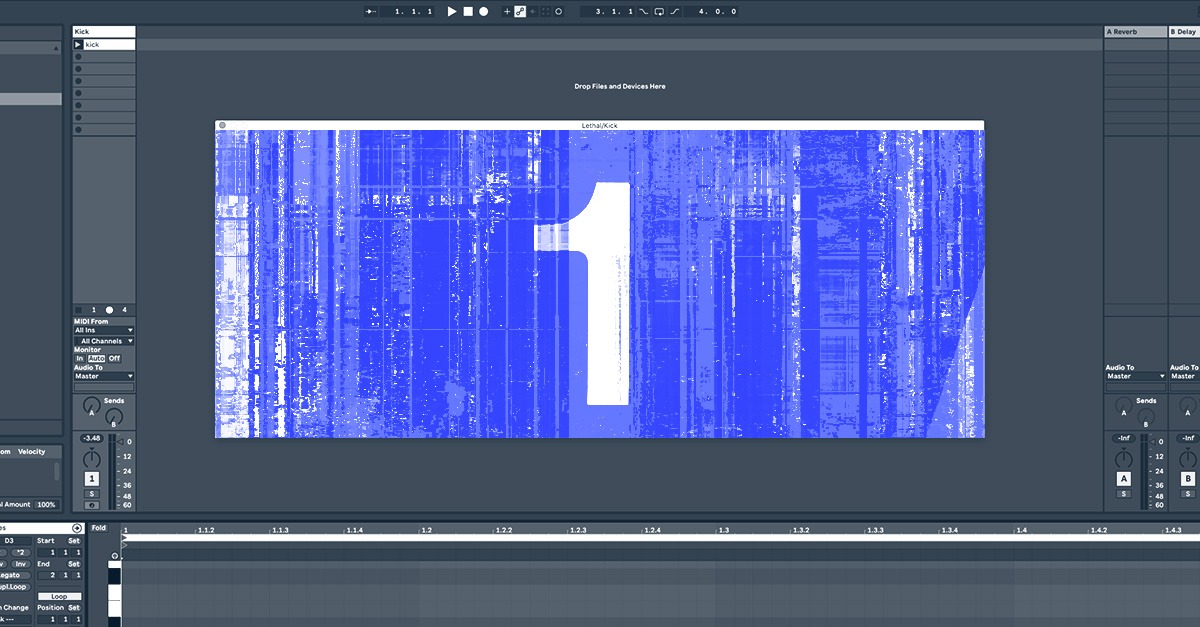
2. Start with a kick and snare
Your track needs a solid foundation.
There’s nothing better to set the stage for a song than a nice, driving kick.
There’s nothing better to set the stage for a song than a nice, driving kick.
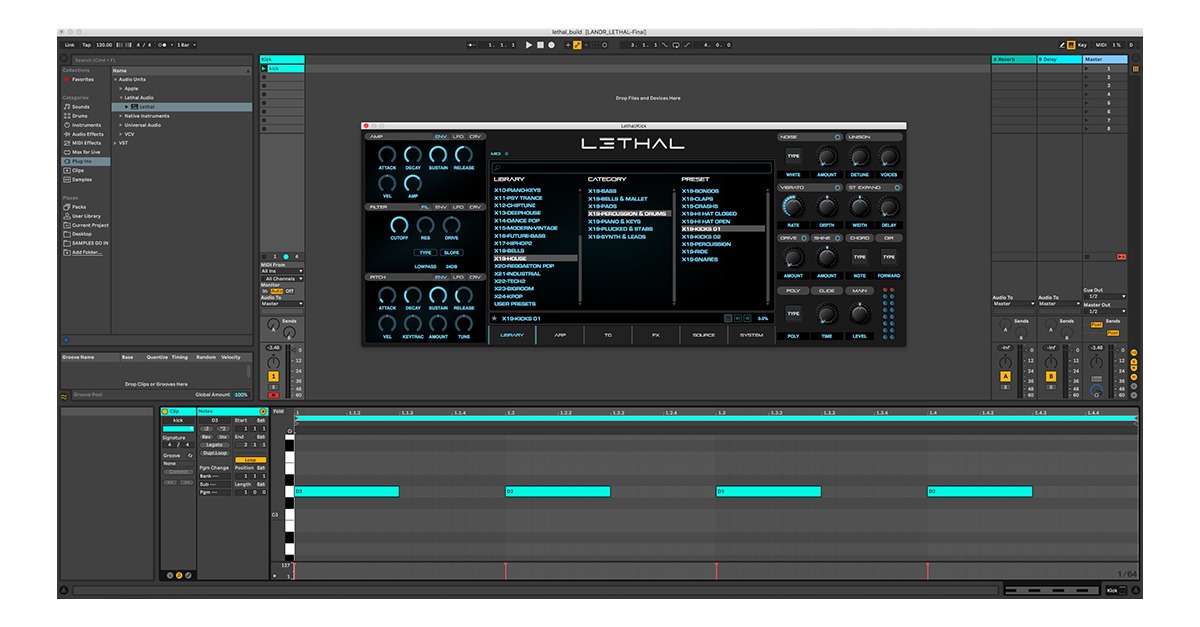
Start with a nice simple four-on-the-floor house kick:
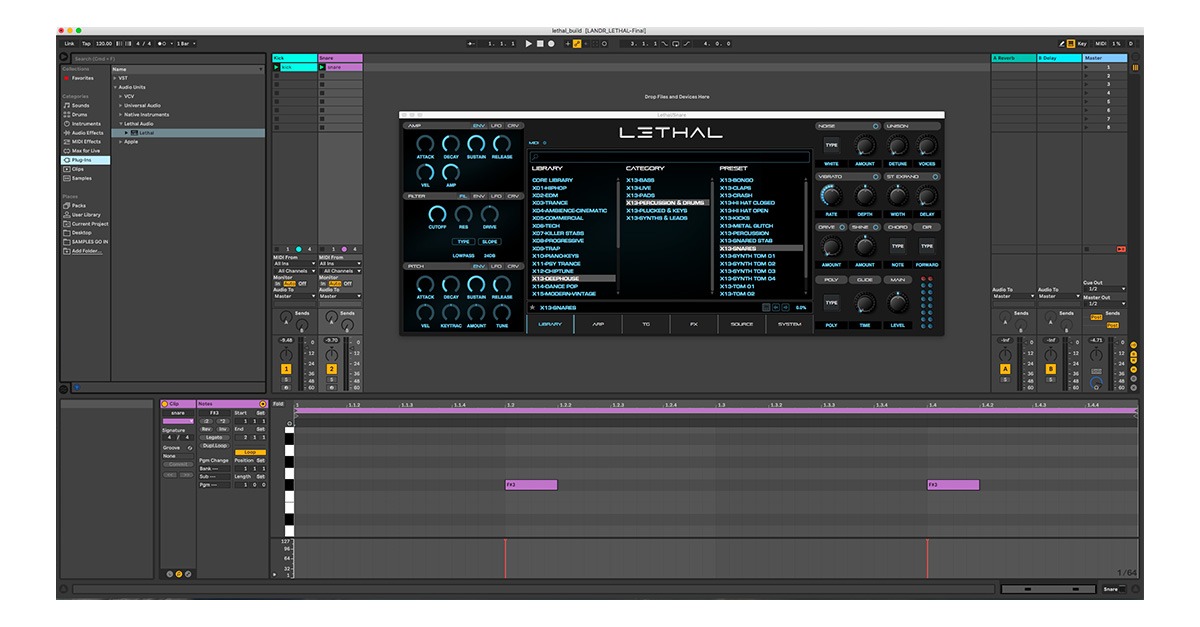
From there the snare easily follows on beats 2 and 4 to form the outline of your beat:
3. Add some percussion
Now that you have a base for your track you’ll need to add a little rhythmic action to give you an idea of where to go next.
For example: the snare is sounding good but it could use some extra texture.
Start by using a percussion patch to double your snare hits on beats 2 and 4 and add a short 16th note conga accent at the beginning of the bar for variation.
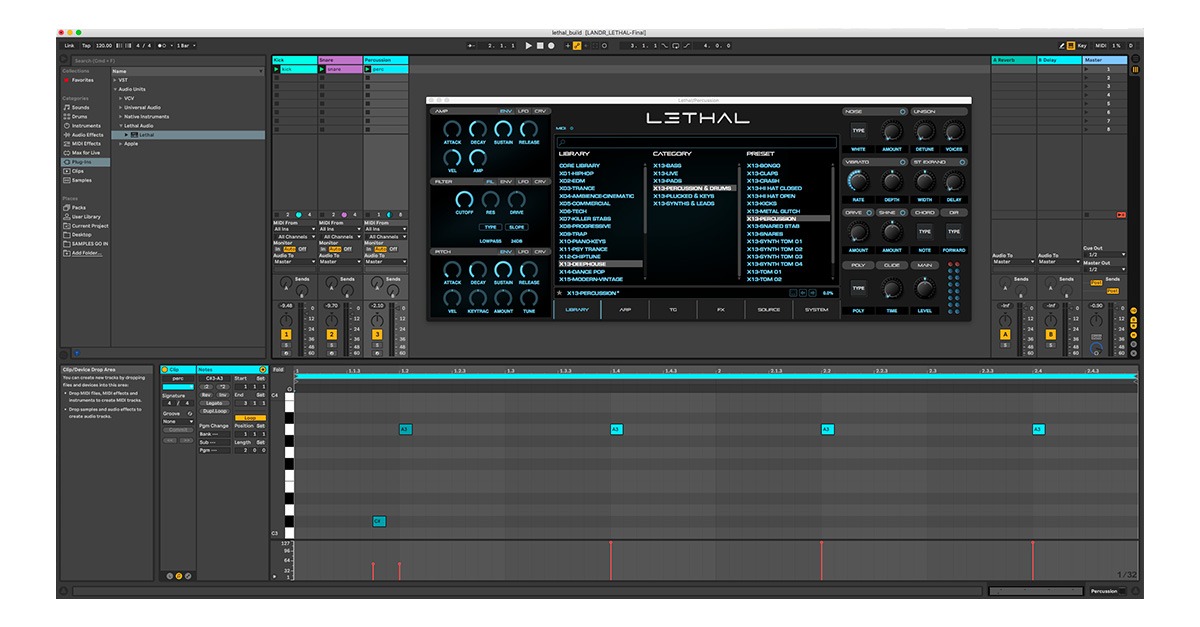
This perc patch sounds great, but it’s conflicting a bit with snare. Lower the cutoff frequency of the filter to make room.

Now it’s time to add some movement to the beat.
A few hits from a hihat patch in an eighth note pattern will enhance the feel of the pulse. Adjust the velocity of some of the notes in the MIDI clip to create some articulation in the pattern.
A few hits from a hihat patch in an eighth note pattern will enhance the feel of the pulse
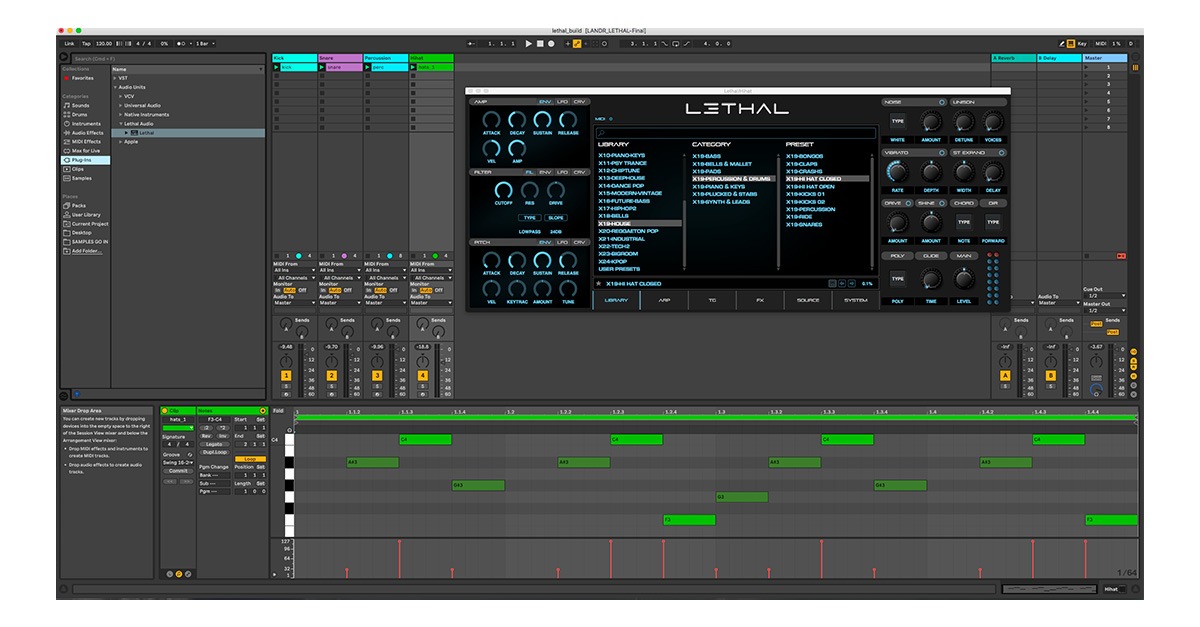
Next we’ll add a ride on the 8th note offbeats with a few 16ths thrown in to accent. I’ve chosen a great sounding ride patch, but its decay is slightly too long.
Dial back the release a bit to get a tighter sound.

The percussion section is starting to feel nice and groovy. But adding too much can ruin the groove, so I’ll only add one more element—some irregular claps in a two bar loop to give the beat a sense of development.
4. Bring in a bassline
The next important element is your bassline.
This track has a house feel, so the bass line will be a simple, repeating hypnotic line with the stress on the offbeats.
I’ll make this loop slightly longer so that the groove can stretch out. I’ve used a round and moody sounding organ patch to set the right vibe.
5. Fill it out with a melody
Next up add some melodic content to fill out the atmosphere.
I entered some notes in a MIDI clip while playing a nice marimba patch, but I didn’t quite get them right.
I used Ableton’s Scale MIDI plugin to constrain the notes to the correct key for the song.

This simple repeating melody fits for the rhythm but it’s not quite done yet..
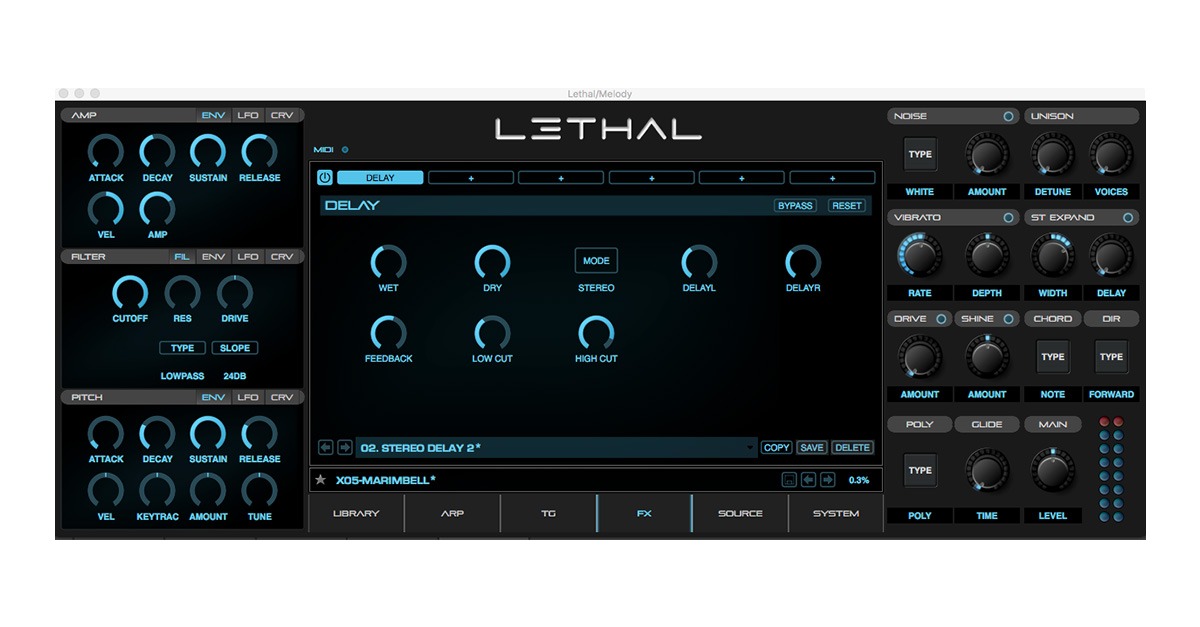
6. Use the internal effects
Plugins with onboard effects do double duty as flexible sound design tools.
Plugins with onboard effects can do double duty as flexible sound design tools.
The melody I created with Lethal works well with the beat but doesn’t quite fit the atmosphere of the track overall. That’s where your effects come in…
A nice stereo delay will highlight the rhythmic quality of this part and add depth, dimension and ambience.
I’ll adjust the wet mix of the echoes until they blend seamlessly into the texture.
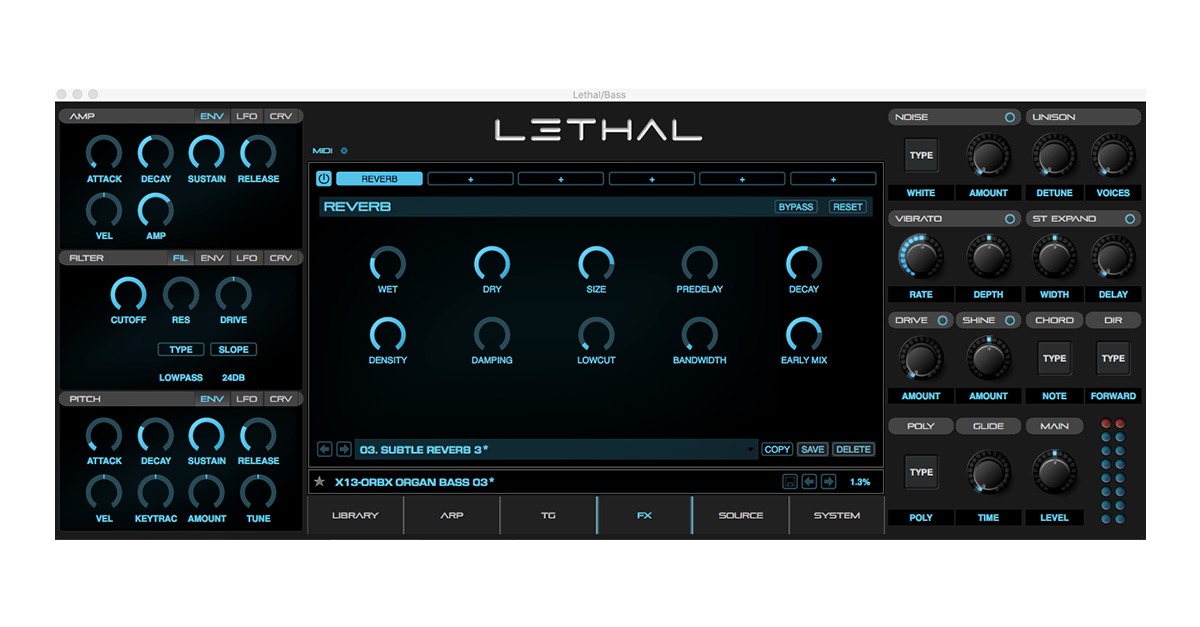
My bass tone is feeling a little dry as well.
Here a simple reverb is all it takes to give the bass it’s own space in the track.
7. Apply a groove
This track is starting to have a great feel, but a bit of natural swing would really help humanize it.
I’ll select a 16th note swing preset from Ableton’s groove library and apply it to all the clips except my kick and snare.
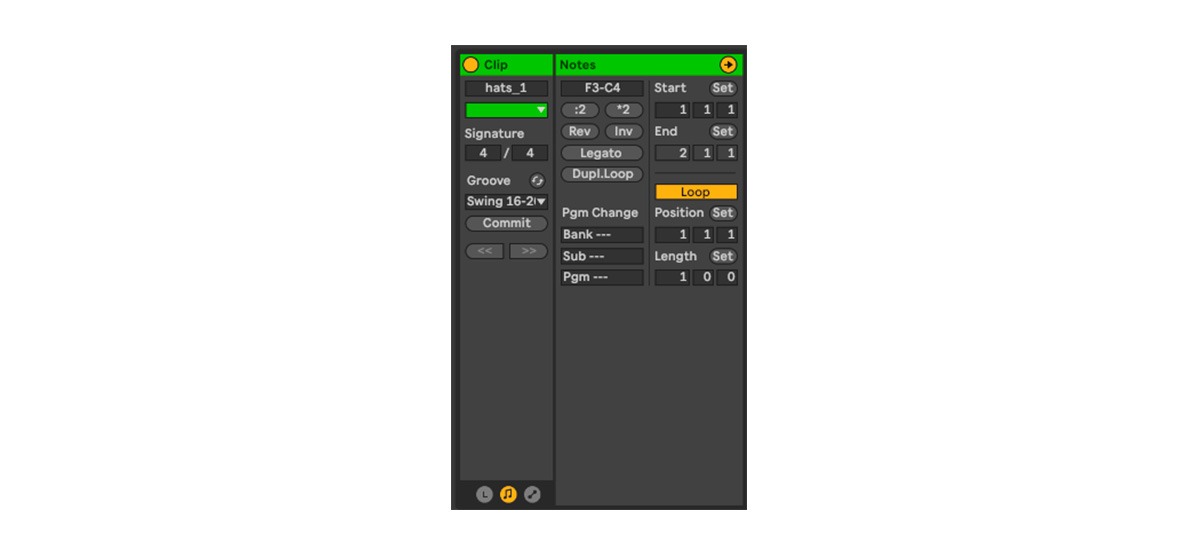
These foundational tracks are fine to keep the beat with a steady pulse directly on the grid.
I’ll increase the global swing in the groove pool until the track starts to breathe. Just about 65% should do it.

Get the tools to shape your sound with 30+ synths, instruments, effects and utilities plugins from industry leaders like Arturia, UJAM and more. Try LANDR Plugins.
And that’s my beat. Here’s all the elements together:
Build your own tracks
This demo isn’t quite an entire track yet. It needs development, drama and a full arrangement.
But you can easily see how the basic elements I’ve created in just 7 steps could turn into an entire track.
And considering I only used a single plugin—Lethal—I managed to cover a lot of sonic territory.
Lethal is the perfect tool for crafting entire mixes using just one plugin.
If you want to see the entire process behind how these tracks were made, check out the elements I used to build this session in the full version of the Lethal deep house demo from Woulg.
Various contributors from the LANDR team of music mentors.
@LANDRGear guides, tips, tutorials, inspiration and more—delivered weekly.
Keep up with the LANDR Blog.