

Drum Setup: How To Professionally Setup Your Drum kit
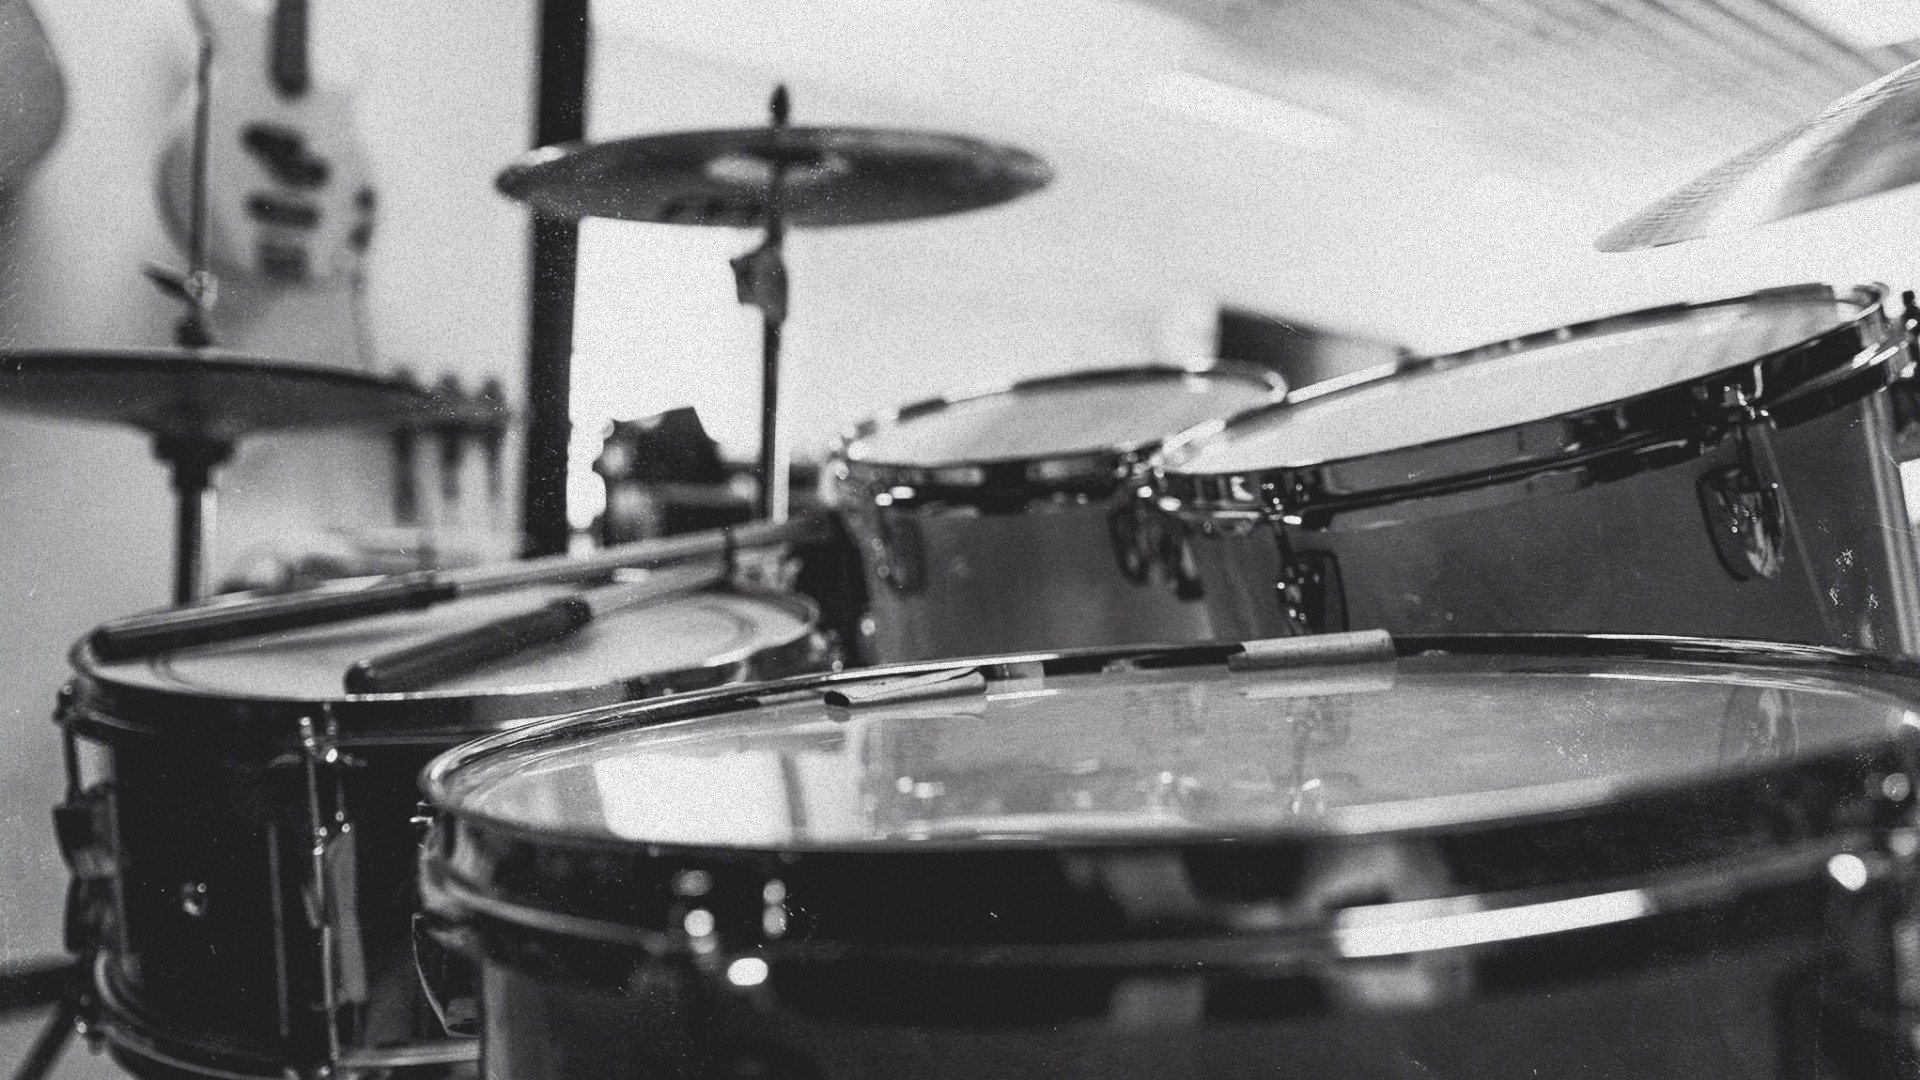
Setting up drums is one of the most important things to consider before learning how to play. The proper drum setup and angle of your drums will affect how you play and learn.
But how do you set up drums to optimize space, technique and comfort?
In this article, I’ve broken the process down into nine easy steps to help you nail any drum setup on the first try!
Let’s get started.
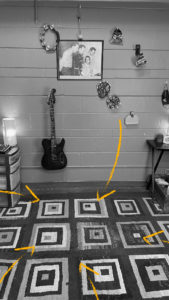
1. Placing Your Drums

Get unlimited Mastering and Distribution, 30+ plugins worth over $2,000 and more. Learn more
The first thing you’ll want to do is consider where in your room you’d like your drums to be.
A view of the rest of the room will come in handy when you have other people over to jam or rehearse. Consider setting up your drums with your back against a wall, or in a corner to maximize space and visuals.
The spikes on the bottom of the foot pedals and kick legs can be pretty unforgiving. You might want to lay down a rug to protect your floors.
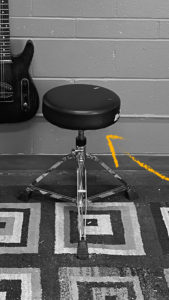
2. Start with your stool
Place your stool in the area where you want your drums to be. Observe your proximity to the surrounding walls. Also, make sure you have enough room to place the drums on either side of you.
Adjusting your stool height so that your knees are slightly above 90° is a good starting point. Stool height is a very personal thing, so experiment with what feels most natural for you.
Stool height is a very personal thing, so experiment with what feels most natural for you.
Be careful though, you don’t want to put yourself in a position that strains your back.
Sit on your stool in a relaxed position with your feet spread comfortably apart. Then, begin building the kit around you.
This is important because you’ll want to set the drums up to your natural body position. If you find yourself altering your body position to play the drums, something’s wrong.
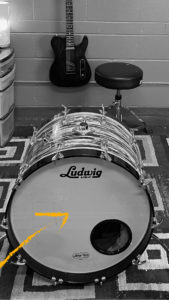
3. Bring in your kick
Place the kick drum where your bass pedal foot sits naturally.
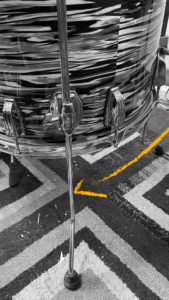
Fold down the legs on both sides of the bass drum. Angle them slightly forward, digging into the rug you’ve placed. This will prevent the bass drum from moving forward. Fasten your bass pedal to the bass drum hoop. You might need a drum key depending on the type of kick pedal you have.
Remember, the kick lives in the middle of the kit. Keep in mind how the rest of the kit will look in the room. It’s much easier to make any adjustments now rather than later.
Looking good? Sweet!
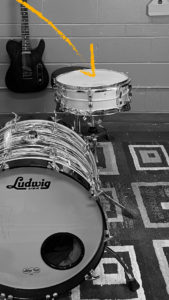
4. Bring in the snare
Unfold your snare stand and attach the snare drum, adjusting the stand so that the three rubber arms gently cradle the bottom rim.
Adjust the height of the snare stand so that you can hit the center of the drum easily, without punching your leg or hitting the rim.
I tend to sit slightly above 90°, so when I strike a rim shot (the center and rim at the same time) my knuckles barely touch my thigh.
Snare drums are often left in a flat position so that your forearm and wrist are straight when striking the middle of the snare. You can consider angling it slightly if needed.
5. Set up the toms
If there are two rack toms, mount them on the bass drum or attach them to the cymbal stands. Single rack toms are often mounted on a second snare stand.
Get unlimited Mastering and Distribution, 30+ plugins worth over $2,000 and more. Learn more
Adjust the toms so they sit comfortably above the bass drum. They should have enough of an angle so you’re not hitting the rims. You’ll want to avoid angling your toms too drastically though. If they’re angled too much, you’ll end up denting the skins over time.
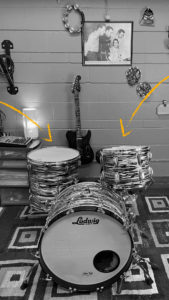
Floor toms are sometimes mounted on a cymbal stand, like the rack tom. But, it’ll more than likely have three floor tom legs that attach to the drum. These legs sometimes need a drum key to assemble.
Adjust your floor tom so that it aligns with your snare. Make sure that you’re not hitting the rim or your leg while playing.
At this point it’s a good idea to play around your drums and determine if you need any adjustments.
Avoid reaching excessively for anything on the kit. When playing the drums, your sticks should easily reach the centre of each drum.
When playing the drums, your sticks should easily reach the centre of each drum.
Remember, your setup should not cause you to overextend yourself.
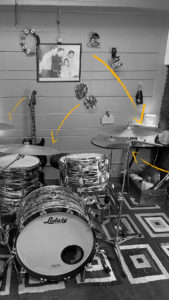
6. Set up the stands
To set up the stands, start by sitting with your foot on the bass drum pedal. The snare will be between your legs. Place the hi hat pedal on the opposite side of the snare so that your hi hat foot sits on the pedal in a natural position.
It’s standard to have at least two cymbal stands on your drum kit plus the hi hat pedal. These may include straight stands, or boom stands.
A boom arm stand is ideal to position the ride cymbal. Place it between the floor tom and high tom. This type of stand allows you to make tons of adjustments. A straight stand is ideal to position the crash cymbal. Place it between your hi hat and high tom. Properly placed stands are essential to an effective drum setup.
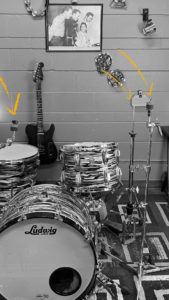
7. Set up the hi hat
Start by setting up the hi hats. The hi hats consist of two equally sized cymbals. There will likely be indicators on them that’ll let you know which is the top cymbal, and which is the bottom.
The bottom hi hat sits upside down on the cradle at the top of the stand. The top hi hat attaches to the clutch facing right side up.
Slide the clutch onto the rod leaving some space between the top and bottom cymbal.
Test the feel of your hi hat by striking the edges of the two cymbals and make sure that your foot pedal is leaving the right amount clearance to open and close to your taste.
Most hi hat stands come with a spring tensioning control by the foot pedal—experiment with various tension amounts to find your ideal hi high feet.
A high tension spring will open and close faster, but can be difficult to control. A low tension spring will open slower, but you’ll find it easy to create loose and washy sound on the hats if the spring has less tension.
Get unlimited Mastering and Distribution, 30+ plugins worth over $2,000 and more. Learn more
Adjust the height so that you’re able to use proper hi hat technique with both open and closed playing. Be sure to leave enough room for your snare hand to rest underneath. You’re going to need a functional hi hat pedal if you want to crush those back beats!
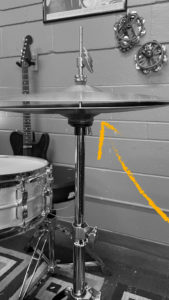
8. Set up the cymbals
Fasten the ride cymbal to its stand. Adjust the height of the stand so you’re able to play the ride with the tip of the stick on the top of the cymbal.
Fasten the crash cymbal to its stand. The crash cymbal is often struck on the edge which produces a full “crash” sound. Be sure that it’s high enough to do so.
Hot tip: Make sure that your cymbals do not rub up against the drums when struck. You can test for this by pushing the cymbal all the way up or down to make sure there’s clearance.
9. Final Adjustments
Once the drums are set up, the best thing to do is play a bit to make sure everything feels right.
One of the awesome things about the drums is that they are incredibly customizable. So, take your time experimenting with the set up to find what works best for your drum setup.
One of the awesome things about the drums is that they are incredibly customizable.
Hot tip: Some cymbal stands and drum racks come with memory locks that help you easily reassemble your stands to your exact preference. If you have an ideal set up, use your drum key to fasten the clamps on your stand into place.
The final countdown
After reading this post you should be ready to count in a fresh drum pattern with your newly setup kit.
Remember, not every drum setup will work for you.
Don’t be afraid to experiment with different placements, and add more gear as you progress.

Matt Burns is a professional drummer and educator based in Hamilton, Ontario. He performs regularly with Maple Blues Award winner Spencer Mackenzie.
@Matt BurnsGear guides, tips, tutorials, inspiration and more—delivered weekly.
Keep up with the LANDR Blog.