Kick Drums: How to Choose the Perfect Kick Sample
Kick drum can be the defining element of a song—so if it’s not working, your tracks will lack that special crack.
Picking the right kick sample is crucial for giving your tracks impact. We just released “The 50 Best Free Kick Samples” sample pack, which got us thinking…
What makes a kick drum good? And how do you pick the right kicks for your tracks?
There’s so many great kick samples out there… finding the perfect kick is a challenge.
The key is knowing what to listen for.
In this article, I’ll go over 7 tips that will help you choose the best possible kick drum sample for your track.
1. Listen in context
Audition potential kicks in context with your track. A kick might sound great on its own. But remember, your samples have to work with the rest of your mix above everything else.
Even if you haven’t recorded everything yet use whatever you do have to help you audition.
Your kick is such a major element. It needs as much context as possible to get a sense of what works.
Your kick is such a major element. It needs as much context as possible to get a sense of what works.
There are lots of ways to audition samples in your DAW. The simplest way is to add them on separate tracks and mute and un-mute to compare.
Ableton has a built-in feature to “hotswap” samples on your timeline or within Drum Racks and Simpler. It’s indicated by the circle and arrows beside files in the browser.
2. Be aware of the envelope

The attack and release of your kick sounds are crucial in your mix. Kick samples can have all kinds of envelopes.
From staccato clicks to round bass-like tones, the specific attack and decay qualities of your kick sample have to be in line with the rest of your track.
If the kick has too long of a tail or too slow of an attack, you’ll have to use your sampler’s ADSR to make sure it doesn’t conflict with other elements of your track.
Of course, you may not be able to get it perfect—there’s a limit to what can be done by manipulating a sample’s envelope
3. Pay attention to the EQ spectrum
You need to match the overall harmonic content of your kick sample with the rest of your track.
Don’t try to shoehorn a sample with a strongly conflicting frequency balance into your track. It can be more trouble than it’s worth and EQing can only help so much.
Try to match things like the distribution of frequencies and overall amount of saturation.
A busy mix might need a more hyped kick to cut through, but that same sample could be distracting in a minimal composition.
The interaction between your kick and bassline is also crucial. Mixing them well is that much more challenging if the kick and bass occupy exactly the same space.
The interaction between your kick and bassline is also crucial. Mixing them well is that much more challenging if the kick and bass occupy exactly the same space.
Keep the frequency spectrum in mind as you choose your kick samples and start thinking about your mix before it even starts—especially how it relates to other low elements like your bassline.
4. Expect to layer
In many cases you won’t be able to get the perfect kick for your track with just a single kick sample.
Don’t be afraid to enhance your original sample with other sounds. Layering samples is a powerful technique.
If you find yourself using radical EQ curves just to get more of a certain sonic quality into your kick, try layering another sample that has the character you’re looking for to get it.
In this example I’ve layered several kick samples together in an Ableton Live Drum Rack.

I like the attack of the first kick but it doesn’t have quite the low end I need. It’s also a bit dry for the track. To fix it I’ve layered a beefier sub bass kick with the just ambience from another kick sample.
With all three together, I’m getting exactly what I want for the kick drum on this track.
Chances are layering will sound more transparent than invasive EQ.
Here’s some other sounds to consider layering with your kicks:
- A cracking snare to add some initial attack
- A clap to add some initial smack to your kick
- An 808 style sine wave bass to give your kicks a nice booming tail
Layering is a key way to not only make your kick sound unique, but also make your kicks bigger and more impactful in your mix. Try several layered options to find what works best!
5. Tune first
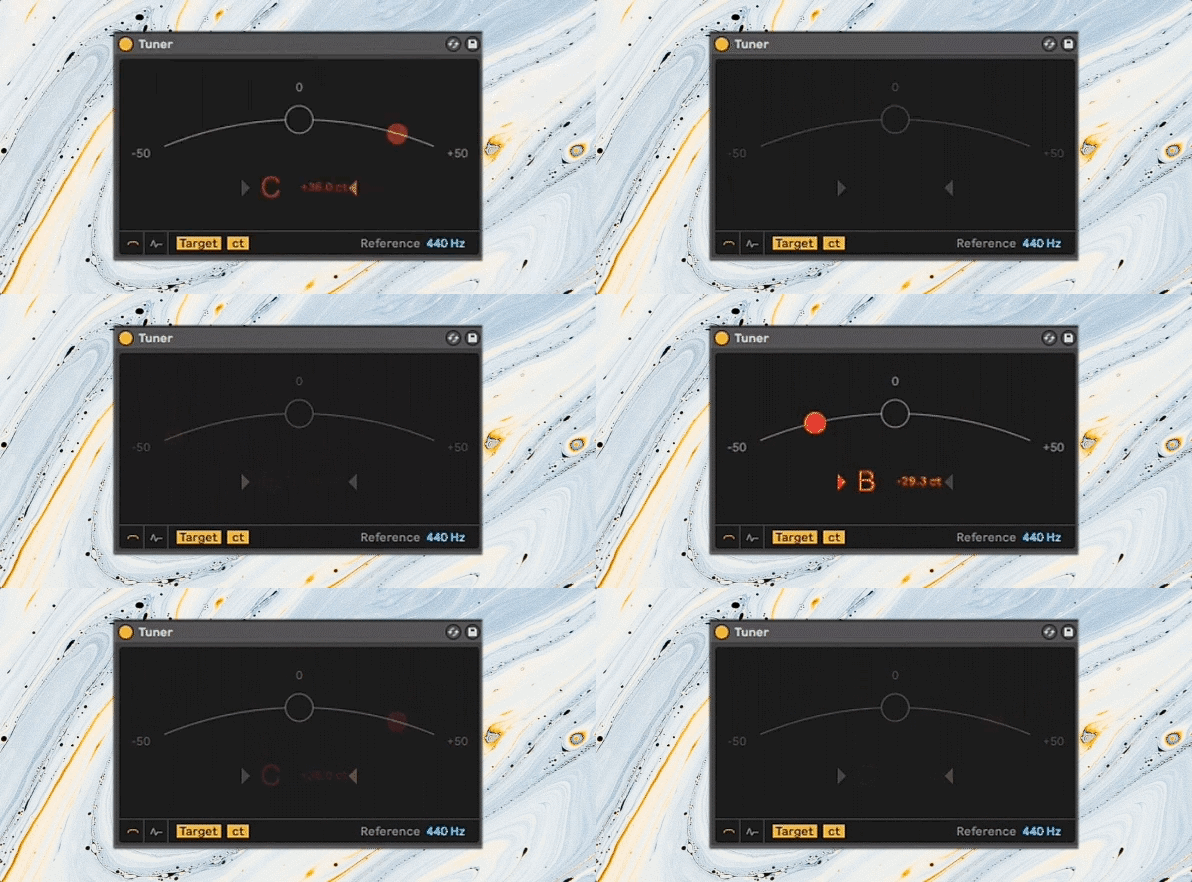
Before you make a decision on the right kick sample make sure you’ve taken the time to tune it for your song.
If the fundamental frequency of the kick is at odds with the rest of your song, you’ll have trouble knowing whether it really works.
If the fundamental frequency of the kick is at odds with the rest of your song, you’ll have trouble knowing whether it really works.
Use your sampler plugin’s transpose function to make sure your kick sample is in tune.
You don’t have to hard-tune the kick’s fundamental to the song’s tonic, but try to explore options that enhance their harmonic relationship.
Listening in context of the rest of your mix is really important here—tweak until it sounds right!
6. Level match
[adbutler zone_id=”291816″ secure=”1″ type=”asyncjs”]
As always when comparing two audio files, make sure you match the levels before you decide.
Small differences in level have a surprisingly strong effect on how we perceive the strengths of one sound over another.
You don’t want to accidentally miss the right kick just because a slightly louder one sounded more lively when you auditioned it.
Watch your meters carefully as you level match so you can be sure you’re making a fair comparison between 2 kick samples.
7. Don’t be afraid to start over
Don’t keep struggling with a sample that’s not quite right just because you’ve already spent an hour on it.
Don’t keep struggling with a sample that’s not quite right just because you’ve already spent an hour on it.
It’s easy to rationalize your choices when when you’ve gotten attached to them over time. But sometimes the only way to move forward is to go back to the beginning.
Starting from scratch can actually give you a fresh perspective on the whole song. So even if it hurts, try not to get too dedicated to a kick that’s just not working.
Hot Tip: Instead of starting with just one kick sample, set aside a small batch of 5-10 that might work. This way, you’ll have a better backup plan if your first option isn’t working.
Sick Kicks
“Get it right at the source” is a common phrase in mixing for a good reason. If you don’t have the right raw materials, no amount of fancy mixing techniques will give you the results you want.
That’s why it’s important to choose the right kick sample as you build your tracks. It doesn’t have to be difficult if you keep the these tips in mind.
Now that you know how to choose a great kick, get back to your samples folder and find the perfect kick!
Gear guides, tips, tutorials, inspiration and more—delivered weekly.
Keep up with the LANDR Blog.


