


Beat Making
How to Use the FL Studio Mixer to Start Producing
Navigating the FL Studio Mixer can be the difference between an amateur production and a polished track.
This guide will delve into the functionalities and strategies for using the mixer to its full potential, ensuring that by the end, you’ll have a solid grasp of this powerful tool.
Getting Started with the FL Studio Mixer
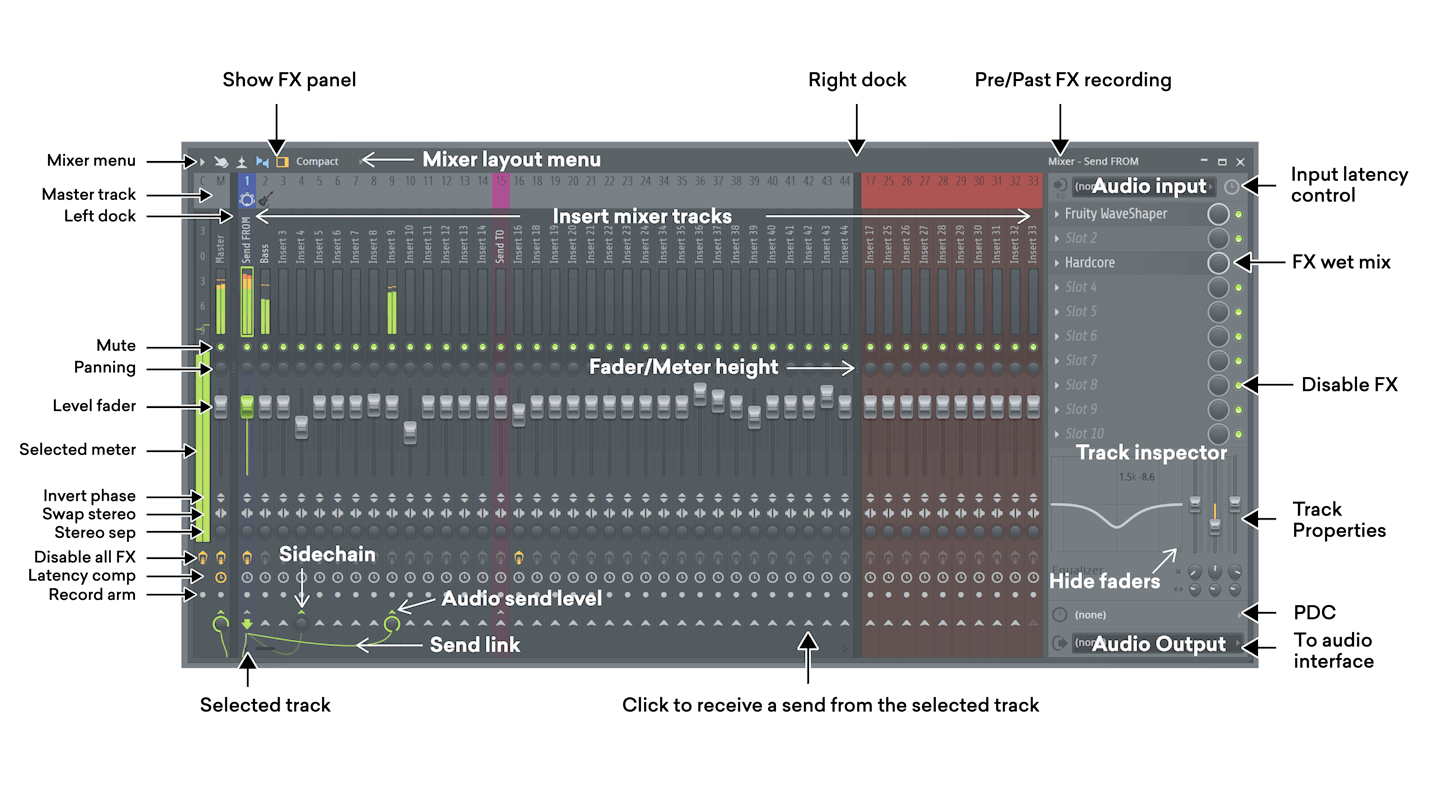
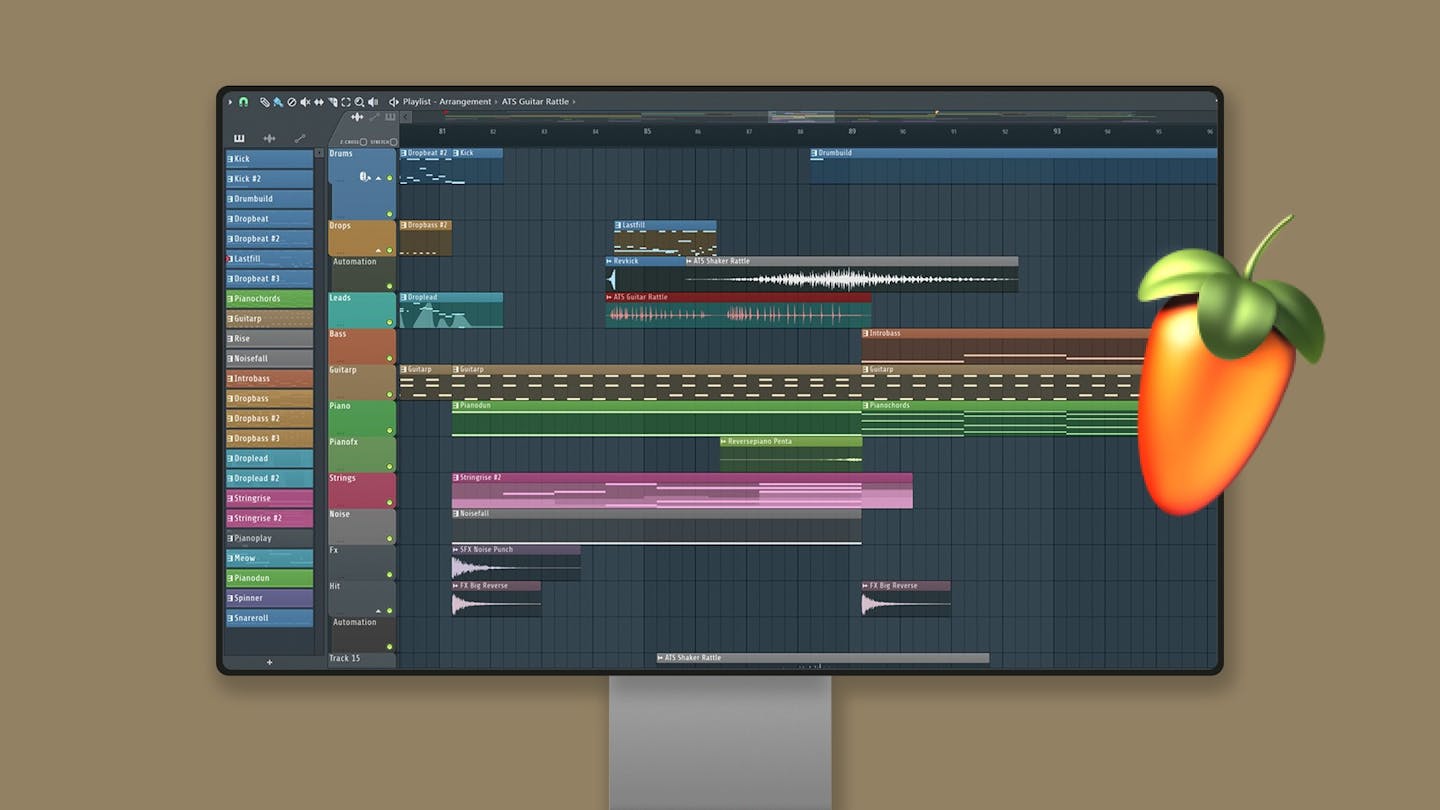
Upon opening the FL Studio Mixer, you’re greeted with a grid of channels—these are your mixing lanes.
Each mixer channel is equipped with a fader for volume control, a panning dial to position the sound within the stereo field, and an array of slots for inserting effects.
What’s different about the mixer in FL Studio, is that you’ll have to manually route your sounds from the channel rack into the mixer.
So if you want to send instrument audio to a mixer track where you can perform routine mixing tasks like panning or EQ, you’ll have to manually assign each channel rack slot to its mixer track.
You can do this directly from the channel rack, choosing what mixer slot the corresponding sounds will go to.
There’s also the option of routing from the sampler window.
If you’d like the sound to automatically go to a free slot in your mixer, simply press Ctrl/Cmd L when you have a sound highlighted in your channel rack.
Once you have your sounds routed, you’ll be able to use the different functions on each channel strip in the FL Studio Mixer:
- Invert Phase
This control flips the waveform’s phase, potentially solving phase cancellation issues that result in weakened bass frequencies, often occurring in multi-mic setups or misaligned samples.
- Swap Channels
This swaps the left and right stereo channels to fix recording channel misalignments or to align audio with visual elements like video.
- Mixer Track FX Master Switch
A global switch to enable or disable all effects on a track at once, with a left-click to toggle and a right-click to open/close all effect interfaces.
- Track Delay
A non-effectual time-offset delay, predominantly used by Plugin Delay Compensation (PDC) to align tracks delayed by FX plugins, indicated by different colors based on the type of delay set.
- Track Recording Arm Switch
Arms the track for recording, allowing it to capture internal or external audio, with options for naming the recorded files.
- Send/Sidechain Switch
Enables routing of audio from the selected track to another, with a right-click option to route or sidechain without sending to the master, and a knob to adjust the received signal level.
- Peak Meters
Indicates output in dB and despite peaks above 0 dB on insert tracks, clipping is virtually impossible except on the Master track or when routed to an ASIO output.
- Mute Switch
Mutes or solos a track, with additional shortcuts for muting/unmuting all tracks or locking the state of the track.
- Panning
Controls the stereo position of the sound, with a default ‘Circular Panning Law’ applied.
- Level Faders
Adjusts the volume post-effect, with the ability to create automation clips or link to external controllers.
- Stereo Separation
Enhances or reduces stereo width, effective only on tracks with stereo information.
- Audio Input & Output
Selects hardware inputs and outputs from the audio interface, including options for recording pre or post-FX.
These controls provide comprehensive management over track recording, processing, and output in FL Studio’s mixer, allowing for detailed and nuanced mixing capabilities.
Setting Up Your Project for the First Mix
Here's a detailed breakdown of how to mix your track in FL Studio.
Before mixing, organization is key.
Begin by naming and coloring your mixer channels corresponding to the instrument or sound they represent—this will save you a lot of headaches down the road.
Next, ensure that each instrument in your project is assigned to a separate mixer channel.
This step is crucial for individual processing and clarity in the mix.
You can assign channels by right-clicking the channel rack and selecting ‘route to this track’, creating a direct path from your sound source to the mixer.
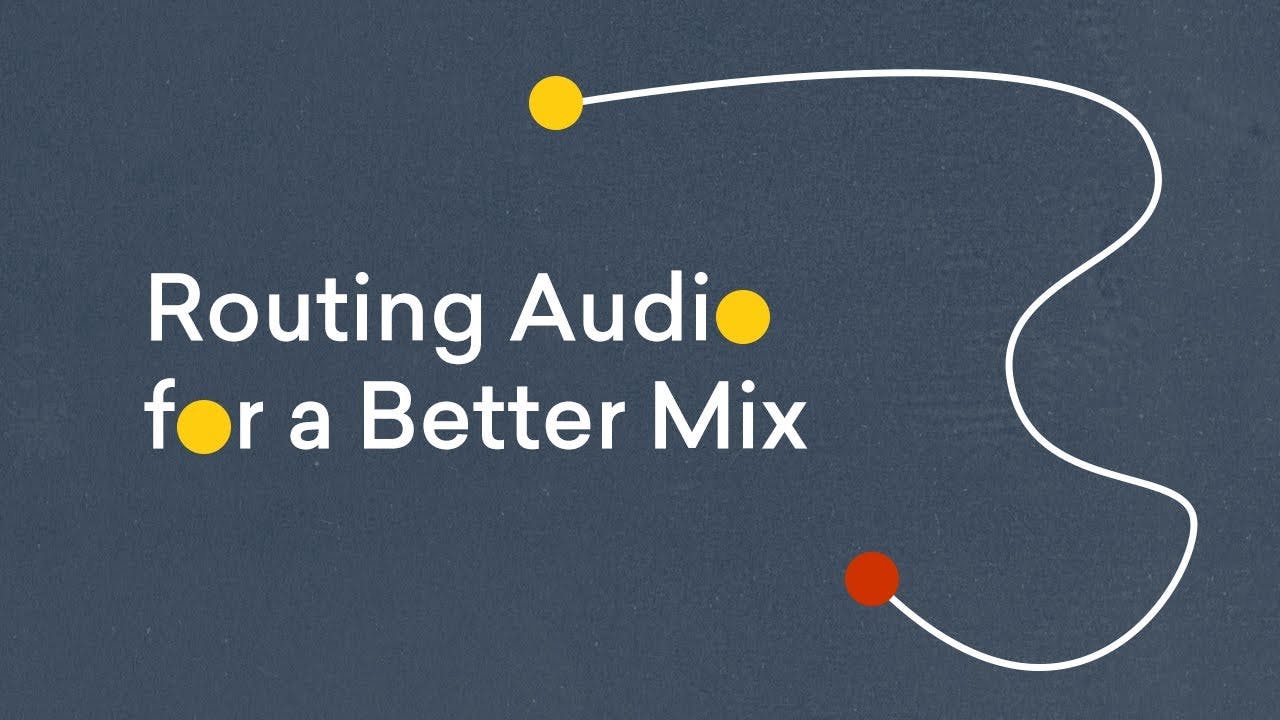
How channels and routing work in the FL Studio Mixer
In FL Studio, routing is flexible and powerful.
You have Insert Channels, which are the workhorses where you’ll spend most of your time mixing individual sounds.
Here's a few thoughts on how to route audio for better mixing.
Then there are Send Channels, which allow you to route multiple insert channels to a single effects channel—great for applying a consistent reverb or delay to several instruments.
The Master Channel is where all these individual paths converge, and it’s the last stop before your mix hits the outside world.
It’s critical to manage levels and effects on the master carefully, as changes here affect the entire mix.
Understanding the signal flow in any DAW is vital.
In FL Studio’s mixer the audio signal travels from the Channel Rack to the Insert Channels, through any effects you’ve applied, and then out to the Master Channel.
By learning the signal flow, you become the conductor, guiding the audio where it needs to go, ensuring clarity, depth, and power in your final mix.
Mixing essentials and creative techniques in FL Studio
In the heart of FL Studio’s mixer lies the essence of a solid mix—balance and creativity.
Begin with leveling each instrument or part, ensuring no sound overpowers another.
Then comes EQ, your tool for sculpting the sonic space, making sure each instrument sits perfectly in the mix.
Add in compression to keep dynamics polished and panning to spread your sounds across the stereo field like colors on a canvas.
But why stop at basics? The mixer in FL Studio is handy space to apply slightly more advanced mix techniques as well.
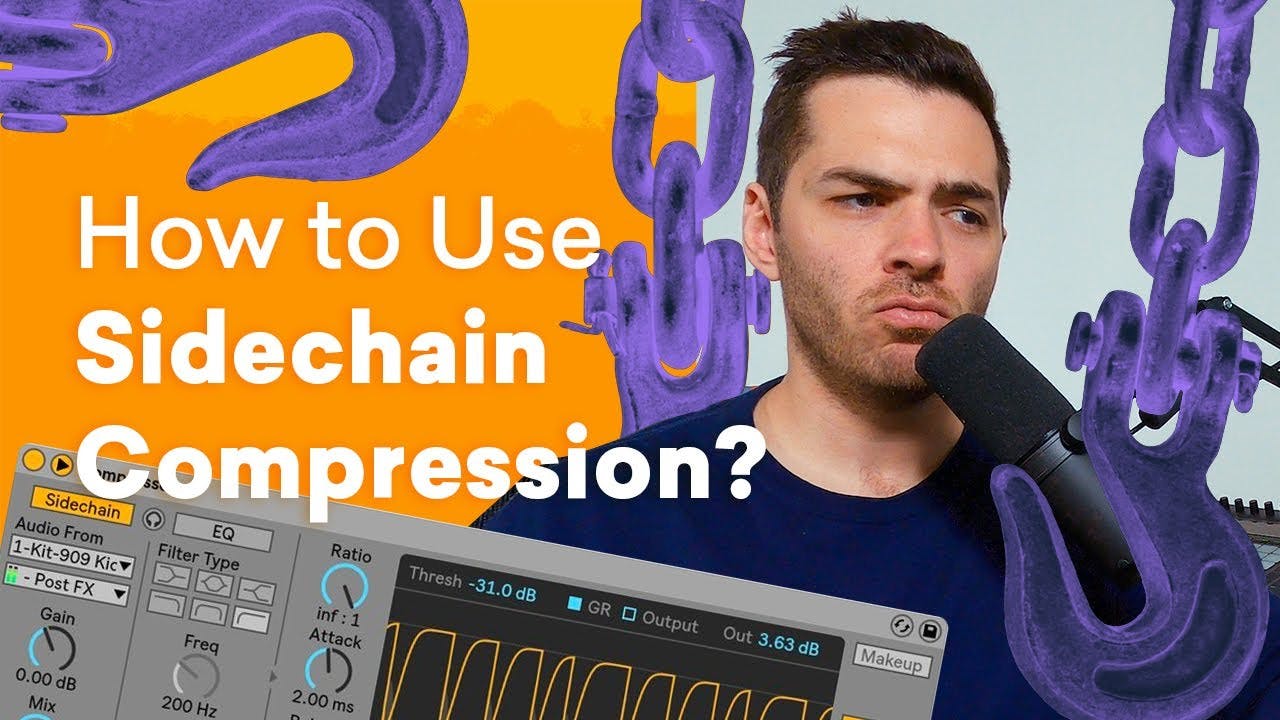
Sidechain compression lets your kick cut through by ducking other sounds, adding that pulsating energy to your track.
Anthony explains sidechain compression.
Automation breathes life into the static, allowing volumes, effects, and other parameters to change over time.
And when you group similar sounds onto buses, you’re not just simplifying; you’re unifying—processing them together for a tight and cohesive sound.
Blend these foundational techniques with advanced tricks, and you’ll not only have a mix that sounds good but feels good, too.
This concise section aims to provide a snapshot of both the technical foundations and the more nuanced, creative aspects of mixing in FL Studio, giving your readers a quick overview of the process.
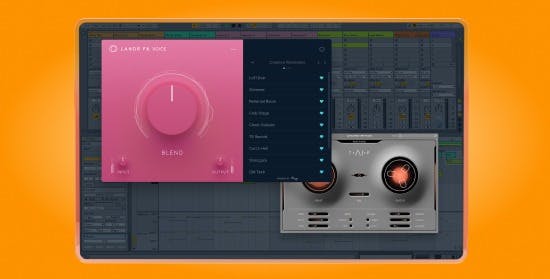
Using plugins in the FL Studio mixer
Diving into the digital racks of FL Studio reveals a treasure trove of native plugins, each designed to enhance your mix.
From the warmth of the Fruity Parametric EQ 2 to the punchy precision of the Fruity Compressor, these built-in tools offer a range of possibilities for shaping your sound.
They are integrated seamlessly into the mixer, ensuring low latency and stability.
Third-party plugins in the FL Studio Mixer
FL Studio also plays well with third-party VST plugins, opening the door to a universe of sonic flavors.
Adding them is a breeze—install the VST, scan your plugin directory within FL Studio, and then simply add them to your mixer channel just like any native effect.
When it comes to plugin recommendations, it’s about the right tool for the job.
For equalization, you might reach for NEED 73 for its authentic reproduction of an iconic Neve console channel strip EQ.
Compression duties can be handled by the versatile and transparent KLEVGR Korvpressor.
Saturation and warmth could come from the Eventide CrushStation, while spatial effects like reverb can be sourced from Arturia Revplate’s lush offerings.
No matter what plugins you choose, the key is to use them to serve the track. It’s easy to get lost in an ocean of plugins, but remember—sometimes less is more, and the perfect mix might just be a few thoughtful adjustments away.
Finalizing your mix
With a final mix you'll need a final master. Read - How to Master a Song in FL Studio
As you approach the end of mixing in FL Studio, a critical step awaits—finalizing your mix.
Make sure your levels are steady and you’ve reserved enough headroom for the mastering process—peaks should hover around -9 dB to avoid clipping and ensure clarity.
Comparing your mix to professionally released tracks can be a revelation.
It puts your work in context with industry standards, highlighting areas for improvement in loudness, balance, and frequency response.
Before making any final judgments, take a break. Returning with a refreshed perspective can reveal subtleties you might have previously overlooked.
Don’t underestimate the value of a second opinion. Someone else’s ears can offer new insights into your mix’s strengths and weaknesses.
When you feel your mix is sounding clear, balanced, and true to your vision, it’s time to touch up with mastering.
This final step is about enhancing, not reinventing, the sonic qualities of your mix to ensure your track sounds good on any speaker medium.
It’s crucial to step outside your usual listening environment; test your master on different sound systems to guarantee it holds up across the board.
Remember, a mix is truly complete when it resonates with the emotion and energy you envisioned.
Here's what you need to know to get your mix over the finish line.
Crafting your sonic signature with the FL Studio mixer
Harnessing the FL Studio Mixer is about more than just sliding faders and twisting knobs—it’s about shaping the aural landscape of your music.
Whether you’re balancing the raw energy of a bassline or finessing the subtleties of ambient textures, the mixer is your palette for creative expression.
As you apply these techniques and tools, your mixes will start to breathe and stand out.
The plugins, both native and third-party, are your collaborators, each bringing something unique to the project.
And when you finally reach that moment where your mix reflects the emotion and intent you set out to capture, you’ll know it’s ready to leave the studio and fill the airwaves.
So, take these insights, experiment with courage, and mix with conviction. Your next track could be the one that resonates with listeners and defines your sound for years to come.
Alex Lavoie is a drummer, music producer, songwriter and marketing professional living in Montreal, Quebec. He works as a staff writer at LANDR by day and writes indie post-punk tunes in his band UTILS while moonlighting as drummer for folk-rock outfit The Painters. Connect with Alex Lavoie on LANDR Network!
@Alex LavoieGear guides, tips, tutorials, inspiration and more—delivered weekly.
Keep up with the LANDR Blog.