How to Prepare Your Samples for a Better Mix
Better samples mean better sound.
One of the best ways to exercise your creativity muscles when producing new tracks is to create some limitations on your own work.
They’re the small challenges that force you to step outside your comfort zone and create something unpredictable and new!
Craft your next hit with a collection of over two million exclusive, royalty free hooks, loops, FX, vocals, beats and more. Try LANDR Samples
Like writing songs with only two chords, creating a melody with percussion and rhythm using harmony, or using found sounds and samples in new innovative ways.
There’s no better producer out there then Andrew Huang to show you how to use self-imposed limitations and a high dose of non-musical samples in your work.
Huang’s new free course on Soundfly, Making Music From Everyday Items, explores his personal process of capturing and processing found sounds and samples, and turning them into dense, well-rounded songs.
Check it out, I highly recommend it! But for now, it’s time to incorporate some found sounds and samples in your own work.
Here’s a short tutorial on preparing samples in your DAW so it sounds like butter no matter what you record!
Ready? Ok let’s do it.
Gold in. Gold out.
Time to get set up. For this step, you’re gonna need a mic, a recording interface that connects to your computer, and your DAW of choice.
In this tutorial I’m using Ableton Live, but the same concepts apply in most DAWs
If any of the setup is unfamiliar to you, check out our home recording studio guide for more info.
Click on Live in the top left corner. Then click Preferences in the menu. Select the Audio tab on the left and find your interface in the drop-down menu for Audio Input Device. Your Audio Output Device will depend on where your speakers are connected.
Make sure that under Input Configuration you have 1 (mono) & 2 (mono) and 1/2 (stereo) highlighted. Okay, you’re good to go!
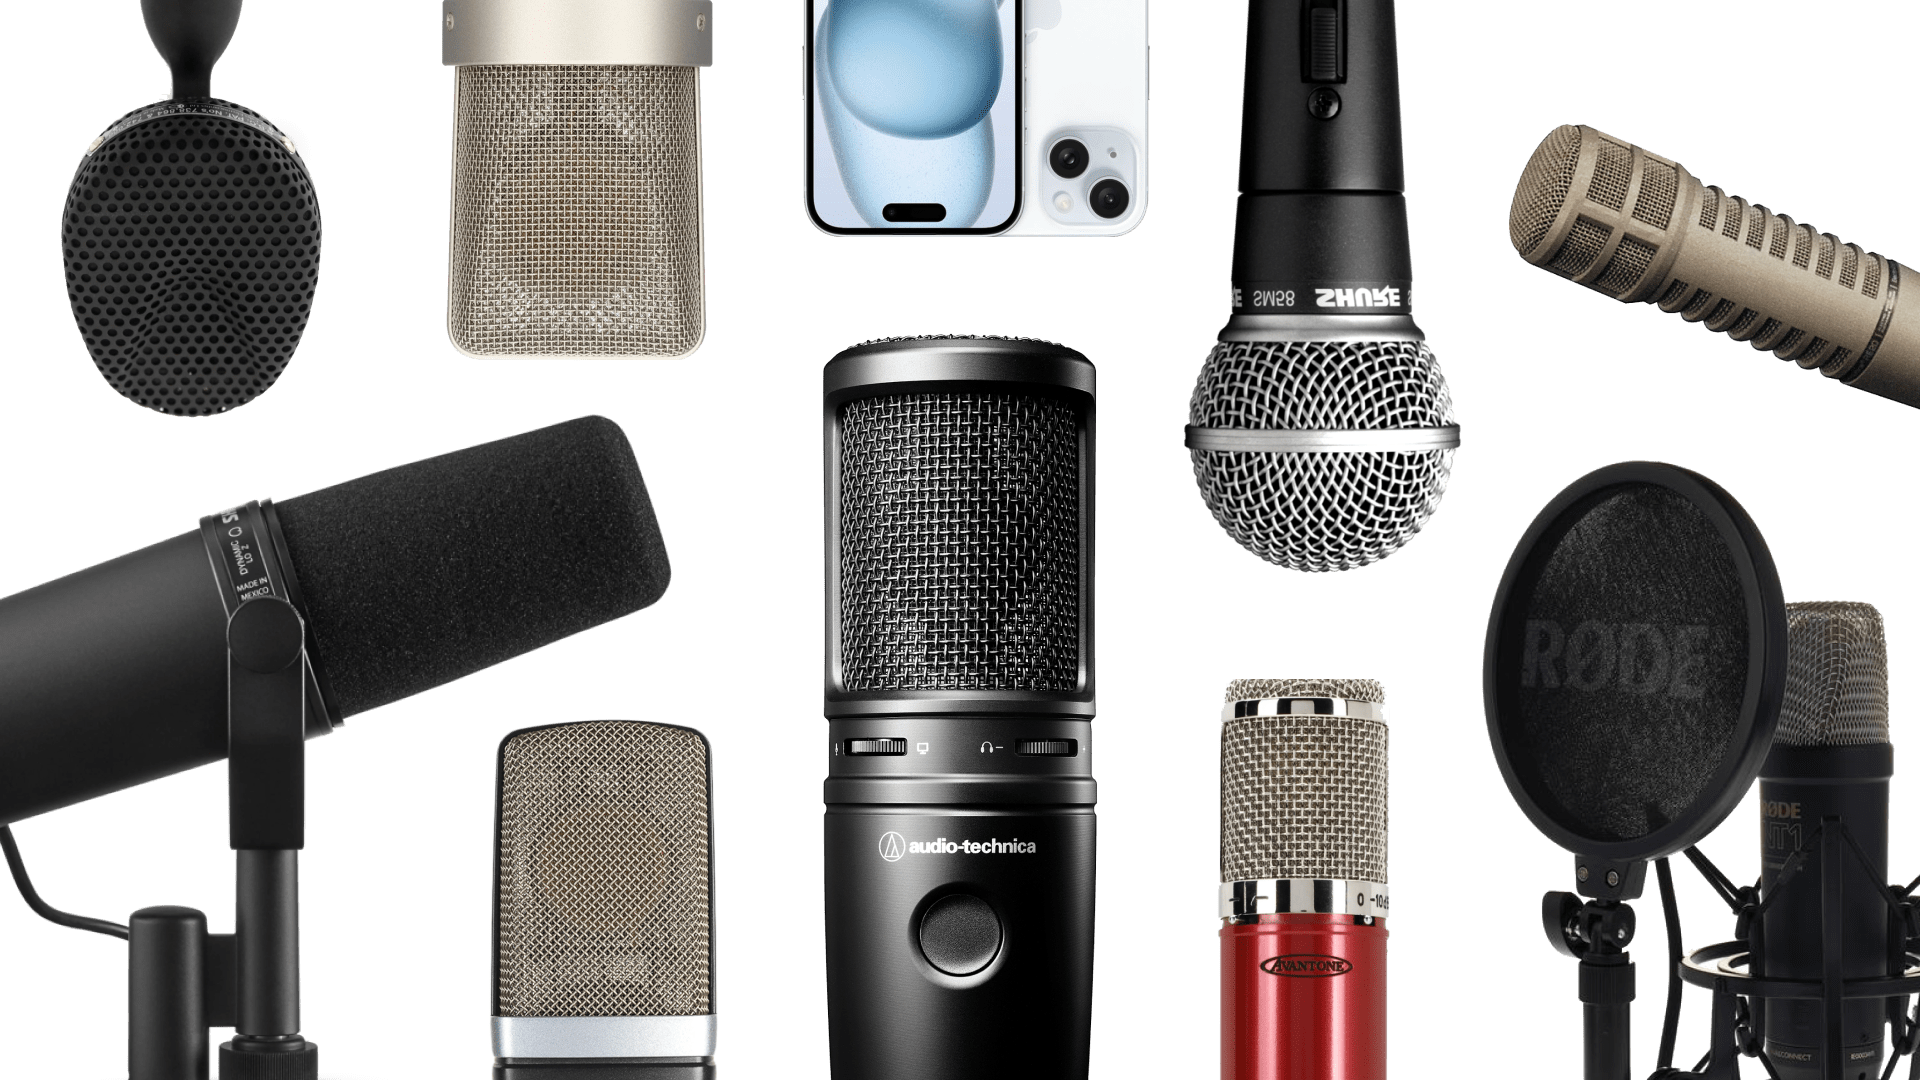
Mic’ing:
When it comes to mics, go ahead and use any mic you like to record great-sounding samples—expensive mics are not required.
If you’re in the market for a new mic, try the classic “desert island” microphone: the Shure SM57.
They’re very affordable, small diaphragm cardioid dynamic mics (music speak for ‘good mic’) that can do just about anything. They’re also built to last a lifetime and are worth every penny.
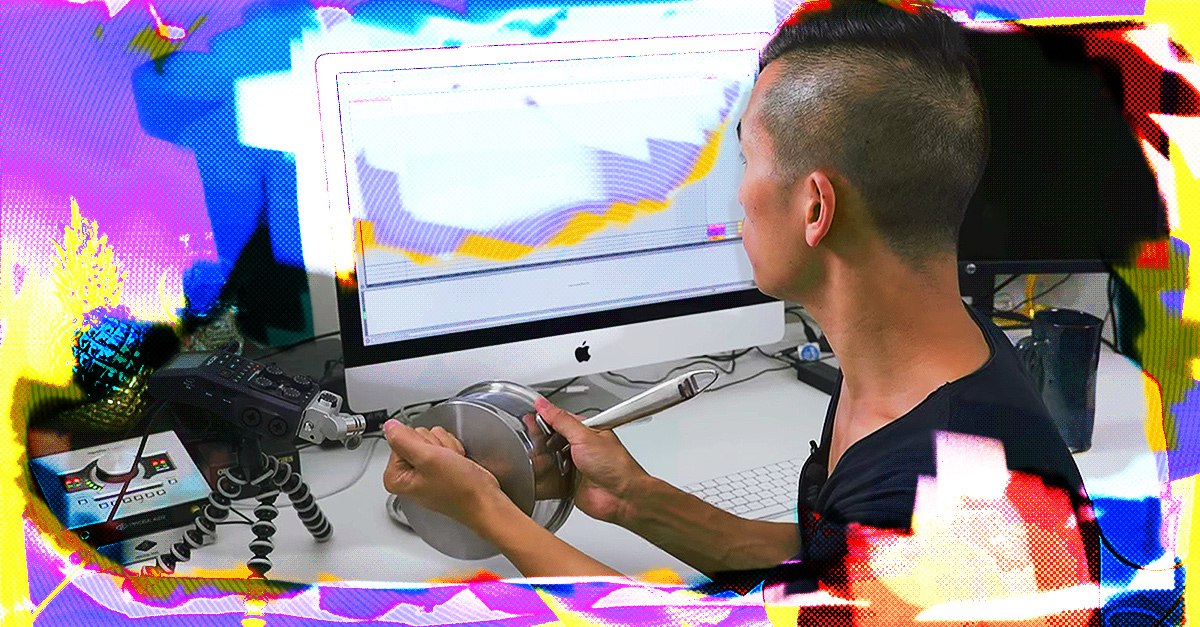
However, in his videos Andrew Huang actually only uses the stereo mic from a Zoom H6 Recorder (with adjustable XY attachment). Also a good option for sampling.
Video from Soundfly’s Making Music From Everyday Items course.
Where you place the microphone is potentially more important than what microphone you’re actually using…
Recording with a single microphone is referred to as recording in Mono. With a single mic, try pointing it straight at the source about 30cm away. Put on some headphones and play around with different angles and distances until you find the sound you’re looking for.
Of course you can always feel free to throw this all out and experiment—The best sounds often come from happy accidents.
Levels:
Create a new Audio Track in Ableton. Navigate to ‘Create’ in the menu bar and select Insert Audio Track from the the dropdown menu. Or use the key command CMD + T or CTRL + T on PC. Set input via “Audio From” menu.
If you’re using a stereo mic setup (meaning two mics), you’ll want to select ½ in the menu to make sure you’re capturing both inputs.
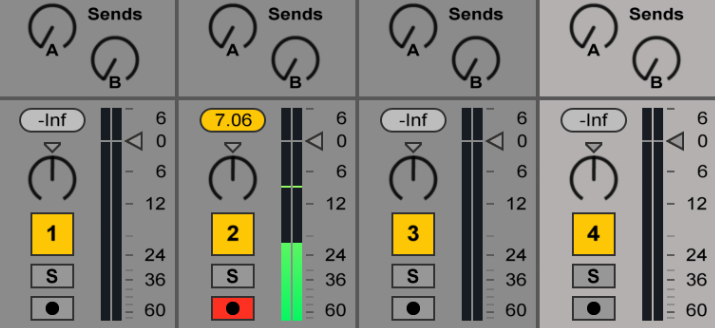
Arm the Track’s Recording button:
This is the button directly below the Solo button, to the left of the fader, with the black dot in the center.
Turn up the mic preamp on your interface:
When you’re recording you have two paths of audio to consider…
There’s audio in the channel path, the information that hasn’t been recorded to the computer yet. This audio is controlled at the input.
Then there’s the monitor path. This is the audio that the computer has already sampled and is now playing back in Live. Your audio should be peaking at about -6dB on the meters.
This will give you ample headroom to work with in the mix.
Mono vs. Stereo:
I don’t want to tell you how to make your music. But the basic answer to the “should I record in mono or stereo?” question depends on how you will be using each sample in your mix.
Recording in Mono (with a single mic) is great when you want perfectly placed panning on your final mix.
Experiment to find your flavour.
However, recording a sound in true stereo (achievable either with one mic or two) can create some interesting results.
Especially if you want your sounds to feel like they’re occurring in a physical space, or if you want the room’s characteristics to shine through.
Either way It’s always up to you in the end! So experiment to find your flavour.
Remove the Clicks, Artifacts and Ambience
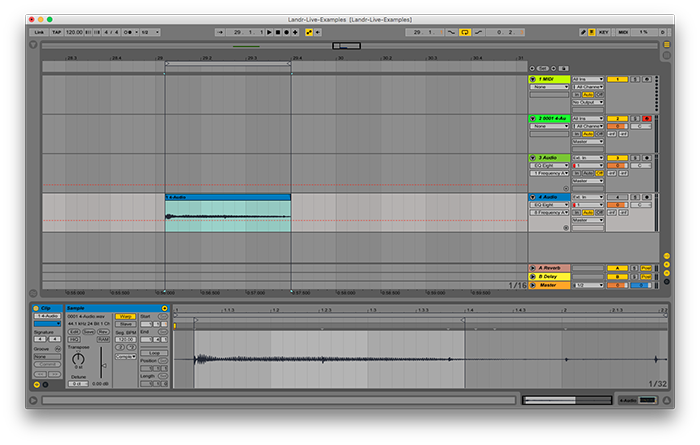
Once you’ve recorded everything, it’s time to start chopping, cleaning, and organizing your samples.
The most valuable shortcut in this phase is CMD + E or CTRL + E on a PC. It’s the Split shortcut to break up clips.
After splitting, you can clean things up further by clicking and dragging the edges of clips to extend or shorten them.
Delete those unwanted sounds by highlighting a section of the clip with your cursor and use the ‘Cut’ command, CMD + X or CTRL + X on a PC.
This is the first and best step in cleaning up extra unwanted noise.
Sound Shaping Tricks
Removing Ambience:
If you’ve recorded in a room with some natural reflections here’s some options for removing some of that unwanted ambience.
1. Fades
In your Arrangement view, hit CMND + OPTN + F or CTRL + ALT + F on PC to open the fades view. Simply click and drag the fade to the desired location.
2. Simpler
Pulling your sample into simpler allows you to modulate the volume of the sample using an envelope. Click and drag a Simpler instrument onto a MIDI track, and simply click and drag your selected audio clip into the Simpler.
In the bottom-right of the Simpler instrument you’ll see some envelope controls including Decay and Release controls that will help you shape the sound. Try reducing the sustain all the way and messing with the Decay until you get the result you’re looking for.
3. Compression
So you’ve edited your sample down to the amount of time you like. But it still sounds too roomy. Just add some compression to help accentuate the front end of your sound. This works especially well if it’s a percussive sound.
Add a Compressor to your audio track. Set the attack to around 15ms with a longer release (around 300ms). Lower the threshold until the sound has the punchy attack you want while squashing the reverb tail.
Removing Attack:
If you’re looking to remove some of the attack, or a click at the beginning of your recording, you have some similar options:
1. Fades
In the Arrangement view hit SHIFT + OPTN + F to open the fades view. Click and drag the fade on the front of the region to find what fits best.
2. Simpler
Just like with the release and decay of Simpler, take the edge off your sample by adjusting the attack time to be a bit longer.
3. Editing
Remember, at the end of the day, the best source is the best option. So if you can cut material you don’t want out of the region, always opt for that!
EQing
Here are a few quick tips for how to EQ everything into the mix right.
High-pass almost everything
There are very few instruments that require any frequency information below 100–150Hz. Use a high-pass filter in that frequency range to make a lot of space and gain a lot of clarity quickly. This will remove a lot of unnecessary reverberations, low hums from power sources in the room, and other cluttering noise.
Experiment with the low frequencies
Listen back and use your EQ’s larger display to observe the frequency content while you listen. Adjust your high-pass until you start missing some of the sound, Back off until it’s back and you’ve found your perfect curve.
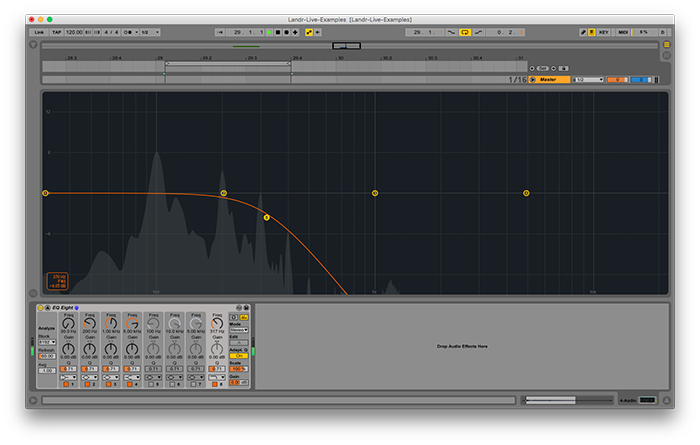
Low-pass lower instruments
If you want a clean low end for bass-range sound, you probably don’t need a lot of the higher frequency clicks, squeaks, or shimmers that might come with your sample. Set up a low-pass filter and sweep it in a similar way to your high-pass filter to correct the problems.
Use our EQ cheat sheet for reference when you’re EQing certain parts. It’ll help.
Notch it
Does your room have one very present, resonant frequency that seems to creep into everything? Is there a whistle to your sample you’d like to eliminate?
Turn on a bell curve and boost the gain by 6–10dB. Sweep the frequency and listen for the offending frequency to jump out.
Reduce the gain and adjust the width of your cut depending on how much frequency content needs removing.
Designing Sound
Here are a couple of other sound design tools for making your sample unrecognizable from the original.
Craft your next hit with a collection of over two million exclusive, royalty free hooks, loops, FX, vocals, beats and more. Try LANDR Samples
Double-click on your sample. In the lower-left corner a group of tools will appear:
Transpose It
Pitch shifting your sample way above and below its original pitch is a great way to open up new sounds and interesting timbral qualities you couldn’t achieve with sampling alone.
Try it by selecting a clip and using the Transpose knob to alter the pitch of a sample by semitones.
Want finer adjustments? Make pitch adjustments on the cent scale by clicking and entering your number of choice. Or click and drag the number box just below the label that says Detune.
Reverse It
Some remarkable and unexpected surprises come from exploring your samples in reverse. Hit the Reverse button and take a listen!
Anything else you can dream of! The key to ingenuity in production is mostly problem solving, how can I get a bit more “umph” in this kick sound?, perhaps try layering two samples together to form a fuller sound altogether. Use your imagination and seek answers in overlooked places.
Samp-la-delic
So, did you come up with anything mind-blowing? I hope so! Now you’re all set to sample everything! Even kitchen items…
If you wanna learn more head over to our friends at Soundfly to check out all the wonderful courses they offer.
Most of them are free. The more in-depth courses featuring professional mentors are paid, but don’t worry, we’ve got you covered!
Use code: LANDR20 for 20% off any paid course on Soundfly! Enjoy!
And happy sampling!

Rory Seydel is a musician, writer and father who takes pleasure in touring the world and making records. Creative Director at LANDR.
@Rory SeydelGear guides, tips, tutorials, inspiration and more—delivered weekly.
Keep up with the LANDR Blog.