
How to Edit Audio: 10 Helpful Tips for Better Results
Learning how to edit audio is one of the most basic things to learn in music production.
It’s the key DAW operations you perform on your audio files before they’re ready for mixing.
But using audio editing software can be tedious if you’re just getting used to it. Most DAWs take a little while to learn the tips and tricks it takes to be an editing whiz.
Even so, it doesn’t have to be an uphill battle.
Our powerful, AI-driven mastering engine listens to your song and delivers pristine, studio-quality music that’s ready for release. Master a track.
In this article I’ll explain everything you need to know about audio production and editing, plus give you 10 tips to make your editing process faster and better.
What is audio editing?
Audio editing is the manipulation of recorded audio files in a musical arrangement, film soundtrack or broadcast. It’s used on individual songs to create a higher quality sound.
The practice started with engineers manually cutting and splicing analog tape, but the majority of modern audio editing takes place inside DAW software.
Editing is the first step in audio production. It involves recording – and re-recording – songs until you have the perfect starting point. Then, the main tasks involved in how to edit audio files are:
- Changing the position of clips on the timeline
- Cleaning up noise and imperfections
- Refining a musical performance by selecting different takes
- Manipulating audio by slicing individual clips
What does an audio editor do?
Audio editing skills are an essential part of creating a song. The audio editor listens to every take of a song and chooses the best parts of the best takes, then combines them into the final track. Audio editors also may be tasked with cleaning pops, noise and other unwanted sounds in a recording. The final product is a song where all of the sounds work together in harmony.
Why is audio editing important?
Modern audio production techniques are so advanced that every song you hear seems like a unified single event. But in reality, every single track in a pro production has been meticulously edited to work just right.
If you want to create the magic of a great sounding song, you need to learn how to edit audio.
Audio editing is a massive part of the magic of a great sounding song.
Mixing and mastering are essential too, but you’ll never get a polished sound if you skip the editing phase.
How to edit audio
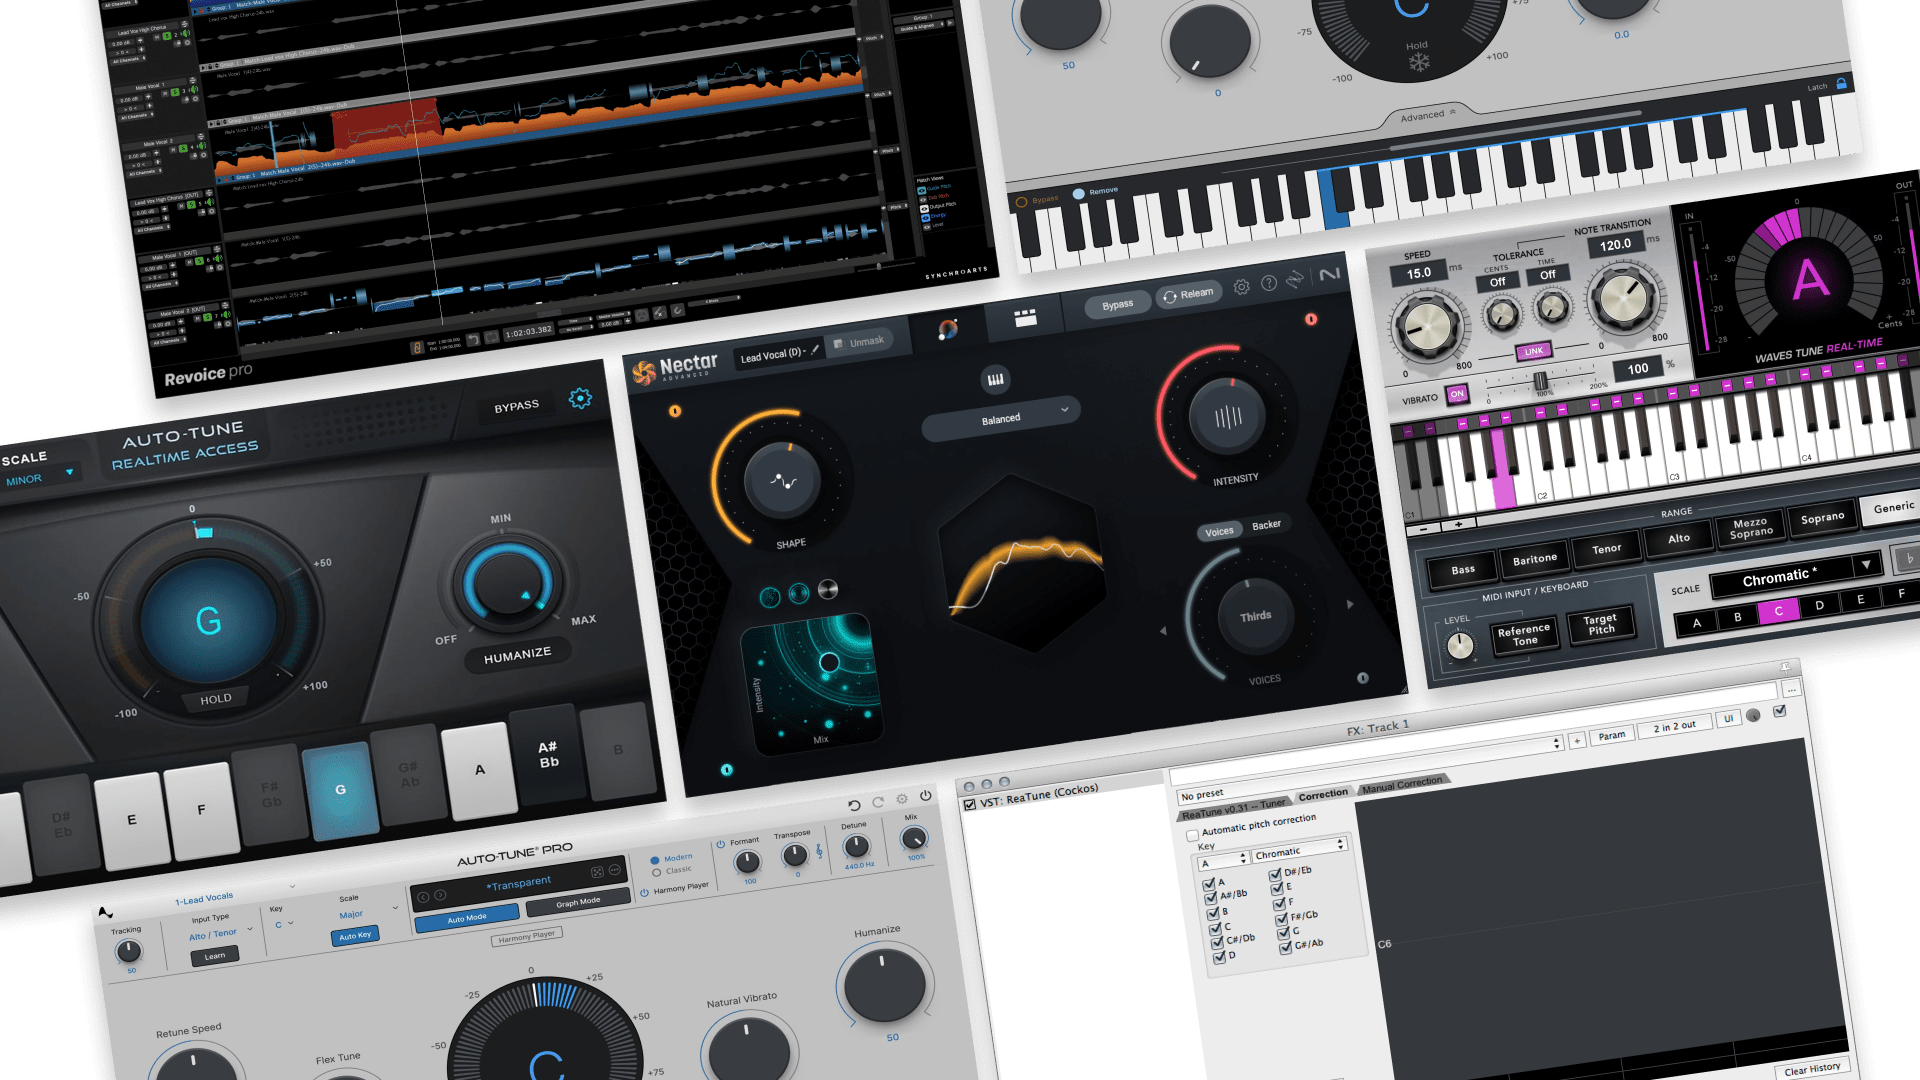
Audio editing involves adjusting timing, pitch, reverb and more to create the perfect song. To edit audio, you’ll need to know a few different techniques, including:
- Filtering and EQ (hi pass, low pass, EQ cuts)
- Compression
- Spectral analysis
- Timeline editing (cutting, inserting, fading)
10 tip for how to edit audio files
It takes some practice to edit tracks quickly. But there are some helpful techniques that can save time in your workflow.
I’ll go through my top 10 tips for smoother, faster audio production and better results in your tracks.
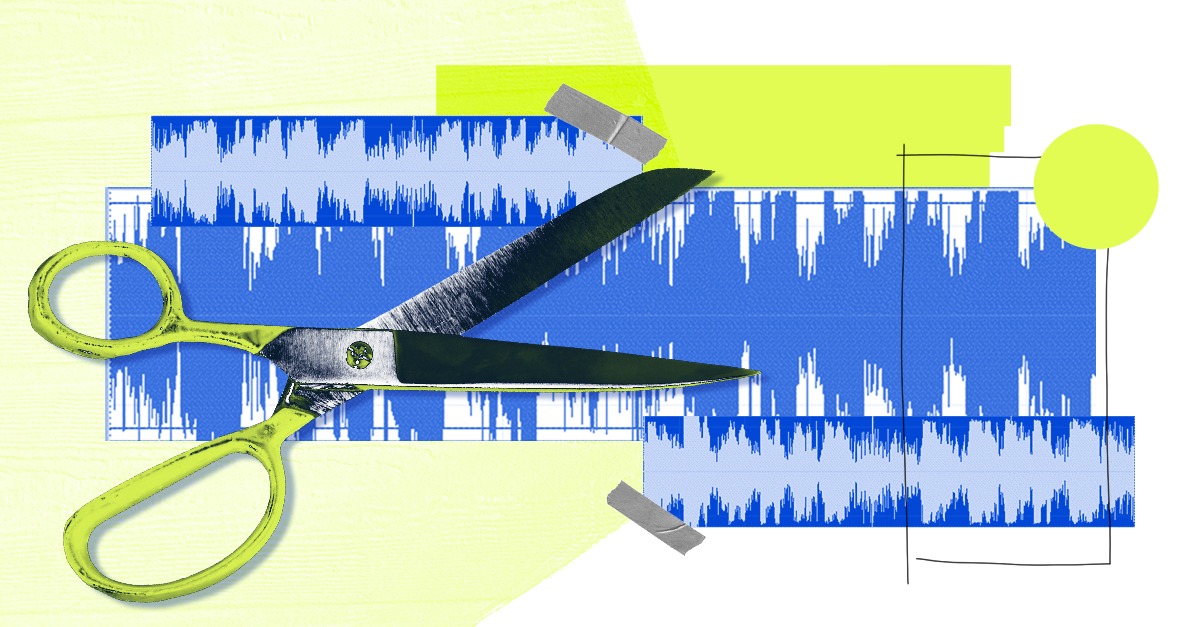
1. Batch fades
Applying fades is one of the most important tasks in audio editing.
You need to trim every region on your timeline so that only the active audio you’re using in your mix is included in the clip.
Even if it looks like the end of a region is only empty space, listening closely can reveal these segments contain additional noise.
The solution is to trim them out and apply short (5-10 ms) fades so the transition from silence is free of clicks and pops.
But adding fades to every clip in a busy session is time consuming. That’s where batch fades come in.
Select every clip on your timeline and open your DAW’s fade dialogue to add fade ins, outs and crossfades to every clip at the same time.
2. Split at playhead
Here's everything you need to know about comping and editing vocals.
Splitting regions in precise locations is important for clean edit audios. Sometimes listening by ear is the easy way to choose where to cut.
You need to trim every region on your timeline so that only the active audio you’re using in your mix is included in the clip.
Most DAWs have the ability to make an edit right at the playhead location.
Using this function you can simply listen along to the track, park the playhead at the edit point and hit the key command to split regions.
3. Consolidate regions
Sometimes it’s more effective to extend a region than split it.
This happens most often when you need to keep pieces of audio in time and you’re using the grid divisions on the timeline to stay synced.
But what if your clip doesn’t start directly on a bar or beat? Moving the clip from its original position can risk throwing the part out of time.
Consolidating regions of silence into audio clips is one solution. Park the playhead at the beginning of the clip and select the previous bar with snap to grid engaged.
Sometimes it’s more effective to extend a region than split it.
Consolidate the silence in the gap between the bar and clip. Now when you merge the two regions your track will begin right on the bar.
4. Tab to transient
Slicing percussive material is another major job in audio editing. Most producers take the time to manually align some percussion hits to the grid to tighten up the performance.
But slicing at each drum hit would be far too tedious, even when you only need to work on a few phrases.
Most audio editing software has a tab to transient option that automatically detects transients and advances the playhead to the next one on the timeline using a key command.
From there you can slice at the playhead using the key command from tip 2, or perform any other editing operation you need.
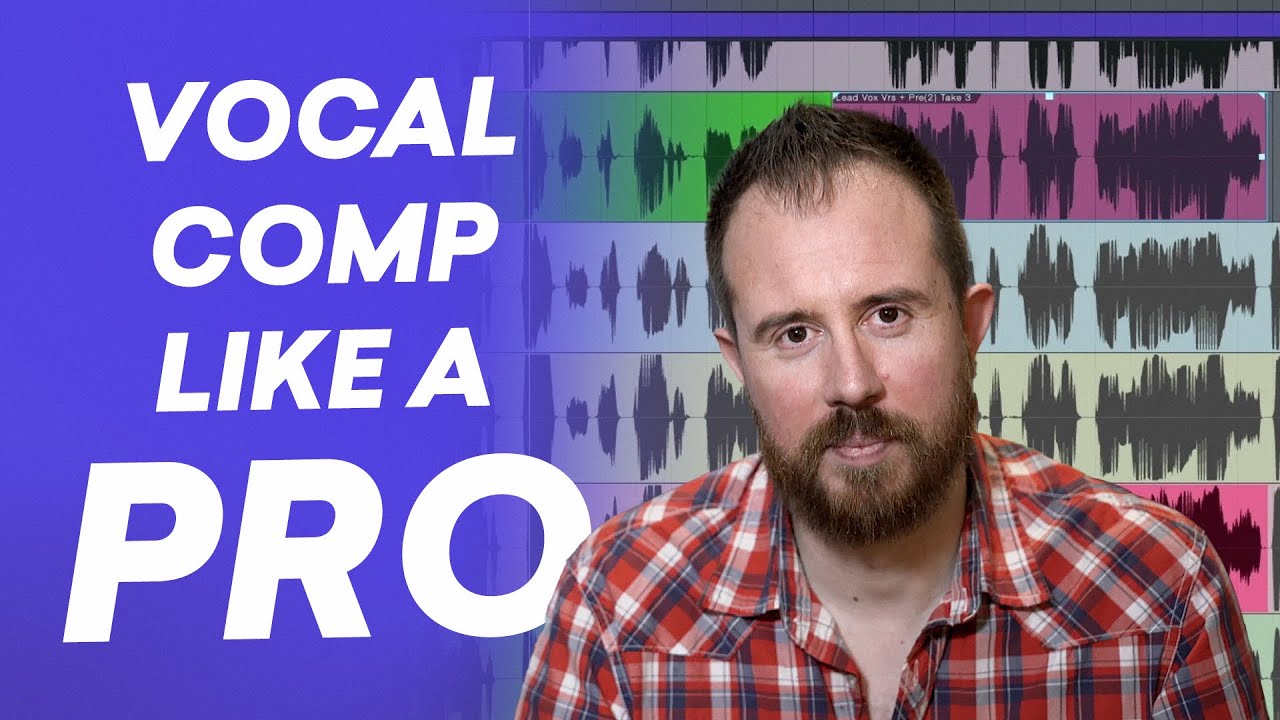
5. Takes folder/playlists
Editing multiple takes together and choosing the best moments from each is a key process in audio editing.
It’s called “comping.” The name comes from the idea of creating a composite track from the individual takes.
Most DAWs have a specific workflow for recording multiple takes and editing between them.
Most often it works by recording each successive take into a new lane in a “folder” track and promoting selections to the main take.
But the takes folder (or playlists folder as its sometimes called) can do a whole lot more.

Get the tools to shape your sound with 30+ synths, instruments, effects and utilities plugins from industry leaders like Arturia, UJAM and more. Try LANDR Plugins.
6. Strip silence
As I mentioned above, getting rid of unused sections in your regions is important for good audio production.
One tool to help you is called strip silence. This function detects periods of silence in a clip and automatically deletes them for you.
You can choose the threshold for what to strip and set padding values for the start and end to automate a lot of editing work.
7. Change nudge values
Moving audio around on the timeline to enhance a musical moment is common in audio editing.
The feel of a musical gesture can change a lot with different timing.
The feel of a musical gesture can change a lot with different timing.
That’s why you sometimes need to move regions in extremely small increments. The nudge control lets you bump audio forwards or back by the same amount each time.
It’s typically set to a small number of samples or milliseconds.
But you can change the nudge length to any value you want to help shift regions more accurately on your timeline.
A very small nudge value set in samples will let you get ultra-surgical with your edits.
Larger values can let you make surprisingly high-level position changes just using the nudge function.
8. Loop regions
Most producers are familiar with the loop function of their DAW.
Looping a region on the timeline allows you to extend its duration infinitely by dragging out the right corner.
What if correcting the performance using other methods isn’t working? In that case, looping a segment can be a good decision for how to edit audio.
Consider looping repeated lines or parts that don’t feel consistent enough or locked to the groove or tempo.
9. Snap to zero crossing
If you’ve ever heard a distracting click or pop over an edit point you might know about my next editing tip.
Some DAWs have the option to snap edits to the nearest zero crossing. Here’s what that means.
An audio wave is just a series of peaks and valleys in the voltage of a signal. That voltage varies from positive values (peaks) to negative values (valleys).
This is how the speakers in your headphones or studio monitors know which direction to move to reproduce the sound in the signal.
If you make a cut in a spot with a strong peak or deep valley, you might hear an artifact from the sound abruptly cutting off.
If you make a cut in a spot with a strong peak or deep valley, you might hear an artifact from the sound abruptly cutting off.
Luckily, there are tiny spots where the audio file has no sound energy in either direction. These are located directly on the zero crossing—the vertical centre of the waveform where the sound crosses from negative to positive.
Placing your edits directly over these points will help reduce clicks, pops and other artifacts from editing.
Hot tip: The snap function will find zero crossings for you automatically, but you can always zoom in to maximum settings and find them by hand.
10. Region mutes
You probably already know you can mute MIDI and audio tracks, did you know you can also mute clips on the timeline?
Region mute can be an effective way to temporarily remove audio information for tracks when other methods won’t work as well.
This sometimes happens in situations where the visual reference of the muted material is helpful to orient yourself in the audio production session.
Letter to the audio editor
Every producer should learn how to edit audio files.
After all, you want to spend more time making music and less time cleaning your tracks up.
Now that you have an idea of the basics and some helpful tips to speed up your workflow, get back to your session and keep building your perfect track.
Need more help learning how to edit audio? Join the LANDR community for exclusive access to plugins, tips and tutorials.

Michael Hahn is an engineer and producer at Autoland and member of the swirling indie rock trio Slight.
@Michael HahnGear guides, tips, tutorials, inspiration and more—delivered weekly.
Keep up with the LANDR Blog.