5 Essential Beatmaking Tips From Alexkid

We get deep on Beatmaking with long-time production guru Alexkid to explore sample layering, the secret of the MPC, how to make beats pop and more.
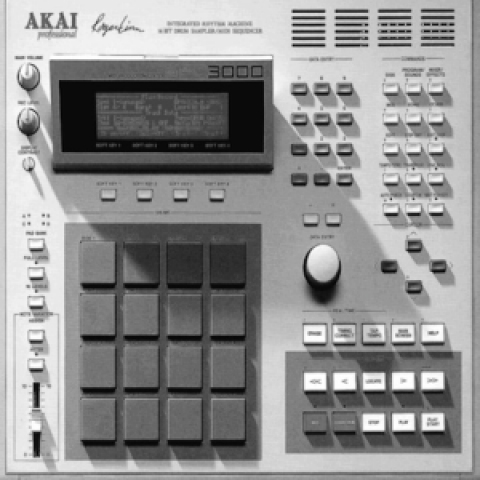
1. THE SECRET OF MPC GROOVE
In my opinion, MPC groove is kind of an urban legend. The real story is your cuts/edits are out of sync because there was no visual editor on the famed MPC3000 nor the MPC60. Even after you quantized, the samples were still off because of the splices. I replicate this in my DAW software using the delay feature, adding or subtracting milliseconds to samples to add groove.
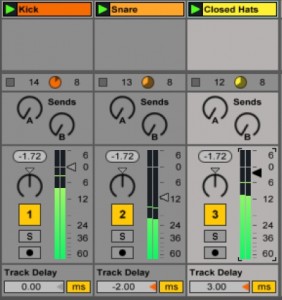
It’s a subtle technique…I stay within 0-4 milliseconds. Adding time works especially well for hi-hats, and I subtract time for snares. Combined with the swing/groove functions in Ableton, you get a natural feel. This is a great tip for getting rid of the ‘martial’ computer sound.
2. LAYERING BEATS AND FIXING PHASE
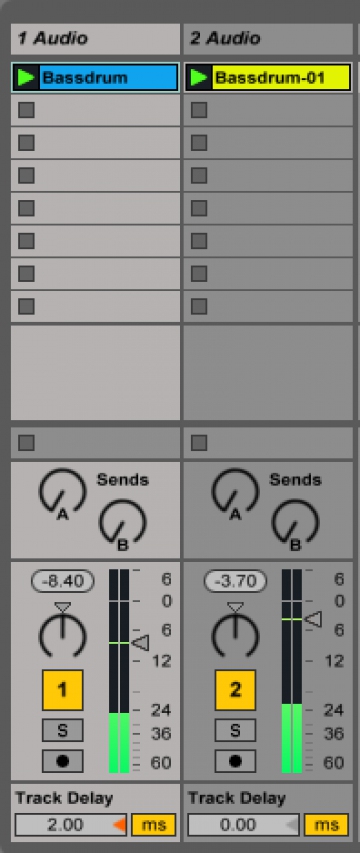
Layering samples is common beatmaking technique. For example, let’s say you like the dirt or the attack of a kick sample, but find that it’s missing sub or depth. Layering samples helps you get the best impact from both samples.
A common mistake when layering samples is phase issues. You may find that you actually lose bass when you layer – this is a phase problem.
Again I use the delay feature to check and fix this. Shift the two sounds (They must be in two different tracks) using the Track Delay until you hear the bass sound huge. This means that the phase is aligned. The opposite, referred to as phase cancellation, means that both sounds cancel one another. If you can get the two samples to phase cancel completely, try reversing the phase using the utility tool. This will give you perfectly aligned phase.
With just two kicks it’s not rocket science, with three it’s a little more complicated.
3. AUDIO PRIORITY
This is for beatmakers syncing MIDI externally from a computer to hardware instruments. It’s vital to know that if you are sending MIDI to an external source (say a drum machine) the hits will never be 100% straight. Computer clocks prioritize audio.
If you like to experiment, take a hi hat and sequence it straight. Record the loop and then re-record another pass exactly the same. Notice how they do not link up and that you hear different frequencies on the layering of each hit. If it was really straight, the frequency would remain the same. As soon as audio was introduced into the computer, MIDI was f**cked.
4. MAKE YOUR BEATS POP
The human ear prefers simplicity. If your beats are a mess of bass drum, hi-hats, snares and more, listeners get overwhelmed. Pick a couple elements that you want to pop and make everything else background by lowering their volume. Even if your beat is hyper-complicated, try being elegant and make things seem simple. It’s tricky to pull off, but it’s incredibly effective when done right. More often than not it’s a volume thing.
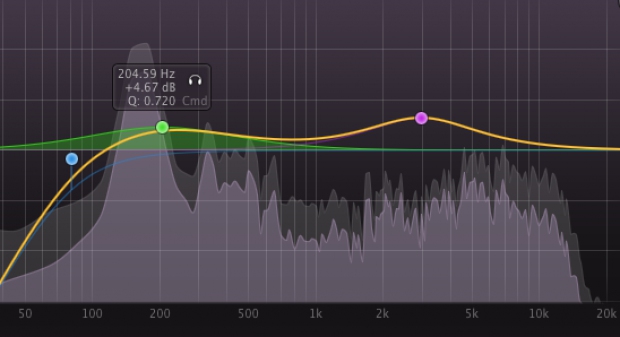
5. FIX YOUR MIX
Filter or EQ out unnecessary low frequencies, cut as much as you can and leave only the fundamentals of the instrument. A great way to do this is to high-pass filter hi-hats and cutting the bottom completely. If you want a specific boost outside of the fundamentals of the instrument, use an EQ for a bump with a wide Q. The point is to rebalance the sound and avoid useless summing in the low frequencies. A hi-hat is a hi-hat. Same goes for snares, though a low bump often does miracles on a snare.
Alexkid is a multi instrumentalist, composer, remix artist, DJ and sound engineer. Follow him on Soundcloud.

Rory Seydel is a musician, writer and father who takes pleasure in touring the world and making records. Creative Director at LANDR.
@Rory SeydelGear guides, tips, tutorials, inspiration and more—delivered weekly.
Keep up with the LANDR Blog.