


Music Distribution
Stereo Widening: 7 Simple Ways to Give Your Mix Width
Let’s face it, most mixes don’t jump out of the speaker. They need stereo widening.
Without a strong stereo image, your mix will struggle to achieve the expansive and immersive qualities that mixing and mastering strive for. The qualities that transport your listener out of their seat and INTO your music.
Learning how expand the dimensions of your stereo image and take it from 2D to 3D, is the only way to get that kind of mix.
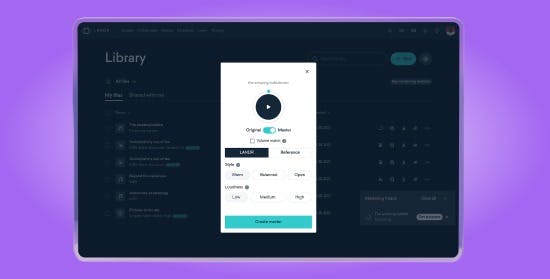
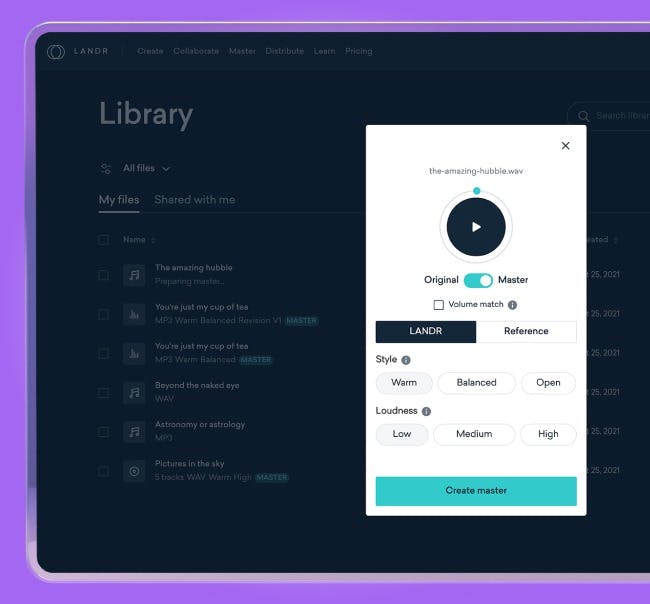
Our powerful, AI-driven mastering engine listens to your song and delivers pristine, studio-quality music that’s ready for release. Master a track.
In fact, your stereo image is so important we even named our company after it: L and R, LANDR… Get it?
Anyways, back to your mix!
So how do you add that extra dimension that takes your mix from 2D to 3D?
In this guide you’ll learn how to expand your mixes and build the acoustic space that makes good tracks great (and professional). So use these 7 tips and go wide with your mix!
But before we start, a few basics…
Theory guides, production tips, new free plugins, gear guides and more—delivered weekly
Keep up with the LANDR Blog.
What is stereo image?
Stereo image is the perceived spatial locations of sound sources within an audio signal.
For example: When you’re listening to an amazing piece of music that paints a crystal clear picture of which instruments are playing and where they are in relation to you: that’s good stereo image.
Just like the real 3D world, your stereo image has three dimensions:
Height
The height of your mix refers to how high your mix sounds. Height is achieved with the proper use of levels and EQs.
Width
Width is how your sounds move from one side of the mix (or speakers) to the other. Width is achievable in many ways (more on this below), but one of the most important keys for width is panning.
Depth
The depth of your mix depends on how you use time-based effects like reverb and delay to create a deep or shallow image.
I know this article is about width. But you need to consider all the dimensions to create the widest possible stereo image. You can’t think about one dimension without considering the others as well—they all interact to create the total stereo image.
A massive stereo image is also dependent on good stereo mic’ing techniques. But that’s a big topic for another day. This article will focus on stereo image techniques during the mixing stage—specifically for getting that massive, extra-wide sound.
In this article, you’ll learn 7 quick and easy Tips that will widen your stereo images and bust your mixes outta’ the box. Let’s get started.
1. Start your mix in mono
It might seem bizarre, but mixing in mono is an excellent place to start for getting a wider mix.
One of the biggest challenges for wide stereo images is frequency balance issues.
Your mix needs balance across the frequency range. Otherwise the mix will sound hollow, muddy, and cause listening fatigue.
Frequency imbalances are extra problematic because they can create masking. Masking is a psychoacoustic phenomenon that causes louder sounds to hide (or mask) quieter ones in the same frequency range. It’s one of the most important concepts in mixing. You never want masking!
Listening in mono will give you access to the most upfront version of your mix, where frequency balance and levels issues are easiest to hear and fix.
Listening in mono will give you access to the most upfront version of your mix, where frequency balance and levels issues are easiest to hear and fix.
Once your mix sounds good in mono—before you add any panning, reverb, or delays—It’ll be way easier to make it shine later on in stereo because the big picture of your mix is already rock solid.
Now it’s time to draw in the details!
2. EQ your “Presence Zone”
The “presence zone” is found in the frequency range of 2.5-5 kHz.
2.5-5 kHz is the frequency range the human ear is most sensitive to. It’s what your listeners pick up on first and remember best. Any sounds within that range will be more easily heard by your ears, and sound closer to you.
Making room in the presence zone for lead vocals is a classic choice. But whatever element of your mix you want front and center should occupy some of the presence zone if possible.
Use your precious presence zone to hook your listener to the best and boldest parts of your mix.
But be careful! When a mix has too much going on in the presence zone, you stereo image will get narrow and instruments will feel too close and crowded. For a wide mix always avoid overdoing the presence zone!
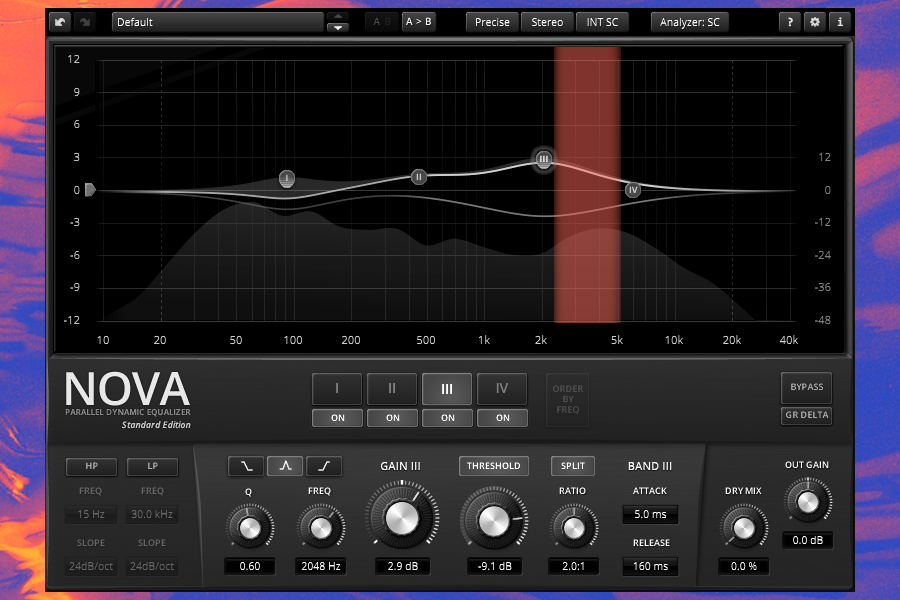
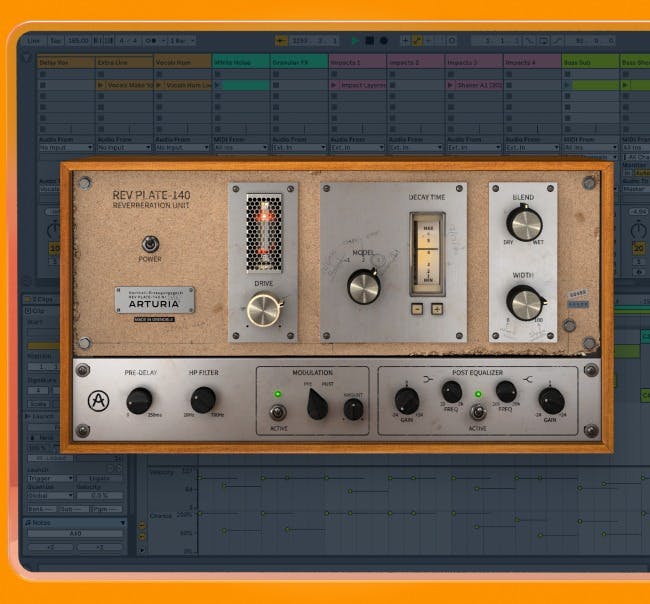
Keep an EQ with a spectrum analyzer (like TDR NOVA seen above) on your master channel. Check it regularly to see if you have too much information in that range. If you’re hearing too much in the presence zone, you’re not done EQing yet. Head back to your bands and make adjustments!
By EQing your mix (in mono first, but again and again throughout the mixing process) you’ll give each instrument the space to shine and expand your stereo image into that beautiful wide space your ear loves.
But remember, width always starts with a clean presence zone—start there and work around it.
🧠 Hot tip
For more info on EQing your mix read our full EQ guide.
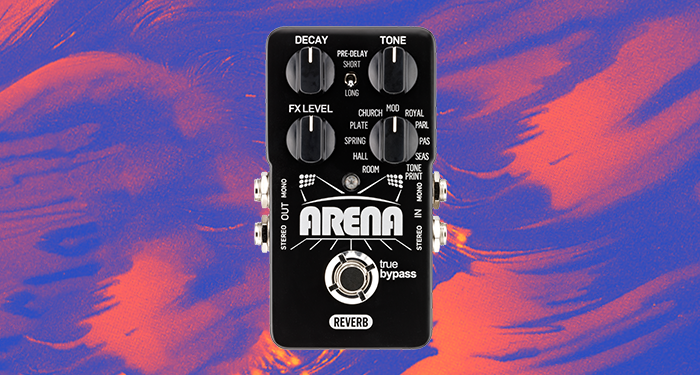
3. Use your reverbs for multi-dimensional sound
Reverb is a classic mixing tool for adding width, but also that all-important third dimension to your mix: depth.
By adding depth to your stereo image, you’re also expanding the stereo image as a whole. Reverb will give you more room for every sound to breathe and settle into the mix.
Reverb is a classic mixing tool for adding width, but also that all-important third dimension to your mix: depth.
There are many different ways to use reverb and add space to your mix, but any reverb technique will add some degree of depth and spaciousness to your mix.
There are many types of reverb. Each is capable of adding a distinct vibe and depth to your mix.
Choosing the perfect type of reverb to give that extra oomph without drastically changing your audio’s character will take some practice. But when it comes to width, Hall reverb is a good place to start.
Don’t stop there though… all types of reverb can do wonders for adding three-dimensionality depending on your mix and production style.
When it comes to width, Hall reverb is a good place to start.
4. Pan for ultimate width
Panning is the most crucial step for getting a wide stereo image.
Panning lets you place individual instruments, or even certain frequencies of instruments, in a particular spot within your stereo image—and go as wide as you wanna.
Panning is the most crucial step for getting a wide stereo image.
Always make your panning decisions based on your entire mix. There’s a few different approaches to panning, but no matter how you use them, they’re key to getting a wider mix.
Here are some quick tips and rules for getting your panning pristine and achieving width in the mix:
Low frequencies are the heart of a groove and drive your rhythm, so keep them straight down the middle.
Keep your low end in the middle
Don’t pan your lower frequencies. Low frequencies are the heart of a groove and drive your rhythm, so keep them straight down the middle.
Keep your L and R balanced
Our brains naturally want to center stereo images, so keep the L and R channels balanced to avoid confusion in the phantom center.
Keep the L and R channels balanced to avoid confusion in the phantom center.
Pay close attention to the “presence zone” frequencies I discussed above.
Always pan with your ears, not your eyes. Don’t look at the knobs!
Always pan with your ears, not your eyes.
The only thing that really matters is how it sounds. When panning, close your eyes and listen until you hear that perfect sweet spot.
Even if the volumes of your L and R channels are balanced, if one side has more sound competing for the presence zone this can cause the stereo image to sound off balance.
Keep your lead vocals in the center
Keep your lead vocals to the center as well unless you have good reason to do otherwise.
You want that lead vocal front and center to really let it shine.
🧠 Hot tip
LANDR Mastering uses intelligent stereo processing to create masters with enhanced stereo width and improved center focus. Listen to a free preview to hear how LANDR can enrich the depth and spread of your mix.
5. Double track to widen your image
Double tracking is a classic and effective technique for getting a massive stereo image.
It’s simple: Take two similar (but slightly different) recordings of a piece of audio, place them on separate tracks, and pan them hard left and right. It will thicken the sound of both, while also making your mix sound larger and expansive.
6. Use Microshifting to expand your space
Microshifting is a clever technique for creating juicy stereo images that allow your channels to sound larger than life and extra wide.
Here’s how it’s done:
Take one stereo track, pan it center and keep it there. Next, duplicate that track twice (so you now have three versions) and patch a pitch shifting plugin inline on both copies.
Now, use the pitch shifter to pitch one copy down a few cents (5-10 cents is common) and pitch the other copy up the same amount of cents. Next, pan one copy hard left and the other hard right. That’s microshifting.
Listen to the three tracks back in stereo and revel in your clever trick and newly widened stereo image!
7. Use delay to create the Haas Effect
The Haas Effect is a technique that uses delay to create wider stereo images. It’s excellent for creating width without changing any of the timbral qualities of your audio signal.
- Take a track and create a copy, then sidechain patch a delay audio effect onto that copy.
- Next, add up to 30ms of delay onto that copy but no more.
- Pan the original track hard left and the copy hard right. This creates the perception of a single, wide stereo track. Your ear won’t perceive the effect as delay, but rather as spaciousness.
Pretty neat, huh?
The Haas Effect is a technique that uses delay to create wider stereo images. It’s excellent for creating width without changing any of the timbral qualities of your audio signal.
There’s a catch though: The Haas Effect creates phasing issues, causing your tracks to cancel each other out (and drastically lower their volume) when summed to mono.
To fix it, create a mono version of the track and keep it panned center. This way, when summed to mono, the track will still have juice.
Summing it up
Stereo widening is key to taking your mix to the professional level and impressing listeners with your soaring sound.
It’s also vital to ensure that every track sits well in your mix and maximizes its potential to shine.
Remember: Mastering will bring out the best qualities of your mix. That includes width too. So always master tracks when you’re done to maximize on your stereo widening efforts.
Use these simple techniques with the tools you already have in your arsenal, and transform a strong mix into a journey into an expansive universe that surrounds your listener in sonic bliss!
J'vlyn is a DJ, audio engineer, and A/V artist, with a passion for empowering queer and feminist narratives through audio/visual experiences.
@J'vlyn d'ArkGear guides, tips, tutorials, inspiration and more—delivered weekly.
Keep up with the LANDR Blog.