
Da LANDR
Finger Drumming: How to Play Sample Pads and Make Better Beats
Finger drumming is bigger than ever. Legendary finger drumming artists like Araab Muzik popularized the technique and with a new up-and-comer in Fred Again, finger drumming has solidified itself as a legitimate musical art form.
No wonder more producers are increasingly interested in the performance technique.
It makes sense since finger drumming is a relatively portable way to incorporate the excitement of live performance into a DJ set while mixing.
But learning to finger drum isn’t as easy as it looks. You need drumming skills and music production know-how to incorporate samples into your performances.
In this article, we’ll look at the basics of finger drumming—the tools you’ll need to get started, some basic setup and some ideas to practice at home.
Let’s dive in!
What is finger drumming?
Finger drumming is a drumming technique where an artist triggers samples on a sample pad or groove box. These samples are triggered by pressing the pads with the fingers, hence its namesake.
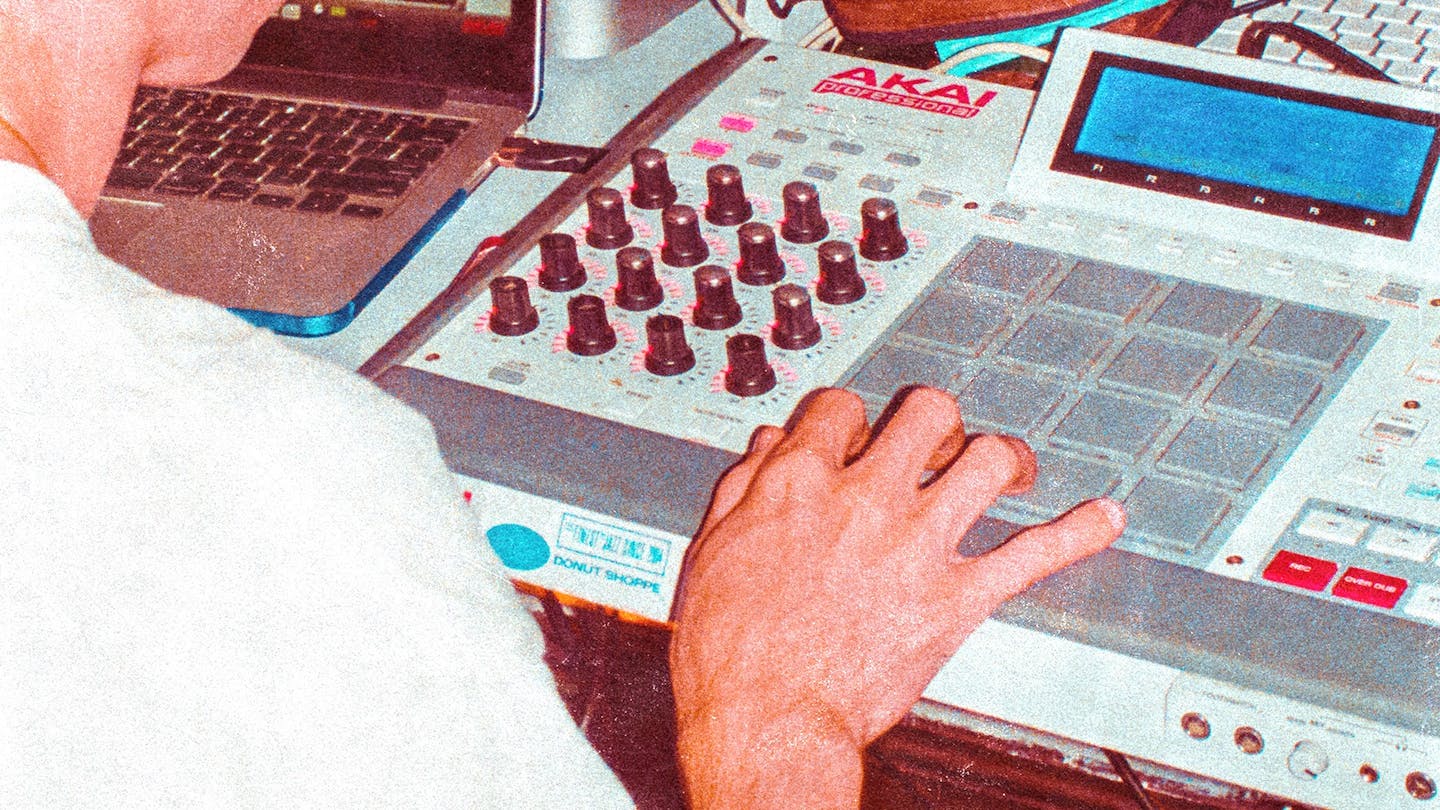
Finger drumming rose to prominence when groove boxes like the Akai MPC hit the mass market.
As the machines grew more portable and more producers could afford them, using finger drumming to record drum parts in the studio became commonplace.
Hip-hop producers in the 2000s like J Dilla, for example, used finger drumming on the MPC’s pads to record real-sounding “broken” drums.
Other producers built their sound entirely around the practice of finger drumming, learning how to perform entire tracks via sample pads. Araab Muzik is one of the first to do this.
Today many DJs and producers plan their sets around sample performance and finger drumming.
Today many DJs and producers plan their sets around sample performance and finger drumming.
Hip-hop acts will often have a pro-finger drummer on stage controlling samples and performing drum parts.
Fred Again is one producer bringing finger drumming skills to the forefront.
How to finger drum—10 finger drumming techniques and pad layouts
Finger drumming is a legitimate artform that takes work and practice to get good at
While there’s a handful of tricks and techniques you can employ to produce more complicated sounds, there’s still a decent amount of practice needed to master the instrument.
But, with time you can get started with finger drumming and start making music!
Let’s dive into the basics to get you started.
Get tutorials like this and more delivered to your inbox. Subscribe to the LANDR Blog newsletter!
Never miss a post from the LANDR Blog.
Get the newsletter weekly.
1. Get a sampler pad or groovebox
If you want to start finger drumming, you need a surface to drum on.
There’s a handful of sampler pads, groove boxes and controllers on the market that each come with their own pros and cons.
Your most cost-effective option is to pick up a MIDI controller that triggers samples.
In general, your most cost-effective option is to pick up a MIDI controller that triggers samples in a DAW with at least 16 sample pads.
Any Maschine, Akai MPD or Ableton Push all work well as DAW controllers that offer tons of features and flexibility beyond just sample triggering.
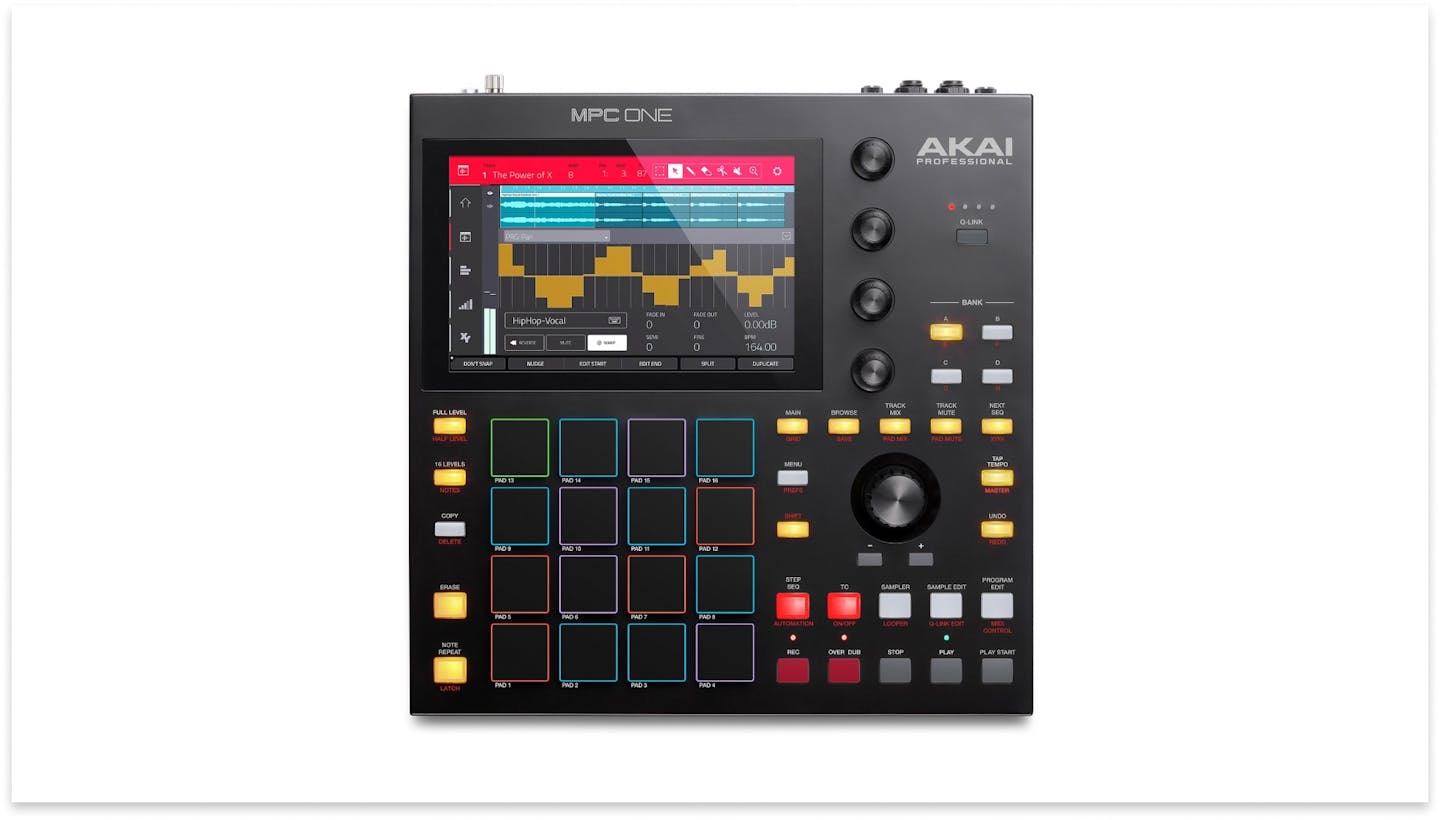
However, if you’re really looking to get more serious, you might want a groovebox that works without the support of a DAW like the MPC One or the Roland SPD MkII.
2. Set up your drum rack
Once you have sample pads that trigger sounds, it’s time to actually find (or create) the sounds you’ll use to play your finger drums.
This collection of sounds is what’s called your drum rack, a minimum of 16 sounds mapped to the 16 sample pads of your MIDI controller.
When you’re putting together your drum rack think about drum instrumentation. Essentially, the kinds of sounds you need to create the sound of a drum set.
You’ll need to find closed and open hi-hat samples and at least one snare and one kick sound.
The kick, snare and hi-hats comprise the most essential parts of the drum kit—but you’ll need to add in toms, snare side clicks, claves, cowbells, congas, bongos, auxiliary kicks and whatever else.
It’s really up to you exactly what samples you choose. Arguably, this is where the artform starts since it’s your sample selections that will determine a lot about the sound you produce.
And of course, you can have multiple drum racks ready and available to play on your sampler.
So get creative and have fun finding cool samples.
Hot tip: LANDR Samples is a huge sample marketplace with every kick, hi-hat, bongo, conga, triangle or percussion instrument imaginable. If you’re looking to diversify your sample collection with professionally produced and curated samples, start here.
3. Adjust sensitivity and find your feel
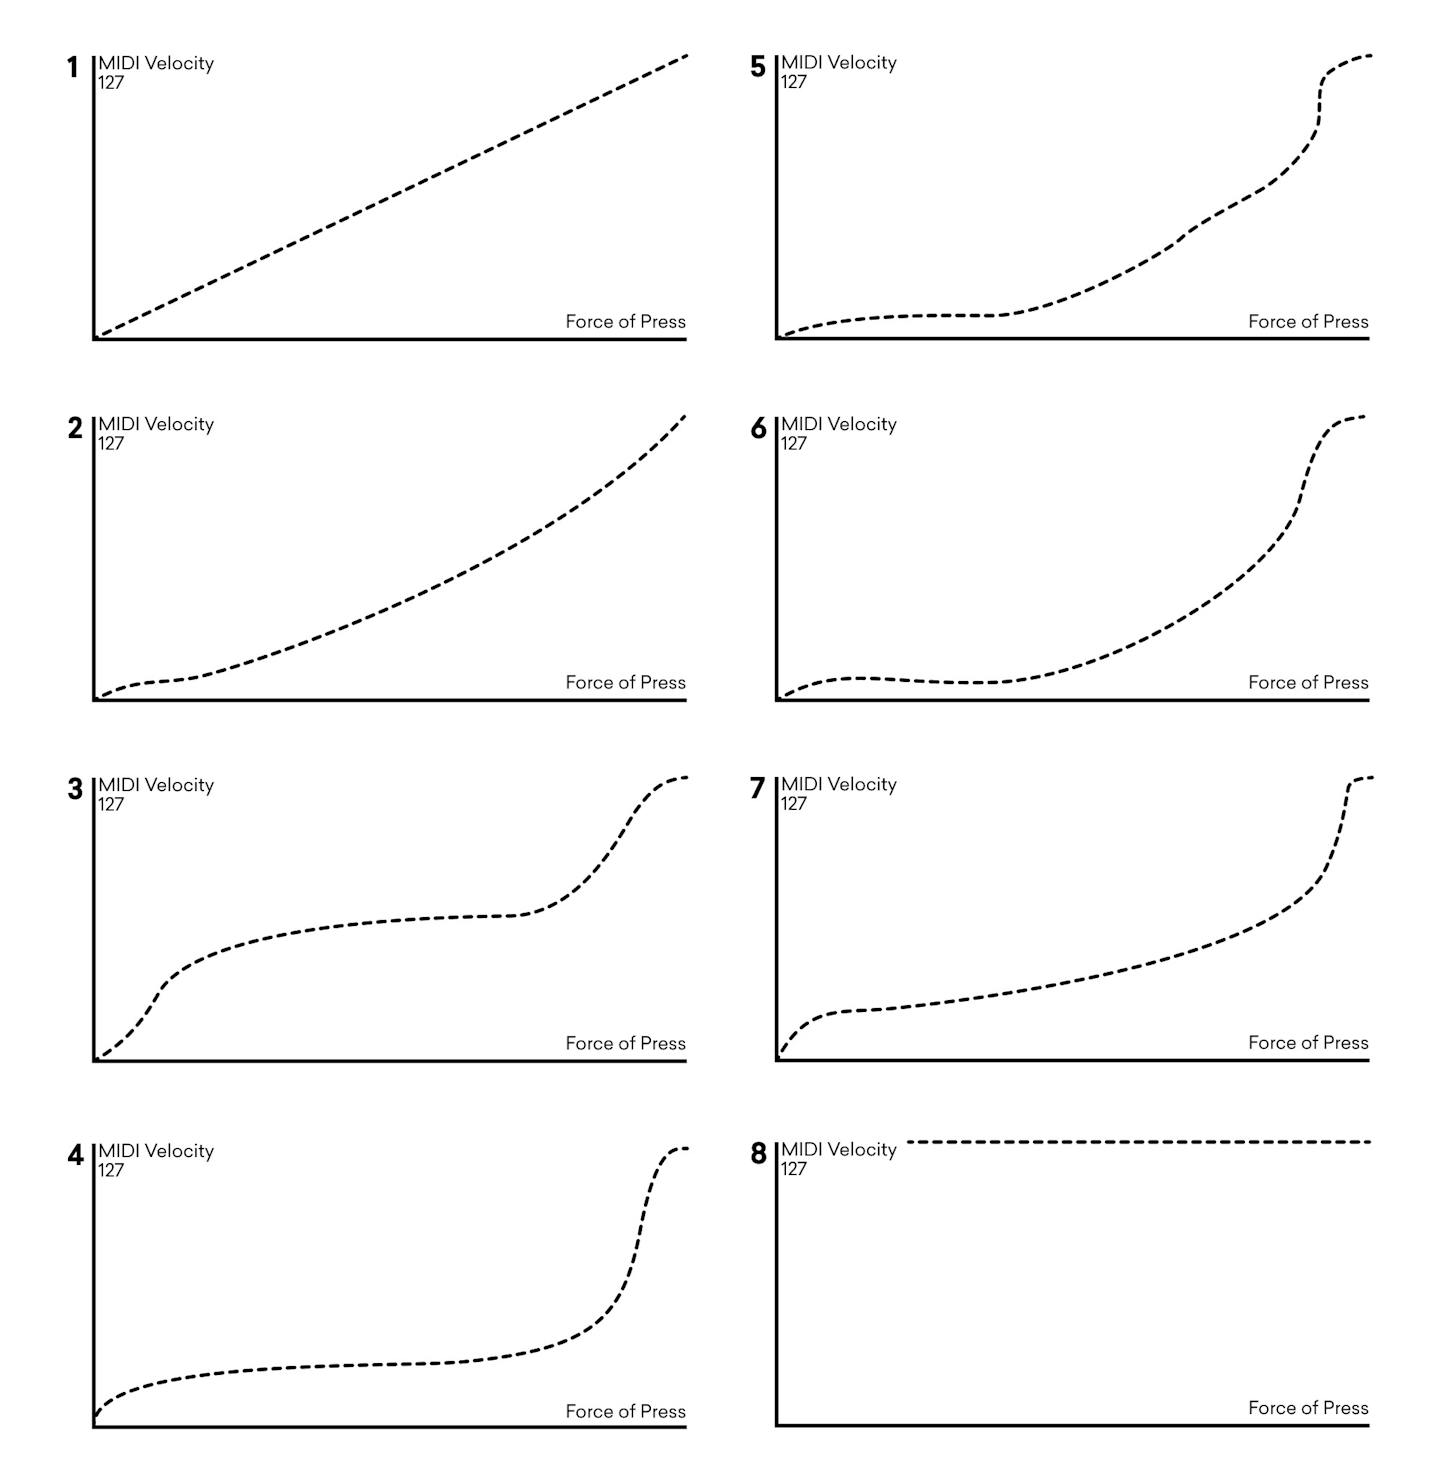
Depending on your touch and feel for dynamics on the pad you might want to play around with the velocity curves of your sampler.
If you find that you have a controlled, soft touch and wish to hear more dynamics from your playing you should increase the sensitivity.
If you want your drums to have a uniform loudness with fewer dynamics, you should decrease sensitivity.
Your sampler’s settings menu should come with a section where you can configure velocity curves to suit your playing style.
4. Best finger drumming pad layout
You may be wondering where exactly to put the various sampled instruments on your sampler pad.
While it’s entirely up to you, there’s a few ways to think about setting up the samples on your pad.
Keep in mind that the kick, snare and hi-hats are the most important parts of most drum grooves—with the ride cymbals coming in a close fourth.
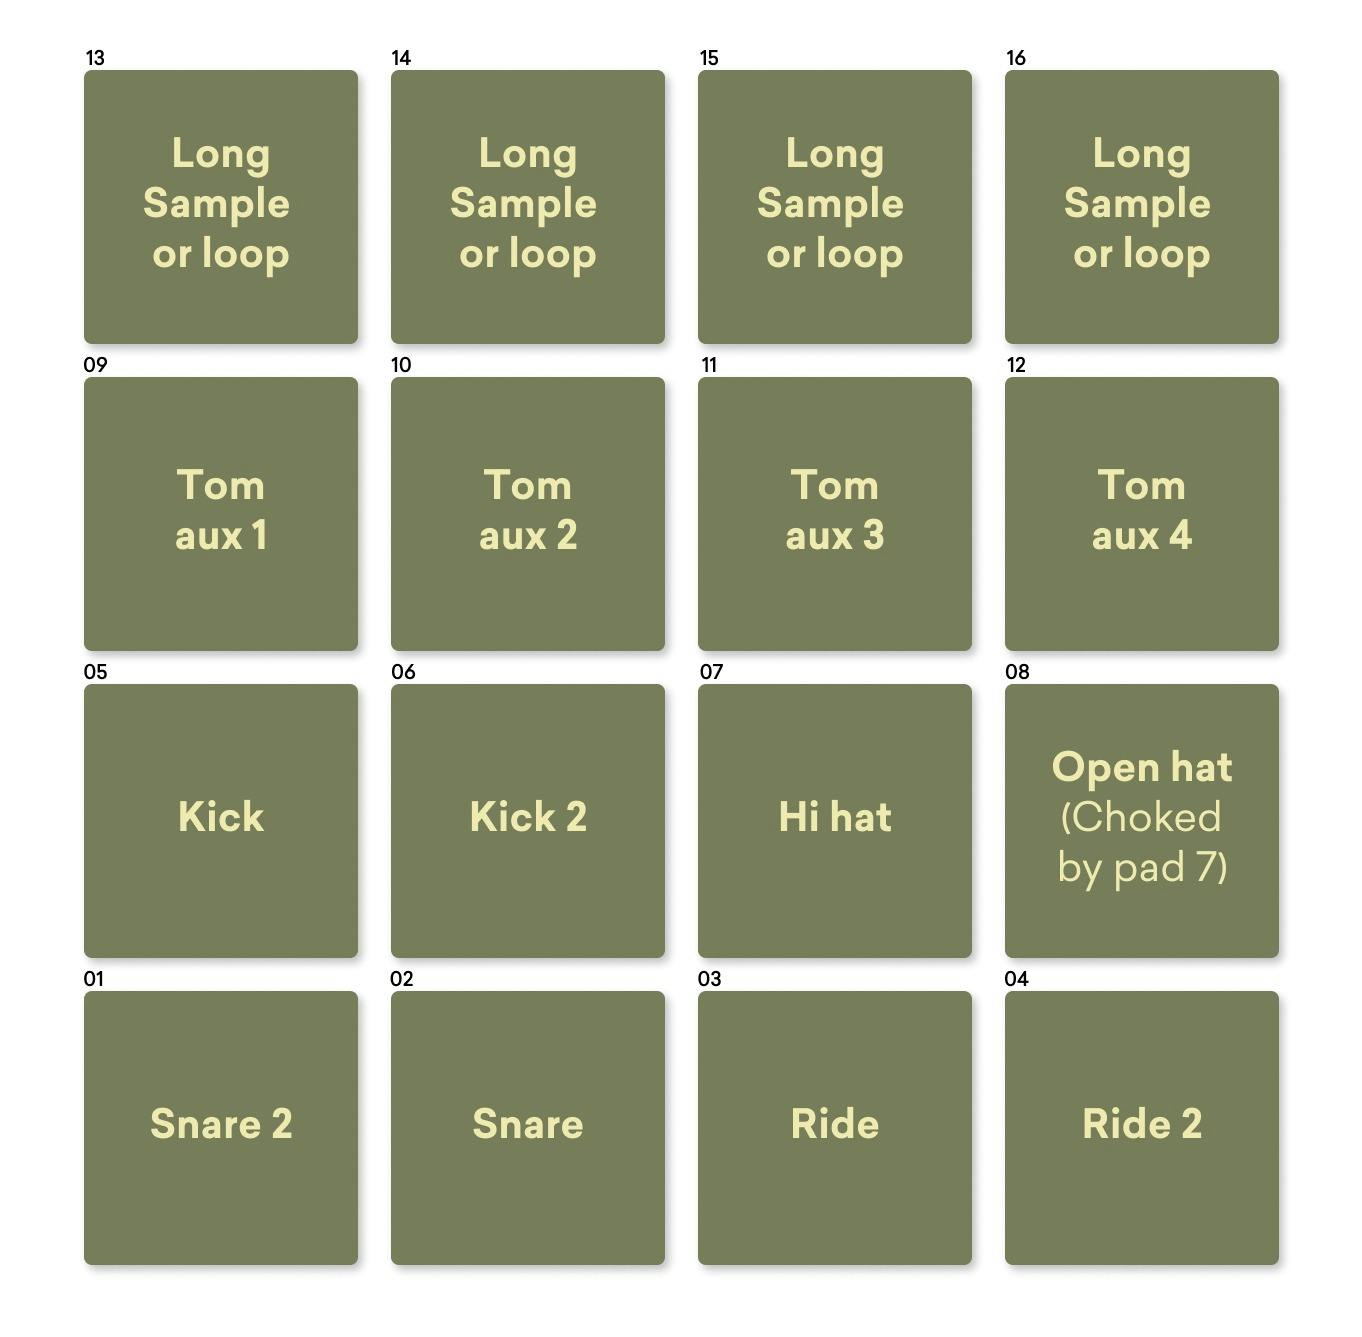
So you want these samples to live in the most accessible area where your fingers are on the pad. Likely towards the center and bottom of the sampler.
You want kick, snare and hi-hat samples to live in the most accessible area where your fingers are on the pad.
Keep things like crashes, toms and other samples towards the top of the pad so you can easily tap them at the top while keeping your hands rooted at the bottom.
Here’s a diagram of how I tend to set up my finger pads. Of course, this is a template, but it’s one way to set up your pads to mimic the feel of playing a drum set.
5. Record, layer and quantize
The cool thing about working within a DAW or a groovebox is that these machines have the ability to loop and quantize your input to the grid.
Recording a loop of the hi-hats and snares and overdubbing your kicks is a totally great way to start writing beats.
So you don’t necessarily need to play your beats perfectly if you’re using loops—especially if you’re using finger-drumming to produce in the studio.
Recording a loop of the hi-hats and snares and overdubbing your kicks is a totally great way to start writing beats with finger drumming.
So don’t be afraid to put those quantize and record features to use.
But, if you want to get better at playing a full beat with finger drumming you might want to…
6. Practice grooves and drum rudiments
Think about how drum grooves sound when you practice or produce finger drums.
You’ll need to wrap your mind around playing the kicks, hi-hat and snare drums together to generate a full drum sound.
Then start adding in other samples and fills.
Learning how to tap out and play the basic drum rudiments with your hands is one tried and true way to expand your rhythmic knowledge and add different rhythms to your repertoire.
7. Use ratchets for fast hi-hats
Unless you’re hyper-talented like Araab Muzik, you probably can’t play blazing-fast trap hats, so consider getting ratcheted samples or using your sampler’s ratchet feature if it has one.
Ratchets are a setting that instructs your sampler to play a sample in rapid succession.
Ratchets are a setting that instructs your sampler to play a sample in rapid succession according to some note subdivisions like eighth notes, sixteenth notes, sixteenth-note triplets and beyond.
If you set up a ratchet or use looped samples you’ll just have to trigger the hi-hat fill by tapping that pad on your sampler.
It’s not cheating at all to use loops or longer percussive samples, plenty of pro finger drummers do this to get that trap hi-hat sound.
Even just keeping in time with your fills is challenging anyways, so it’s not cheating at all to use loops or longer percussive sample, plenty of pro finger drummers do this to get that trap hi-hat sound.
8. Play over long samples and loops
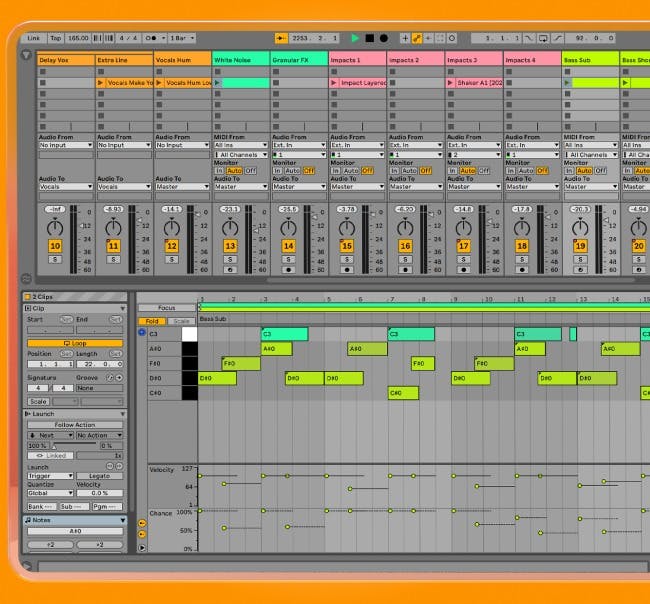
Part of the reason why finger drumming is so useful as a performance instrument is because a pad can be used to trigger longer samples including looping parts of your beat arrangements.
Producers use this to trigger various sections of their arrangement while finger drumming the beat.
Maschine and Ableton Push are both MIDI controllers that were built around this kind of functionality.
DJ producers like Fred Again in particular use this technique to play their drums live while still playing through their looping electronic arrangement—this allows for some pretty impressive and interesting live performances.
Give it up for the finger drummer
Finger drumming is an incredibly valuable skill to have if you’re a music producer, so it makes sense why you’re interested in learning about it.
Whether you want to incorporate it into your live set, or if you want to use it in your music production process—learning to finger drum will help you write better beats faster.
Not to mention the avenues it opens for experimentation with samples, effects, arrangements and more.
So grab a MIDI controller or a groove box and start working on your finger drumming chops!
Alex Lavoie is a drummer, music producer, songwriter and marketing professional living in Montreal, Quebec. He works as a staff writer at LANDR by day and writes indie post-punk tunes in his band UTILS while moonlighting as drummer for folk-rock outfit The Painters. Connect with Alex Lavoie on LANDR Network!
@Alex LavoieGear guides, tips, tutorials, inspiration and more—delivered weekly.
Keep up with the LANDR Blog.