


Beat Making
Equalization 101: Everything Musicians Need to Know about EQ
EQ is a massive subject for audio engineers. It’s so fundamental to the process that the majority of your time mixing music is probably spent tweaking EQ plugins.
For such a big topic, it’s important to have a firm grasp on the basics. EQ is a powerful tool and you can easily do more harm than good.
In this article I’ll go over everything you need to know to start using EQ like a pro—from the ground up.
What is EQ in music?
EQ (or equalization) in music is the process of changing the balance of different frequency components in an audio signal.
Our ears can detect a huge range of frequencies—roughly 20 Hz to 20 kHz. Each element of your mix has energy in different parts of that range.
EQ is the tool you use to manipulate the frequency content of your mix so that everything is balanced and clear.
Here’s a rough breakdown of where the common mix areas sit on the spectrum.
Timbres and frequencies
Imagine a French horn and an electric guitar both playing the same A=440Hz note.
What makes them sound different? Both instruments are playing a note with the same fundamental frequency, but each has its own unique timbre.
A sound’s timbre gives our brains a lot of information about what it represents in the real world.
A sound’s timbre gives our brains a lot of information about what it represents in the real world.
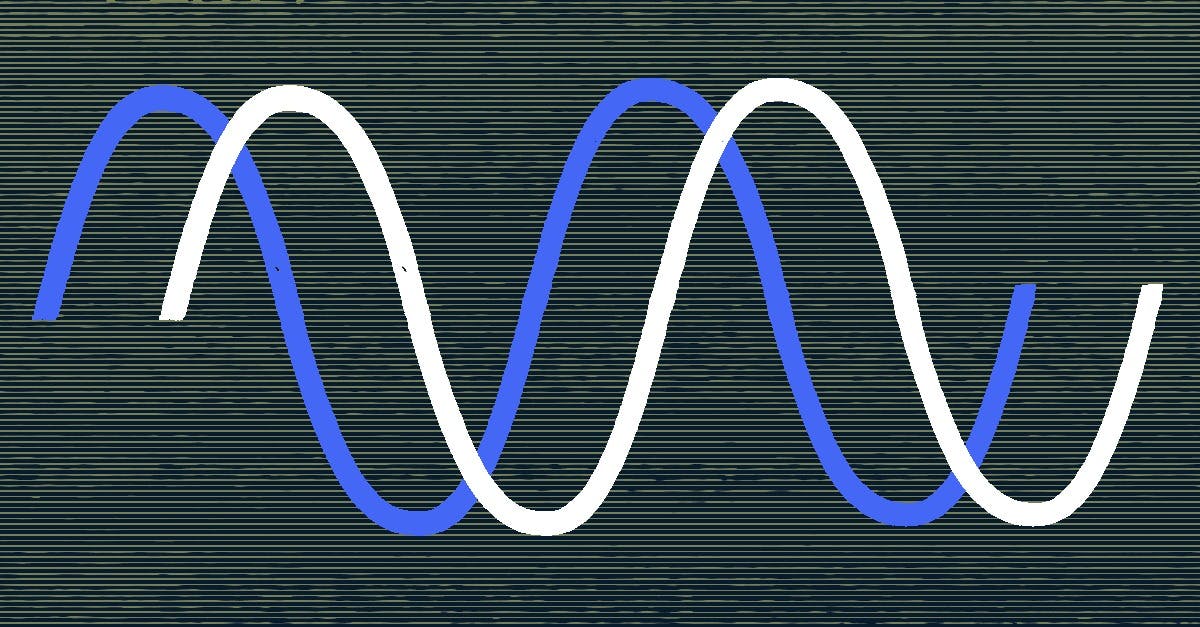
Unique, identifiable timbres are a property of all complex sounds. Complex just means any sound other than a basic sine wave.
All complex sounds can be broken down into simple sine wave components. These basic components are called partials.
If the partials are related to the fundamental by a whole number ratio (ie, 2:1, 3:1, 4:1 etc.) they’re harmonic. If not, they’re inharmonic.
A highly harmonic sound like a bowed cello string is rich in evenly related partials, while a highly inharmonic sound like a cymbal crash is made up of only unrelated ones.
When you use EQ to alter a sound, you’re really changing the volume of its partials relative to the rest. Keep this concept in mind as you move through the basics of EQ.
EQ in mixing
Going back to our example, let’s say we record the French horn player and the guitarist playing a unison melody.
They each have distinct timbres, but when we record the performance with microphones, we notice the two sounds overlap.
In fact, they’re overlapping so much that it can be difficult to hear them individually on the recording. This effect is called masking.
EQ is used in mixing to help reduce the effect of masking so that each instrument can be heard clearly.
Remember: EQing doesn’t create new frequencies. Think of EQing as sculpting… You’re working with raw material—the existing frequencies of your sound.
EQ in mastering
While EQ is a staple in mixing, its role in mastering is distinct yet equally crucial.
In mastering, EQ is used more broadly and conservatively.
The aim here is to balance the overall tonality of the track and ensure consistency across an album or EP.
Mastering EQ adjustments are typically subtle, often involving broad, gentle boosts or cuts to give the final track the desired warmth, brightness, or clarity.
One should remember that EQ in mastering can’t fix problems that should have been addressed in the mix.
Instead, it’s about enhancing a good mix to make it translate well across different playback systems.
For example, a gentle roll-off in the lower frequencies can clean up unwanted rumble, ensuring that the track sounds clear on systems with limited low-frequency response.
Filters and Bands
EQ is essentially a special application of a filter. The qualities of the filter that your EQ uses for its cuts or boost determines a lot about its sound—and the best way to use it.
The qualities of the filter that your EQ uses for its cuts or boost determines a lot about its sound—and the best way to use it.
If you break down the settings of an individual band of EQ, they’ll refer to basic characteristics of filters: filter type, slope, Q, and gain.
I’ll explain each one and how they affect your sound.
Filter type
The filter type determines the general shape of the EQ band. The most common types are high/low pass, bell, notch, and high/low shelf.
High-pass (HPF) and low-pass (LPF) filters: These filters are named for the frequencies they leave unaffected, rather than the range they cut. A low cut is known as a high-pass filter and a high cut is known as low-pass filter.
Reach for these filter types when you need to clean up issues at the extreme ends of the spectrum.
The steep drop-off around the corner frequency can easily tame boomy low-end or piercing ultra-high resonance.
Bell: Bell filters are your standard tools boosting and cutting. Their shape can be manipulated using the Q parameter.
This is your go-to choice for sculpting and tone-shaping. Boost or cut at specific points and decide how broadly to affect neighboring frequencies with the Q control.
Shelf: Shelf or shelving filters boost or cut all frequencies above or below the corner frequency.
This EQ type is effective for making broad tonal changes. Think of low and high shelves like the treble and bass controls on your stereo system.
Notch: Notch or “band-stop filters” are used to selectively eliminate extremely narrow frequency ranges.
You can use these to eliminate offending room resonances that can arise from recording in untreated acoustic environments—but be careful, using many steep notches can create a comb-filtered, phase-shifted sound.
Slope
The slope of a filter refers to how aggressively the sound beyond its corner frequency is attenuated.
Filter slope is usually associated with HPF and LPF and types, but some modern EQs allow you to choose the slope of bell or shelving bands as well.
Slope is measured in dB/octave. The higher the number, the steeper the drop off around the corner frequency of the filter.
Slopes of 6db/octave to 24db/octave are common, although some advanced digital EQs can create slopes of up to 96db/octave.
Use less severe slopes like 6 or 12 db/octave to create gentle, transparent low end roll-off with a low-pass filter.
Use sharper cut-offs like 24 and 48 db/octave for aggressive filtering at precise frequencies.
Q
Q is short for quality factor. You can think of it as the “bandwidth” of an EQ band.
Q values of less than 1 will give you broader EQ curves, while values greater than 1 will give you tighter, more selective boosts or cuts.
Gain
Gain determines the amount of boost or cut you apply with your EQ. It’s measured in dB. Positive gain values indicate a boost, while negative ones make it a cut.
Hot tip: When you make adjustments with EQ, you also affect the overall gain of your signal.
That means extreme EQ settings can change your levels a lot. Make sure to keep gain staging in mind so you don’t run out of headroom.
Frequency
The frequency is the centre of your EQ band’s action. This control determines the range where boosts or cuts will occur.
It’s important to remember that there’s no such thing as a perfect filter.
No matter how tightly you set your Q or how steep you make your slope, an EQ band will always affect a range of frequencies around the target, so be careful.
 Adding and subtracting
The first rule of EQ is less is more.
Extreme tonal shifts can have a negative impact on your sound.
The best way to use EQ is to use it as little as possible. With that in mind, there are two main ways to approach EQ.
- Additive EQ: boosting frequencies to achieve the results you want.
- Subtractive EQ: cutting offending frequencies out.
There’s plenty of debate about whether it’s better to do one or the other.
The first rule of EQ is less is more.
But if your goal is to use the least EQ, you can simply choose whichever approach is the most direct route to your destination.
For example, if you only need to cut one narrow range, using 3-4 bands to boost every other region of the spectrum is less transparent that using a single band to cut the main offender.
On the other hand, if all you need to do to make a sound pop is boost one range, cutting everything else and applying makeup gain isn’t the quickest route.
This debate is sometimes framed in terms of “corrective” vs. “creative” EQ, but that can be misleading.
No amount of EQ can fix a sound that wasn’t captured correctly at the source. As a recording engineer, your focus should be to get the sounds you need for your mix as early as possible in the process.
No amount of EQ can fix a sound that wasn’t captured correctly at the source.
Adding colour EQ to get a track to sit isn’t necessarily any more or less “creative” than other EQ tasks you might have in your mix.
Think of everything in terms of the big picture in your mix. Your goal is a polished, professional sound. Every process you apply is just a stepping stone to get there.
Correcting phase issues in EQ processing
Phase issues in EQ arise particularly when altering the frequency balance of overlapping tracks, most notably in the low-frequency range.
Often aggressive settings or analog gear are the culprits for causing phase issues, so the first step may be to remove any plugins with sweeping changes or aggressive cuts.
Phase issues manifest as a loss of punch or clarity, often becoming evident when multiple elements of the mix are combined.
To mitigate phase problems, especially in complex mixes or during mastering, linear-phase EQs are a valuable tool.
Unlike traditional EQs, linear-phase EQs maintain the original phase relationships between frequencies, ensuring cohesive timing alignment.
This approach is essential for preserving the clarity and balance of a mix, especially in the low end.
However, it’s important to use linear-phase EQs judiciously, as they can introduce latency and other artifacts.
Regularly checking the mix as a whole when applying EQ adjustments is crucial for identifying and addressing any phase-related issues.
Advanced EQ Techniques
EQ is isn’t limited to essential high and low cut operation, there’s a handful of more advanced EQ tools that open creative sound sculpting doors.
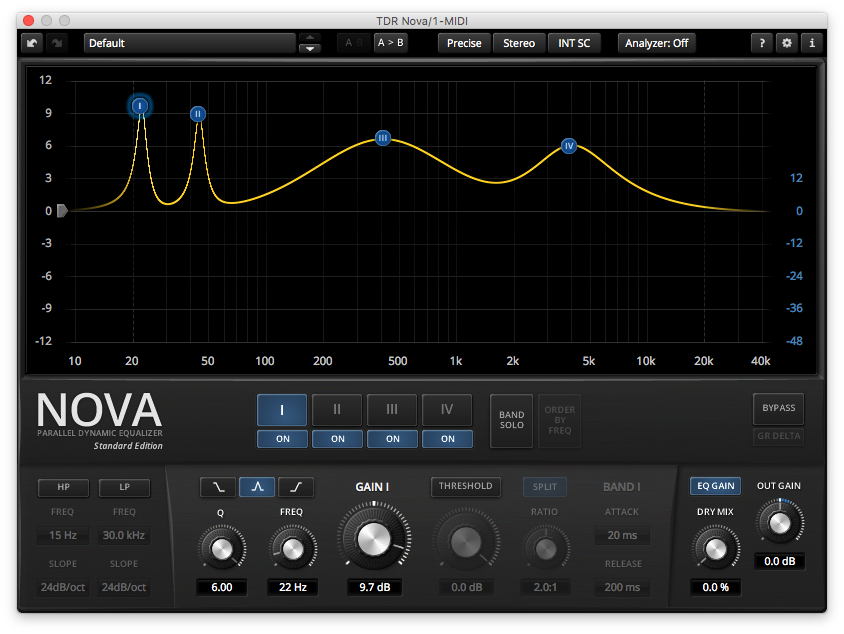
One such technique is the use of dynamic EQ.
Unlike traditional EQs that apply a fixed gain change to a selected frequency range, dynamic EQs respond to the input signal level, adjusting the gain based on the signal’s intensity.
This allows for more precise control, especially in situations where certain frequencies become problematic only at higher volumes.
For instance, a dynamic EQ can be set to attenuate harsh sibilance in a vocal track only when it crosses a certain threshold, leaving the rest of the performance unaffected.
Another advanced method is mid-side EQing, which enables separate EQ settings for the middle (center) and sides (stereo) parts of a track.
This technique is particularly useful in mastering, allowing engineers to, for example, add clarity to a lead vocal in the center without affecting the stereo spread of the backing instruments.
It’s also a powerful tool for correcting imbalances between the stereo and center components of a mix or enhancing stereo width without sacrificing the focus of central elements.
We’ve written about mid/side and dynamic EQ in past articles if you’re interested in learning advanced EQ techniques.
Equalize it
In the course of your mixing process, you’ll probably use EQ on every single track in your session.
With such an important tool, it’s important to have a solid foundation for how to use it.
Knowing how EQ affects the timbre of your sounds is the key to getting the right parameters for your mix or master.
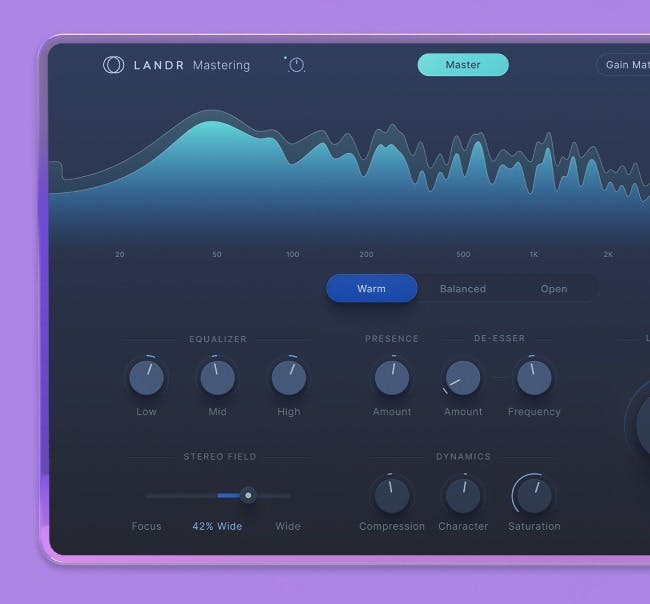
Today though, there are smart plugins and AI mastering tools that make the process of EQing your track much easier.
Now that you have the fundamentals down, get back to your DAW and sculpt the perfect sound.
Michael Hahn is an engineer and producer at Autoland and member of the swirling indie rock trio Slight.
@Michael HahnGear guides, tips, tutorials, inspiration and more—delivered weekly.
Keep up with the LANDR Blog.